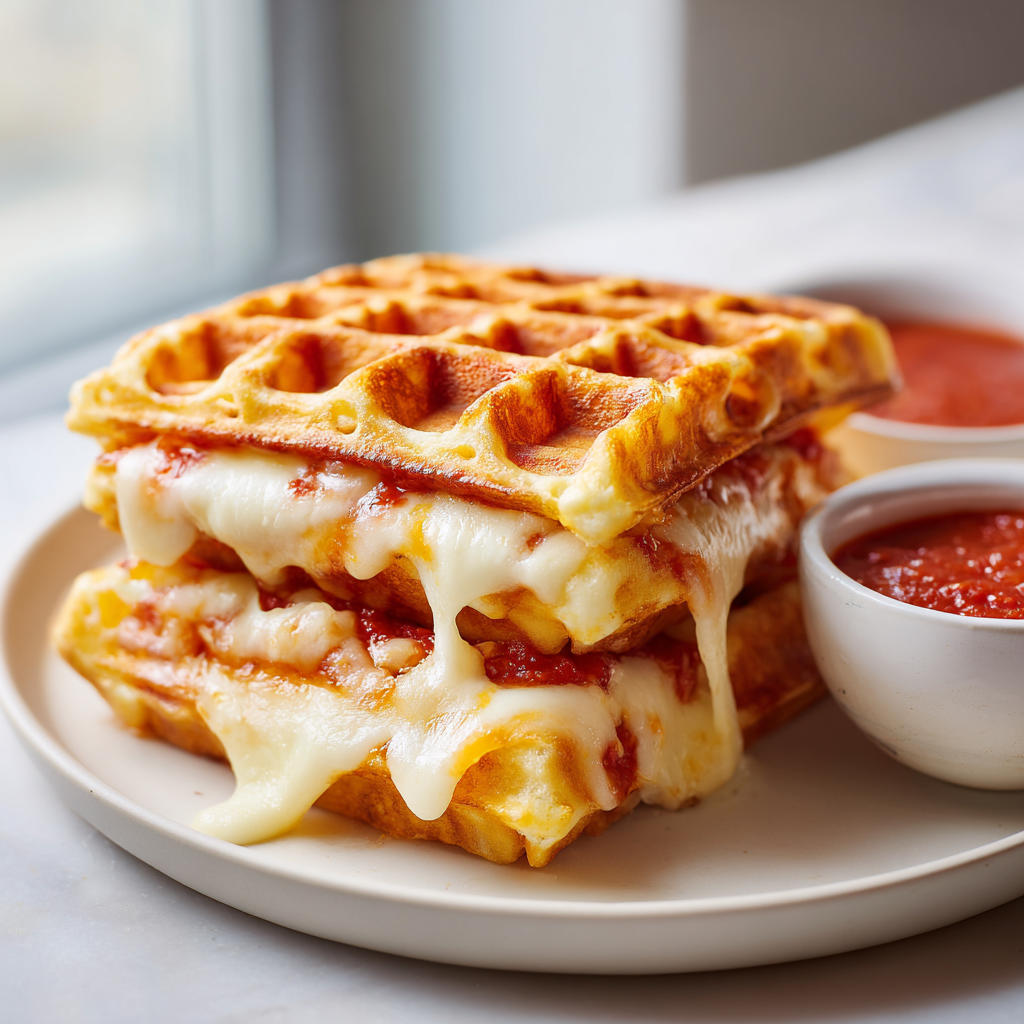

California Pizza Waffles
Ingredients
Method
- Preheat your waffle iron according to the manufacturer's instructions.
- Toast the frozen waffles until they are slightly crispy, or if using homemade batter, add herbs like oregano or basil for extra flavor.
- Place a generous layer of shredded mozzarella on one waffle.
- Top with another waffle to form a sandwich.
- Cook in the waffle iron until the waffles are crispy and the cheese is melted, about 3 to 5 minutes.
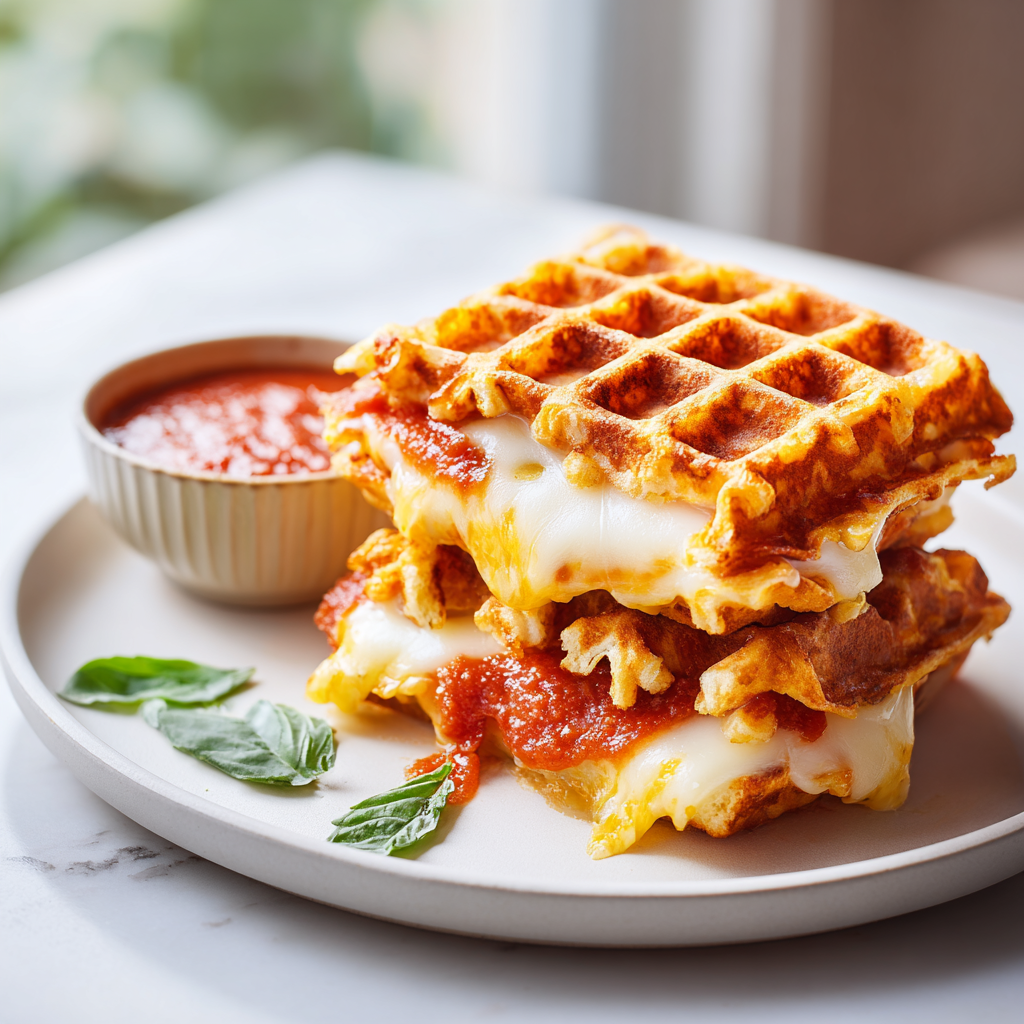
- Serve immediately with warm marinara sauce for dipping.
Nutrition
Notes
Tried this recipe?
Let us know how it was!Why You’ll Love These Pizza Waffles
Let’s be real for a second. Weeknight dinners can get… boring. Like, soul-crushingly boring. You’re tired, the kids are hangry, and the last thing you want to do is turn on the oven and wait forever. That’s where these pizza waffles come in. They’re crispy, they’re cheesy, and they come together in about 20 minutes. Told ya it was a game-changer.
I stumbled onto this idea completely by accident. I had leftover frozen waffles from breakfast and a craving for pizza that just wouldn’t quit. So I thought, why not? I plopped some cheese between two waffles, threw them in the iron, and waited. What came out was this golden, crispy, gooey masterpiece. My kids went absolutely nuts. And honestly? So did I.
These pizza waffles are perfect for those nights when you need something fun and fast. They’re also a great way to use up that half-bag of frozen waffles sitting in your freezer. Plus, no oven required your waffle iron does all the heavy lifting without heating up the whole kitchen. That’s a win in my book, especially during summer.
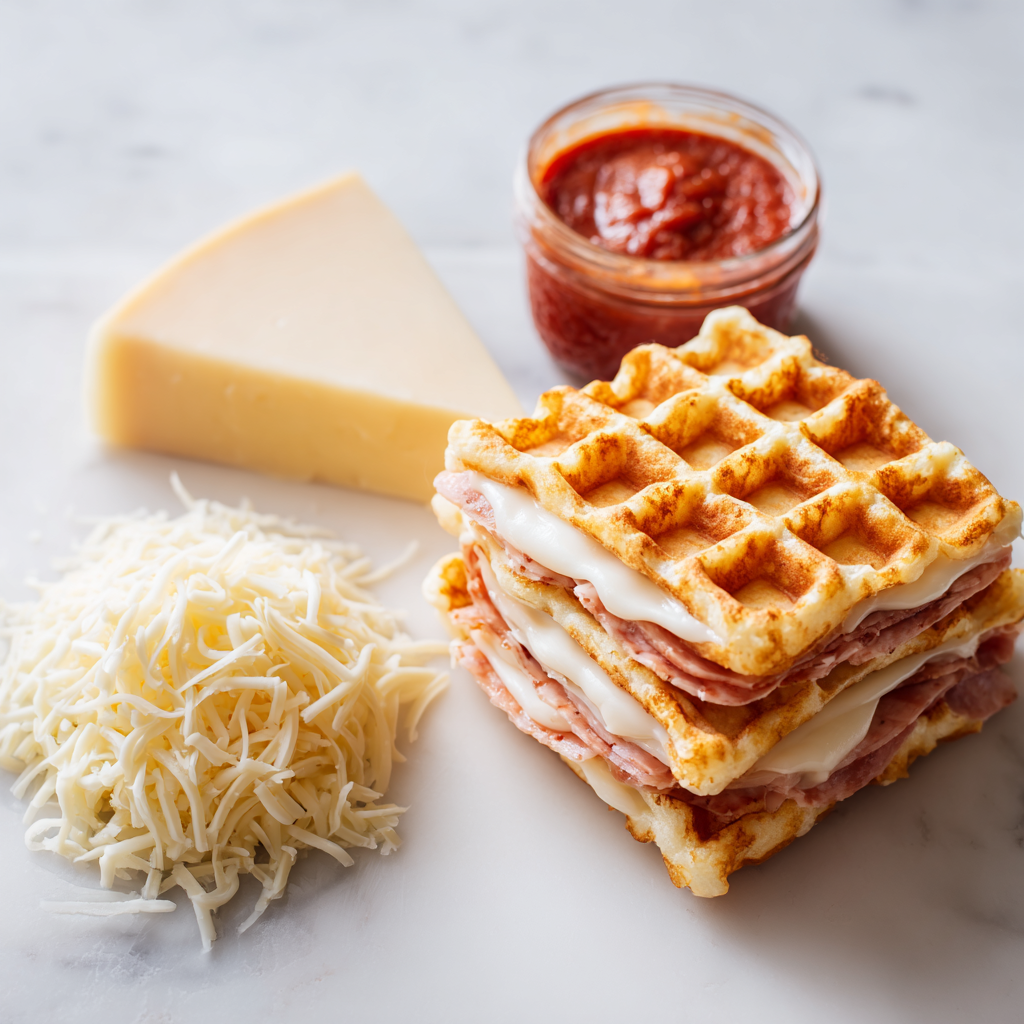
Ingredients You’ll Need
The beauty of this pizza waffles recipe is how simple it is. You only need three things, and you probably already have them in your kitchen.
- Frozen waffles 4 whole waffles. I usually grab the classic buttermilk ones from Trader Joe’s or the store brand from Ralphs. Homemade works too if you’re feeling ambitious, but frozen keeps it quick.
- Shredded mozzarella cheese 1 1/2 cups. Freshly shredded melts better, but pre-shredded is totally fine. Don’t stress, it’ll be delicious either way.
- Marinara sauce 1 cup, warmed for dipping. Jarred is perfect, or use homemade if you have it. I like the one from Whole Foods, but any brand works.
That’s it. Seriously. Three ingredients and you’re on your way to the best pizza waffles of your life. Want to jazz it up? Check the variations section below.
Ingredient Substitutions
Not everyone eats the same way, and that’s okay. Here are some easy swaps for this pizza waffles recipe.
- Gluten-free waffles: Use your favorite gluten-free frozen waffles. They work exactly the same way.
- Dairy-free cheese: Swap the mozzarella for a dairy-free shredded cheese. It melts a little differently, but it still tastes great.
- Homemade waffles: If you have a go-to waffle batter, use that instead of frozen. Just cook them slightly less than usual so they finish crisping in the second round.
The recipe is super forgiving. Don’t overthink it just use what you have.
How to Make Pizza Waffles
Okay, let’s get cooking. Here’s how to make these pizza waffles step by step. I’ll walk you through each stage so you nail it every time.
Stage 1: Prep the Waffles and Waffle Iron
First things first, preheat your waffle iron according to the manufacturer’s instructions. While it’s heating up, toast your frozen waffles until they’re slightly crispy. This step is key it gives the waffles a head start so they don’t get soggy later. If you’re using homemade batter, add a pinch of dried oregano or basil to the batter for extra pizza flavor.
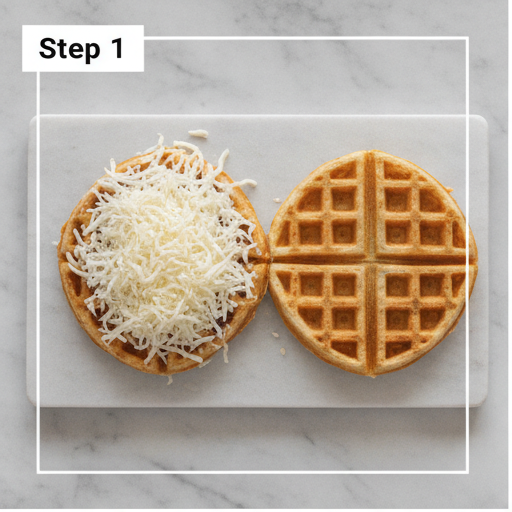
Stage 2: Build the Waffle Sandwich
Once your waffles are toasted, place one on a clean surface. Pile on a generous layer of shredded mozzarella don’t be shy here, the cheese is what makes it amazing. Then top with another waffle to form a sandwich. Press down gently so everything stays put.
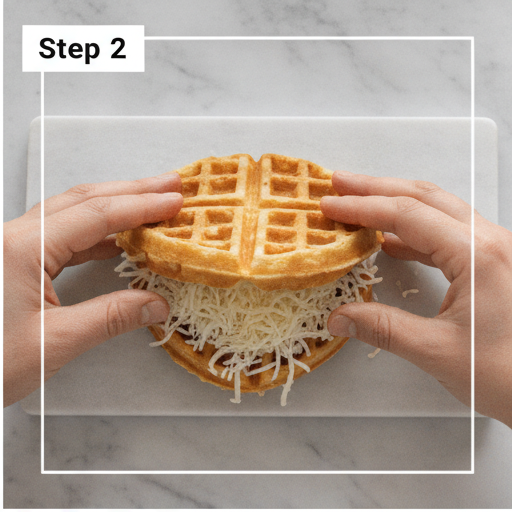
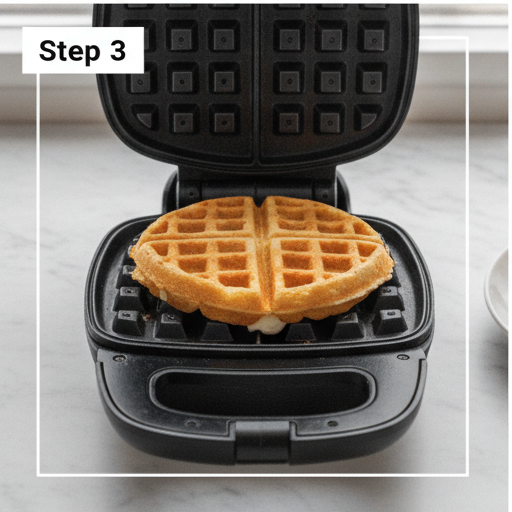
Stage 3: Cook in the Waffle Iron
Carefully place the waffle sandwich into the preheated waffle iron. Close the lid and cook for 3 to 5 minutes. The exact time depends on your waffle maker I use a mini one that takes about 4 minutes. You’ll know it’s done when the waffles are golden and crispy on the outside and the cheese is melted and bubbly on the inside. If you see a little cheese oozing out, that’s a good sign.
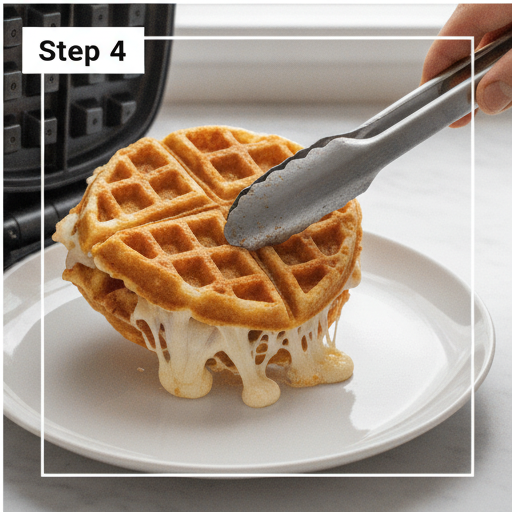
Stage 4: Serve and Enjoy
Carefully remove the pizza waffle from the iron. Let it cool for just a minute the cheese is hot. Slice it in half or into strips, and serve immediately with warm marinara sauce for dipping. The contrast between the crispy waffle and the gooey cheese is pure magic.
Tips for Perfect Pizza Waffles
I’ve made these pizza waffles more times than I can count, and I’ve learned a few things along the way. Here are my best tips.
- Don’t overfill the waffle iron. Too much cheese will leak out and make a mess. A generous layer is plenty.
- Spray the waffle iron. Depending on your model, you might need a light coat of cooking spray to prevent sticking. Better safe than sorry.
- Cook watery toppings first. If you’re adding mushrooms or other watery veggies, cook them first to remove excess moisture. Otherwise, they’ll make the waffles soggy.
- Watch the cooking time. Every waffle iron is different. Start checking at 3 minutes and adjust from there. You want the waffle crispy and the cheese fully melted.
- Serve immediately. These are best fresh out of the iron. The crispy texture doesn’t last forever, so eat them while they’re hot.
Common Mistakes to Avoid
❌ Not sealing the seams: If the cheese oozes out before it’s done cooking, the waffle won’t hold together. Press the edges gently to seal them.
✅ Solution: Make sure the top waffle is centered and press down lightly before closing the iron.
Variations to Try
Once you’ve mastered the basic pizza waffles recipe, it’s time to get creative. Here are some fun variations.
- Pepperoni waffle: Add a few slices of turkey pepperoni between the cheese layers. It’s a classic for a reason.
- Veggie waffle: Throw on some sliced olives, bell peppers, or pre-cooked mushrooms. Great for a meatless Monday.
- Breakfast pizza waffle: Use these for breakfast for dinner. Top with a fried egg and a sprinkle of cheese. Yes, you can eat it for breakfast too.
- BBQ chicken waffle: Swap the marinara for BBQ sauce and add shredded cooked chicken. It’s a whole different vibe.
- Cheesy garlic waffle: Mix a little garlic powder into the cheese before adding it. Simple but so good.
The best part? There are no rules. Throw on what you like and make it your own.
Storage and Reheating Instructions
Got leftovers? It happens sometimes. Here’s how to store and reheat your pizza waffles so they stay crispy.
Storing: Let the waffles cool completely, then store them in an airtight container in the fridge for up to 2 days. If you’re stacking them, put a piece of parchment paper between each one to prevent sticking.
Freezing: For longer storage, place the cooled waffles in a freezer-safe Ziploc bag with parchment paper between each one. They’ll keep for up to 2 months.
Reheating: The best way to reheat is in a toaster or oven. Pop them in the toaster for a few minutes until they’re crispy again. You can also use the microwave in a pinch, but the texture won’t be as good. If reheating from frozen, warm them in the oven at 300°F for about 10 minutes.
Frequently Asked Questions
So there you have it the easiest, most fun pizza waffles recipe you’ll ever make. It’s crispy, cheesy, and comes together in no time. Perfect for busy weeknights, lazy weekends, or whenever you need a little comfort food magic. Make these tonight and tag me in your masterpiece I can’t wait to see what you create.
Source: Nutritional Information