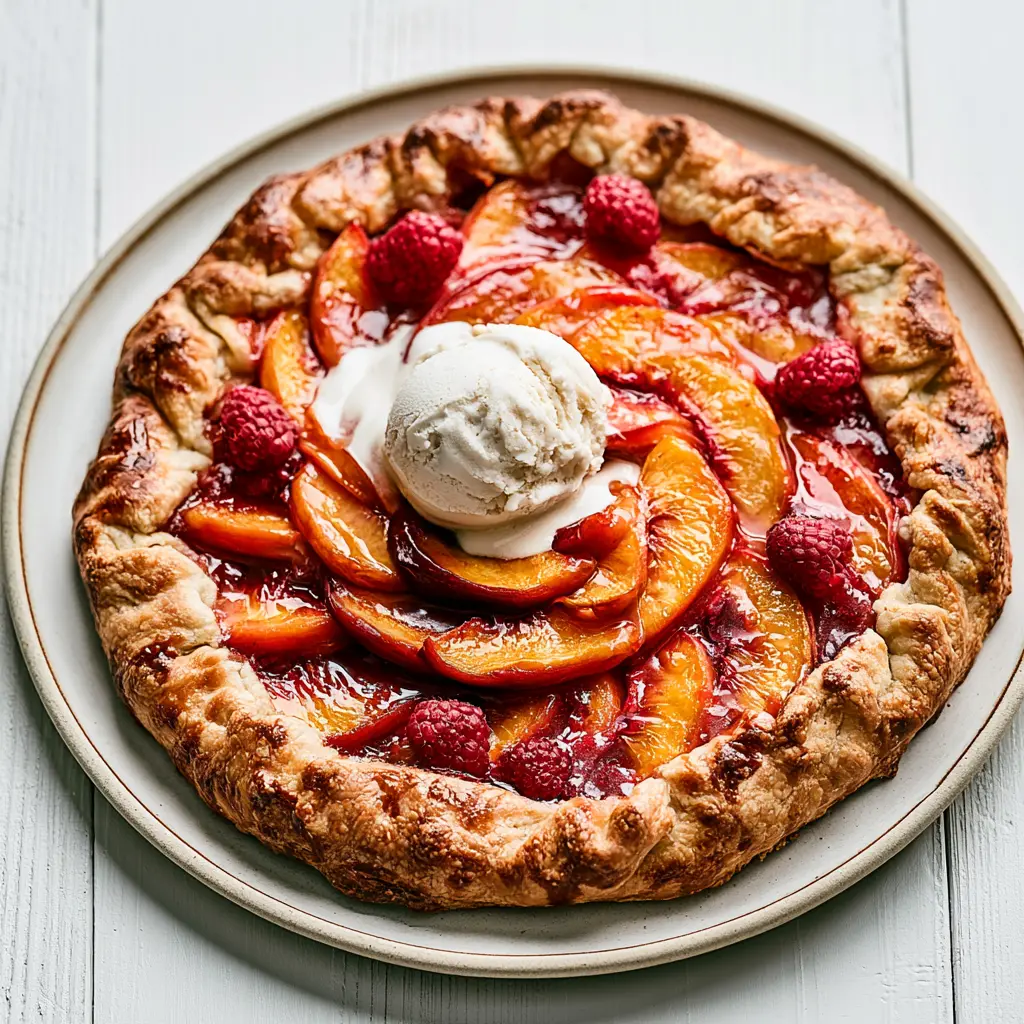
Why You’ll Love This Peach Galette
I’ll say it plainly: I used to be terrified of pie crust. Like, frozen-shells-from-the-supermarket terrified. Rolling dough thin enough, transferring it without tearing it, making those perfect crimped edges? It felt like a pastry chef test I was never going to pass. Then someone whispered a magic word in my ear: galette.
A peach galette is basically a pie that gave up on being perfect. It’s a free-form tart. You roll out some flaky pastry dough, pile the fruit in the middle, fold the edges up however they land, and bake. That’s it. This rustic peach galette always looks like it came from a French bakery, but it takes about 15 minutes of actual effort. Tell your friends. Or don’t. Your call.
And August is the whole reason you’re here. Peaches are at their absolute peak right now. That perfume-y, tropical, drip-down-your-wrist juice? It’s happening at farmers’ markets all over California as we speak. This is a make-it-now-or-wait-a-year situation for a summer dessert that genuinely deserves the hype.
Peach Galette Ingredients
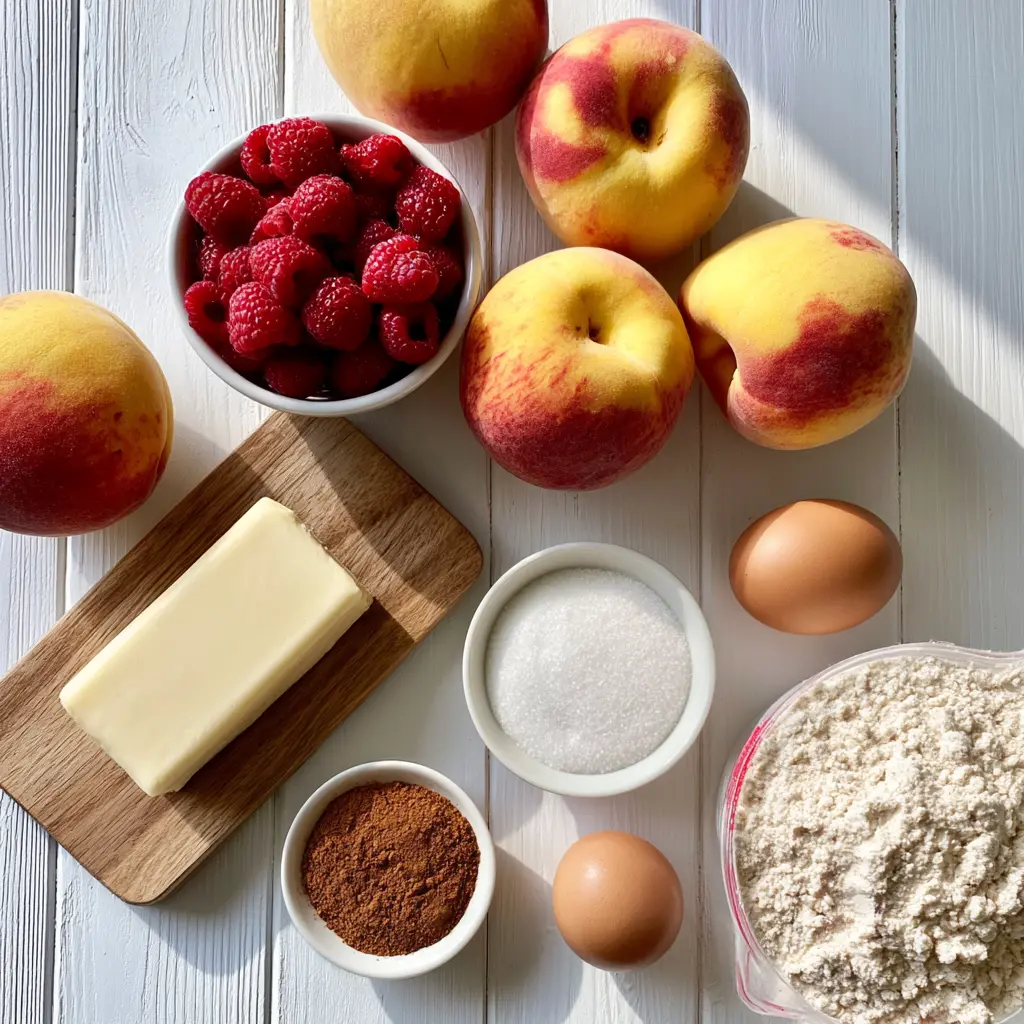
Every good peach galette starts with an all-butter pie crust, and this dough has a little secret: there’s an egg in it. That extra fat and moisture makes the dough more pliable and forgiving than a classic pie dough recipe, which matters when you’re folding it over juicy peaches. Flour, a bit of salt, some sugar, cold butter, one egg, and ice-cold water. Nothing scary.
The filling is where the season shines. Fresh peaches, sugar, ground cinnamon, cornstarch, and a little melted butter. Raspberries get scattered over the top for color and a tart little pop against the sweet peaches.
Let me tell you something nobody tells you: the cornstarch is the hero. It thickens the peach juices as they bubble, turning them into a jammy syrup instead of a sad puddle on your baking sheet. Skip it, and you’re inviting a soggy bottom into your life. Don’t do that.
How to Make Peach Galette
This peach galette comes together in about an hour, and most of that is hands-off chilling and baking. Here are the four big stages, plus everything I wish someone had told me the first time.
Make the Galette Dough
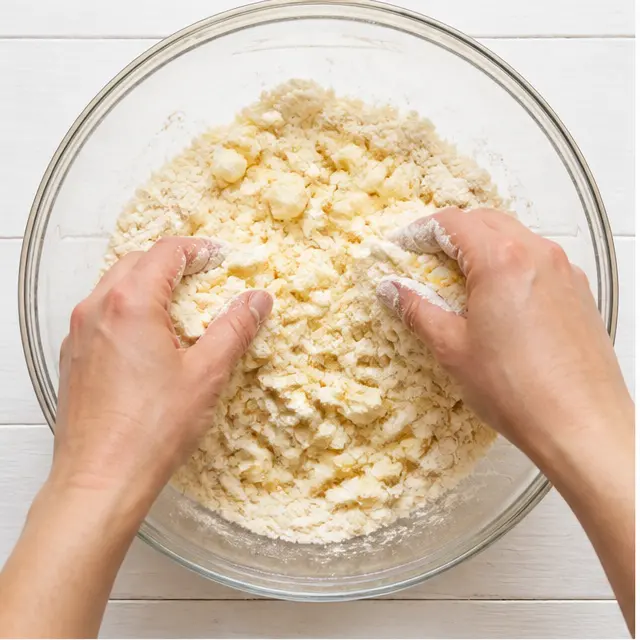
Drop the cold butter cubes into the flour, sugar, and salt, then use your fingertips to rub them together until the mixture looks like wet sand. No big butter chunks left. A food processor works too, if you’re not in a fingertip-rubbing mood. Add the egg and ice-cold water, stir until it clumps, then bring it together gently with your hands.
Don’t overwork it. I’ve done it, and the crust comes out tough and sad. Be gentle. Press the dough into a disc, wrap it in plastic, and let it chill for at least 30 minutes.
Here’s the insider tip: let the dough rest in the fridge overnight if you can. The flour hydrates, the butter stays cold in distinct layers, and the crust bakes up shatteringly flaky.
Make the Peach Filling
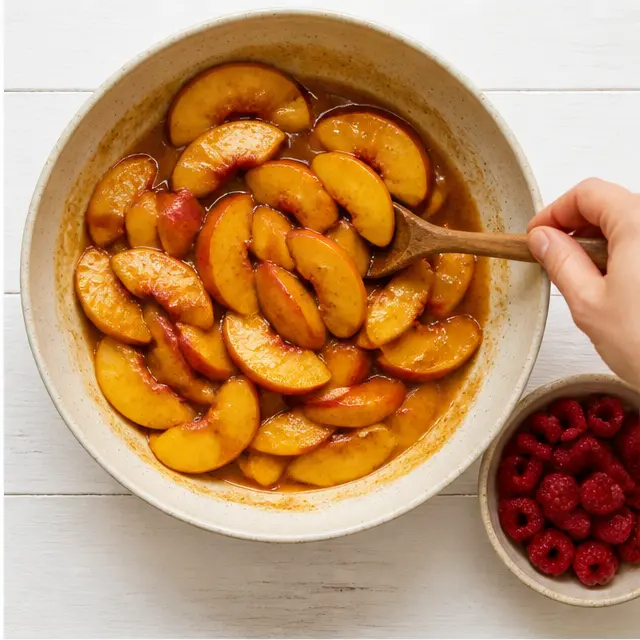
Slice your peaches about 1/8 inch thick. To prep them, cut around the natural seam, twist both halves, and the pit pops right out. The smell alone is worth the effort. Ripe peaches, sugar, cinnamon, a little melted butter. Your kitchen will smell like a bakery before the oven is even on.
The first time I made a fruit galette, I skipped the cornstarch. Big mistake. The crust came out a floopy, wet mess. Delicious, sure, but sad. Here’s exactly what I learned so you don’t have to: cornstarch is non-negotiable. It thickens the juice while the peaches break down into jammy goodness.
Assemble and Bake the Galette
Roll the dough out on parchment paper to about 1/8 inch thick. Aim for a rough circle and don’t stress about the shape. If it cracks at the edges, just press it back together. Galettes forgive. Move the dough onto a baking sheet lined with parchment, then pile the peaches in a circular pattern starting from the outside and working inward. Leave a border of about 2 inches around the filling.
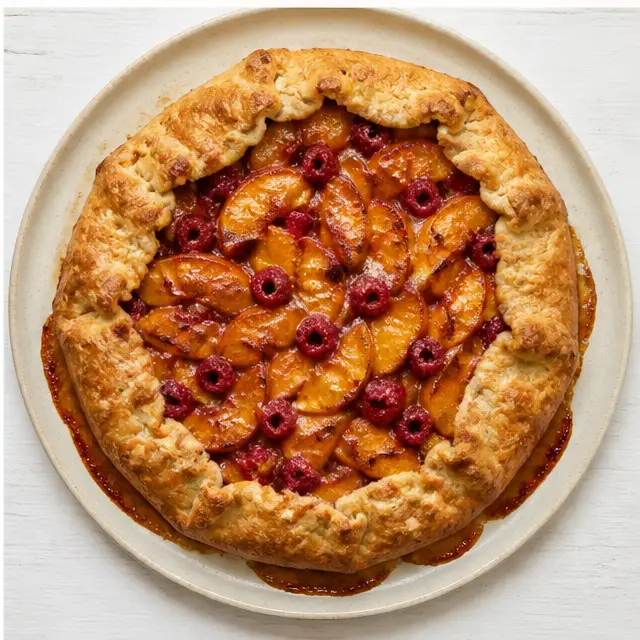
Put the thinnest slices in the middle so they bend and tuck easily. Scatter the raspberries on top, then fold the exposed edges inward over the filling, pleating as you go. Fold it like you don’t care, because that’s the entire point. Brush the dough with a little milk and bake at 350°F for about 30 minutes, until the crust is golden brown and the filling is bubbling. A little juice seeping out is completely normal. Don’t panic.
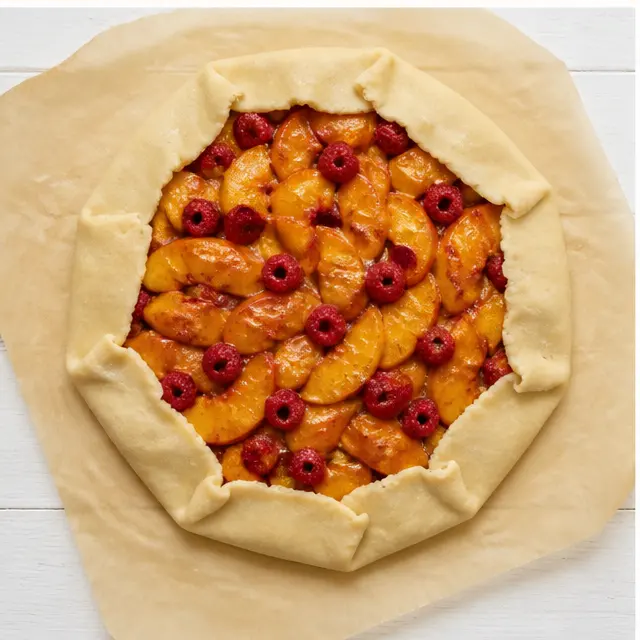
Let it cool slightly before cutting. The contrast between the crisp, golden edges and that warm, jammy center is the whole payoff.
Peach Galette Tips for Best Results
The number one fear with any peach galette is the soggy bottom. Here’s how you beat it every single time:
- Use ripe but firm peaches. Squeeze them gently. A slight give means they’re ready. Mushy peaches ooze liquid and turn to mush in the oven.
- Don’t skip the cornstarch. It thickens the juices and protects your crust. I’ll say it forever.
- Keep the dough at 1/8 inch thick. Thinner, and the fruit juices will break right through.
- Bake until it’s actually bubbling. Underbaking is the sneakiest cause of a soggy bottom. Golden crust plus visibly bubbling filling means the bottom set properly.
A few mistakes I’ve made so you don’t have to:
- ❌ Overworking the dough → ✅ Stop the moment it clumps. A tough crust is a sad thing.
- ❌ Using white peaches → ✅ They’re too delicate and lose their flavor when cooked. Yellow peaches hold up far better.
- ❌ Letting the macerated filling sit too long → ✅ Assemble and bake right away, or the peaches turn to mush.
- ❌ Microwaving leftovers → ✅ The crust gets rubbery. Reheat in the oven instead.
Peach Galette Variations
Once you’ve mastered this peach galette, a whole world of stone fruit desserts opens up. You can swap the peaches for plums, nectarines, apricots, or cherries, or do a mix. The sugar stays the same, and you’ll just check around the 25-minute mark since some fruits break down faster than others.
Add a splash of almond extract to the filling for a California twist. Dot the bottom crust with almond paste before adding the fruit if you’re feeling fancy. Sprinkle turbinado sugar over the milk-brushed crust for extra crunch and sparkle. And if you’re short on time, a high-quality store-bought pie dough cut into a 12-inch circle works beautifully. For gluten-free friends, your favorite gluten-free pie dough blend handles the galette format with grace.
How to Store and Reheat Peach Galette
This peach galette keeps beautifully. Leave it loosely covered at room temperature for the first day, then move it to the fridge for up to two more days.
To bring that crispy crust back to life, reheat slices in a 300°F oven for about 10 minutes. Not the microwave. I know it’s tempting. The microwave turns the crust into cardboard that’s somehow also soggy, and nobody needs that.
You can also freeze the unbaked galette for up to 2 or 3 months. Wrap it well, and when you’re ready, bake it straight from frozen, adding about 10 minutes to the bake time. Serve warm with vanilla ice cream or lightly sweetened whipped cream. Both. Always both.
So, Go Ahead and Bake It
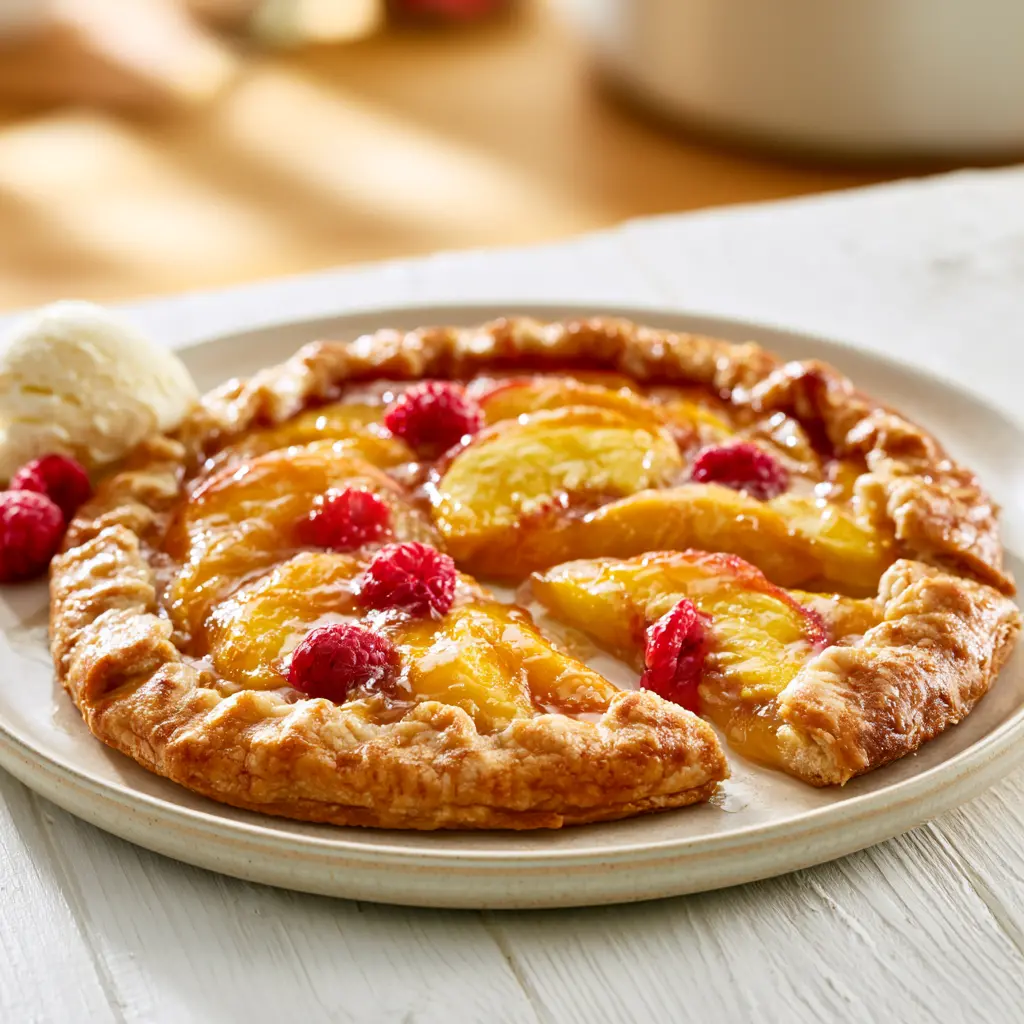
See? You’ve got this. When you pull your peach galette from the oven, golden, ruffled, slightly lopsided, with jammy juice bubbling up through the folds, you’re going to feel like a legit baker. Because you are one. The peaches are at their peak, the crust is flaky, and you made it look easy. That’s the galette magic.
If you’re hunting for more summertime baking inspiration, come follow me on Pinterest. I’m pinning this rustic peach galette right at the top of my summer dessert board. And when you make yours, I’d love to hear how it turned out. Enjoy those peaches while they last.
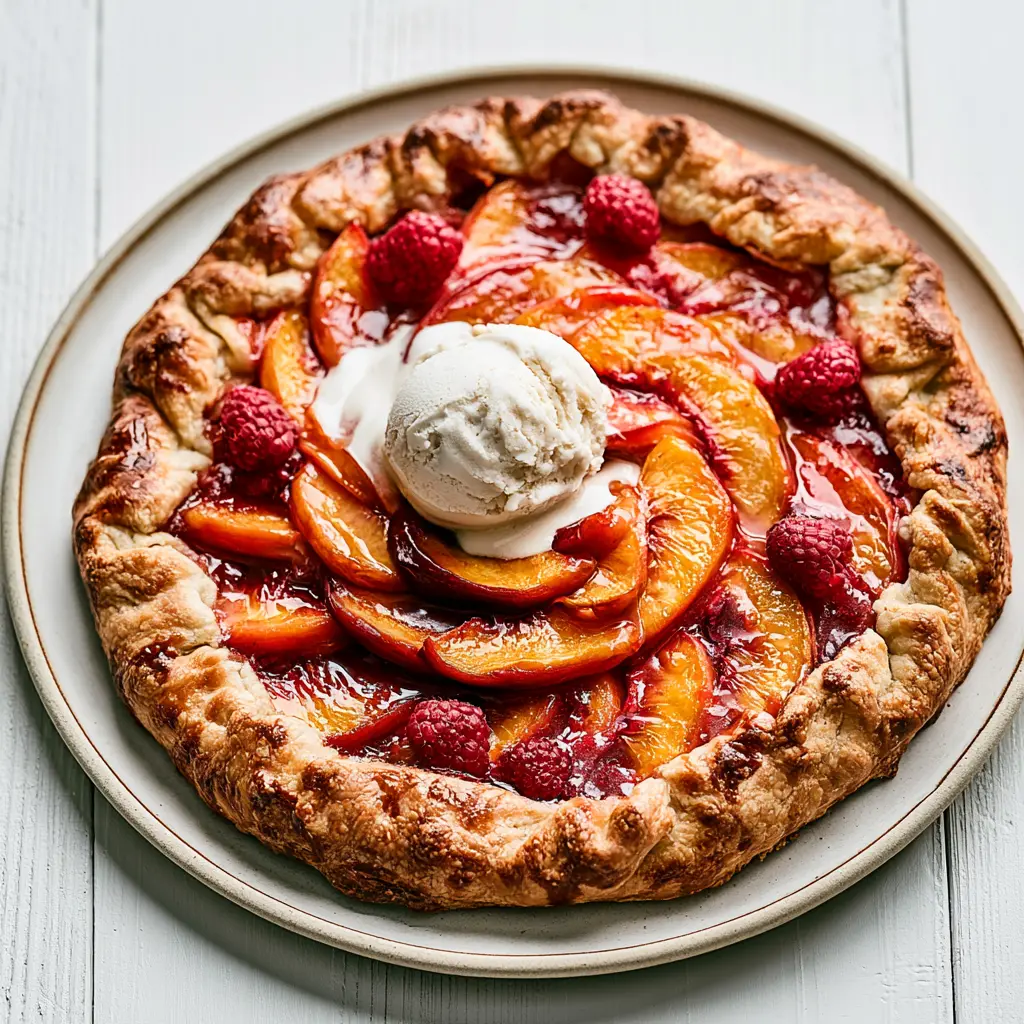
Rustic Peach Galette with Fresh Raspberries
Ingredients
Method
- In a large bowl, mix together the flour, sugar, and salt. Drop in the cold butter cubes and toss them through the flour so they are well coated.
- Use your fingertips to pinch and rub the butter into the dry ingredients until the mixture looks like wet sand with no large butter chunks. A food processor works well for this too.
- Create a well in the center and add the egg and cold water. Stir with a spatula until the dough begins to clump together, then bring it together with your hands. Be careful not to overwork the dough or it will become tough and difficult to roll.
- Press the dough into a disc, wrap it in plastic, and refrigerate for at least 30 minutes. If the dough becomes very firm, let it sit at room temperature for a short while. If the edges are hard but the center is soft, knead it briefly on an unfloured surface.
- Dust your work surface with flour and roll the dough out to about 1/8 inch thick. Avoid rolling it thinner, or the fruit juices may cause the crust to break in the oven. Move the dough and add flour underneath as needed to keep it from sticking, aiming for a circular shape. Rolling between two sheets of parchment paper is a good alternative.
- Lay the dough onto a baking sheet lined with parchment paper or a silicone mat. If you rolled the dough between parchment sheets, simply peel off the top sheet and transfer the dough with the bottom parchment directly onto the tray.
- You can keep the edges rough and rustic, or use a large plate as a guide and cut around it with a knife. Make sure the dough is already on the baking sheet before adding the peaches, because the filled galette cannot be safely transferred afterward.
- Slice the peaches into pieces about 1/8 inch thick. To prep them, cut around the natural seam of each peach, twist both halves to separate them from the pit, then dislodge the pit and slice as needed.
- In a bowl, gently toss the peach slices with the sugar, cinnamon, cornstarch, and melted butter until everything is evenly coated. Set the raspberries aside for now.
- Pile the peach slices onto the dough in a circular pattern, starting from the outside edge and working toward the center. Leave a border of about 2 inches around the filling. Put the thinnest slices in the middle so they can bend and tuck easily. Sprinkle the raspberries over the top of the peaches.
- Fold the exposed dough edges inward over the filling, pleating as you go. Brush the folded dough with milk.
- Bake the galette in a 350°F oven for 30 minutes, or until the crust is golden brown and the filling is bubbling. A little juice seeping out is completely normal.
- Let the galette cool slightly before cutting and serving. It is wonderful with a scoop of vanilla ice cream.
Nutrition
Notes
Tried this recipe?
Let us know how it was!Peach Galette FAQ
Source: Learn More About This Dish