
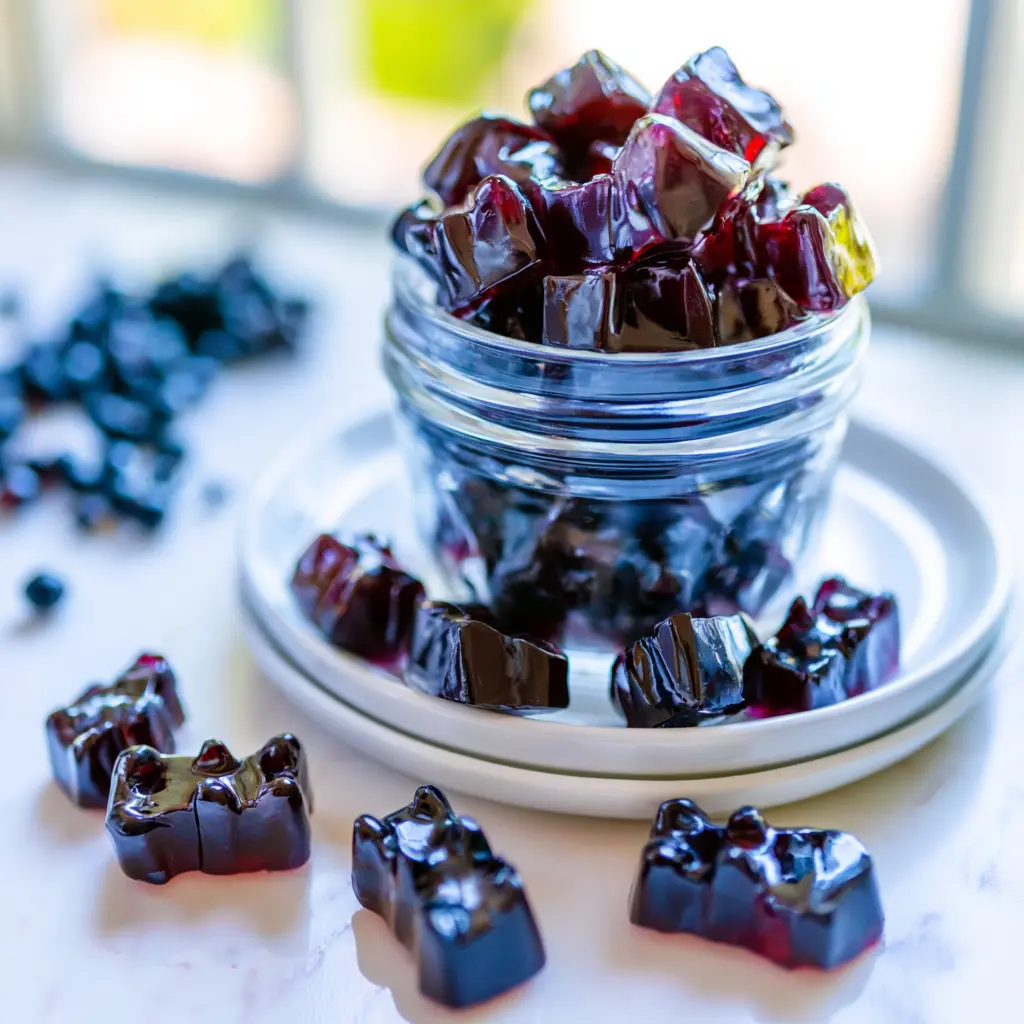
Why Make Homemade Elderberry Gummies?
You’ve been standing there for five minutes, flipping over a $25 jar of gummies to find the words “high-fructose corn syrup” in tiny print. I’ve been there. It’s August, the school supply lists are out, and you can practically hear the first wave of classroom colds warming up in the distance. Here’s the thing. Making homemade elderberry gummies takes about 25 minutes and two ingredients. That’s it. No weird preservatives, no artificial colors, no $28 sticker shock. Just deep, dark, immune-supporting little bites that taste like candied berries. My first batch was basically a fruit-flavored brick. My husband pretended to love it. We did not love it. But I figured out where I went wrong, and now I’ve got a jar of homemade elderberry gummies in my fridge at all times. My kids call these their candy. I let them. It’s a mom win. Why bother? Black elderberry, that’s Sambucus nigra, has been used for centuries as a natural immune booster. During cold and flu season, research suggests elderberry may help support the body’s natural defenses. And when you make your own elderberry immune gummies, you control everything that goes in. Store-bought versions often rely on corn syrup, added sugar, and a list of ingredients you can’t pronounce. Your homemade batch? Just elderberry syrup and grass-fed gelatin. That’s the whole point.Choosing the Best Gummy Mold
Let’s talk equipment, because it genuinely makes or breaks the experience. Grab a set of silicone gummy molds in fun shapes. Bears, stars, dinosaurs, whatever makes your kid smile at breakfast. Here’s what you’ll need for this recipe:- Silicone gummy molds with small cavities (about 1 ml to 5 ml each)
- An eyedropper or small pipette for filling the molds
- A small saucepan and a whisk
- An airtight container for storing the finished gummies
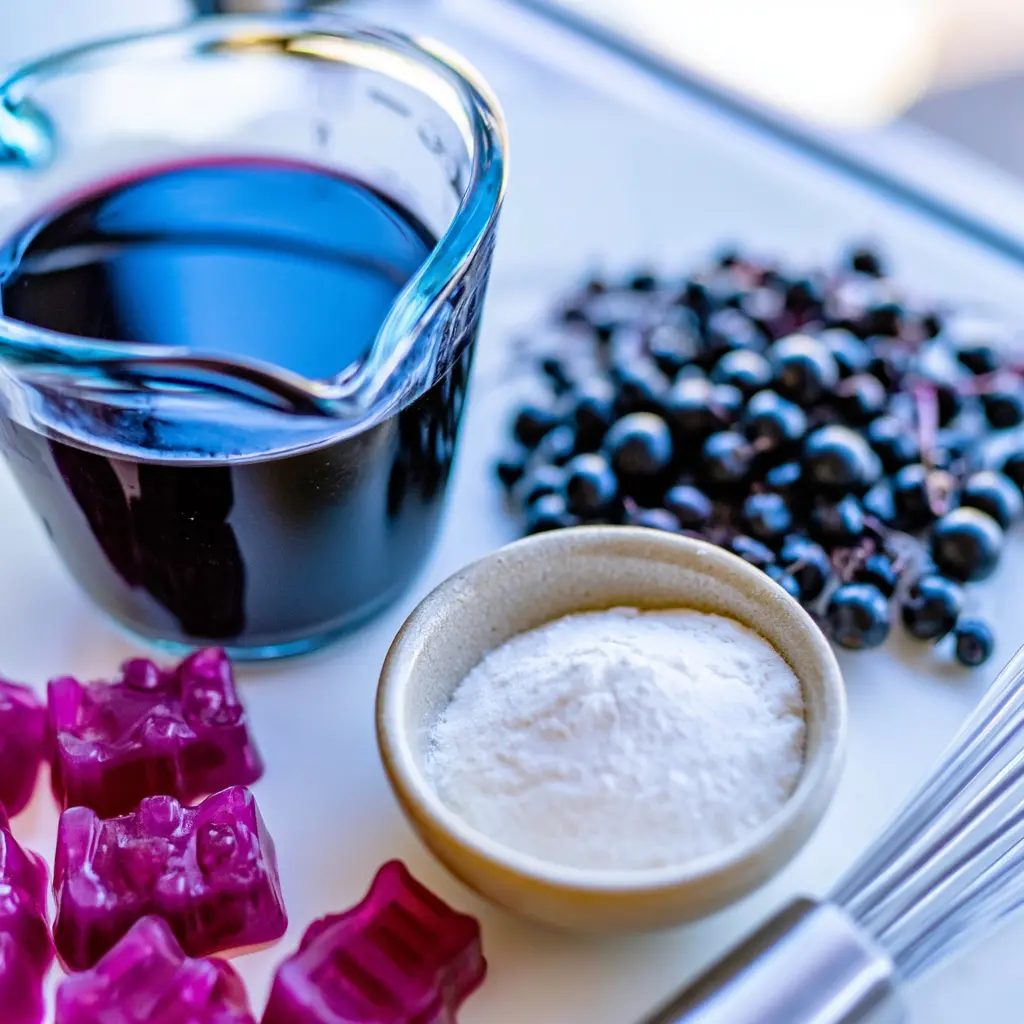
How to Make Elderberry Gummies
The process is simple, but a few details matter if you want that perfect gummy texture on your first try. I promise, once you’ve done it once, you’ll never buy store-bought again. Let’s break it into four stages so nothing catches you off guard.Stage 1: Gentle Heat Is Everything
Pour your elderberry syrup into a small saucepan over medium-low heat. Add the gelatin powder and whisk often until it’s fully dissolved. The mixture should feel warm to the touch, not hot. Here’s the rule that matters: never let it boil. High heat destroys the beneficial compounds in black elderberry and kills the raw honey enzymes if your syrup is honey-sweetened. Overheating can also prevent your gummies from setting properly. So keep the heat gentle, keep whisking, and be patient. The candied-berry jam smell filling your kitchen is the reward.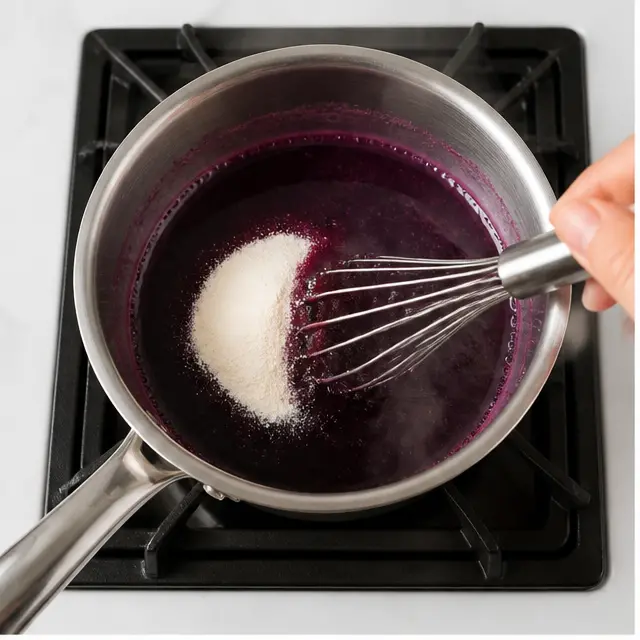
Stage 2: Fill the Molds Fast
Now you move quickly. Use an eyedropper or small pipette to fill each silicone mold cavity with the warm liquid. Gravity does most of the work, just squeeze gently and let it flow. If you work too slowly, the gelatin will start to set right in the bowl. The solution is easy: reheat it gently over low heat until it’s liquid again. Don’t let it sit too long, or you’ll be reheating, filling, reheating, filling. Ask me how I know. If you have leftover mixture, pour it into a shallow dish and refrigerate it. Once firm, cut it into small gummy cubes. Zero waste, and honestly those irregular cubes are my favorite part.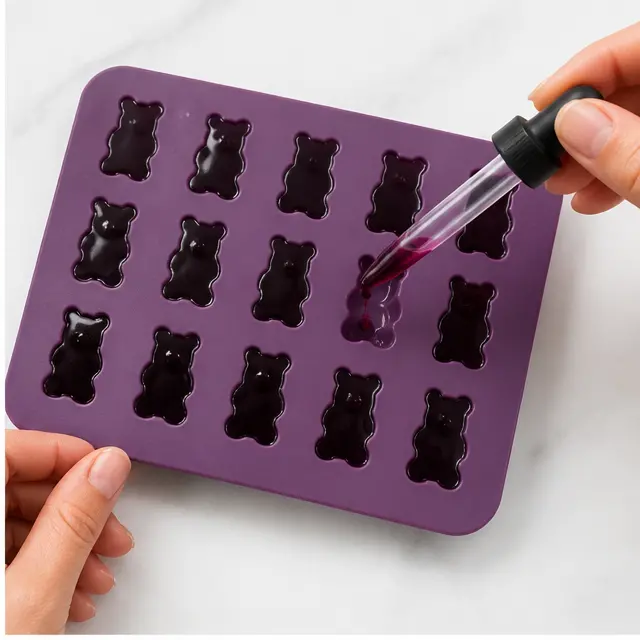
Stage 3: Chill, Don’t Counter-Set
Here’s the thing about making these in August. Your counter is 80 degrees. That gelatin won’t set up the way it does in December, so use the fridge and don’t argue with me. Pop the filled molds into the refrigerator and let them chill for 1 to 2 hours, until completely firm. You’ll know they’re ready when you see the tops wrinkle and pull away from the mold, like the skin on warm pudding. Give them the full two hours if you can. Firm gummies pop out cleanly, soft ones fall apart. This is also where the acid trick matters: if you’re adding lemon juice for vitamin C, fold it in after the syrup cools slightly, because acid can break down gelatin and ruin your set.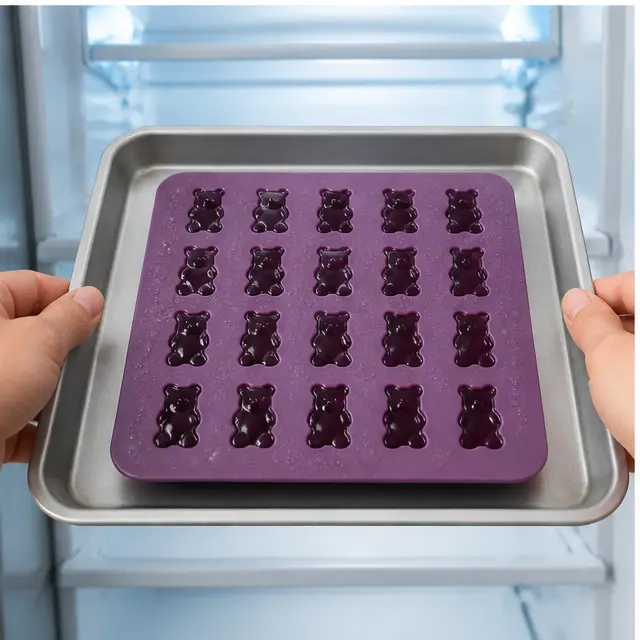
Stage 4: Pop and Store
Once they’re fully set, gently press the gummies out from the back of each mold. They should release with a cheerful little pop. The shine is something else, that deep apricot-red color catching the light, glossy like stained glass. Transfer them to an airtight container and keep them in the fridge. More on storage in a minute, but the short version is these gummies must stay cold. They’re live food, no preservatives, so the fridge is their home now.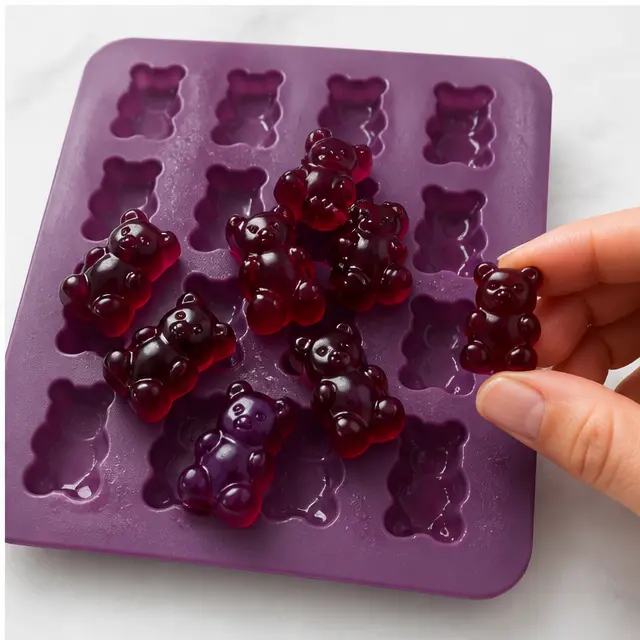
Tips for Perfect Homemade Elderberry Gummies
After that first failed batch, I learned a few things the hard way so you don’t have to. Here are the lessons that actually matter. Use high-quality unflavored beef gelatin. Cheap gelatin powders can leave a weird aftertaste and sometimes don’t dissolve smoothly at low temperatures. And please, don’t substitute flavored gelatin. It changes the texture, the sweetness, everything. Stick with unflavored. The common mistakes, fixed:- ❌ Mistake: Letting the mixture set before filling molds. → ✅ Solution: Work quickly, and reheat gently if it starts to thicken.
- ❌ Mistake: Boiling the syrup. → ✅ Solution: Keep the heat low and whisk constantly.
- ❌ Mistake: Using too little gelatin for a proper set. → ✅ Solution: Use the full 8 tablespoons for a firm, bouncy gummy texture.
- ❌ Mistake: Popping gummies out too early. → ✅ Solution: Give them the full 1 to 2 hours in the refrigerator.
- ❌ Mistake: Leaving them on the counter. → ✅ Solution: They melt fast and spoil without refrigeration.
Elderberry Gummy Flavor Variations
The base recipe is delicious as is, deep and berry-forward. But you can absolutely customize your homemade elderberry gummies without breaking the formula. These are all optional add-ins, not part of the base recipe, so treat them as experiments.- A squeeze of lemon juice: If your elderberry syrup is very sweet, add a tablespoon or two of fresh lemon juice to balance it. Stir it in after the mixture has cooled slightly, since acid added too early can break down the gelatin.
- Vitamin C boost: A little extra vitamin C powder turns these into serious immune support gummies. Again, add it off the heat.
- Vegan version: Swap the grass-fed beef gelatin for agar agar. Use about 1 tablespoon of agar for every 2 tablespoons of gelatin, and simmer it in the syrup for 3 to 5 minutes to activate it. Swap honey for agave if your syrup contains honey.
- Herbal add-ins: Some people add echinacea or medicinal mushrooms like reishi or lion’s mane for extra immune support. Start small and taste as you go.
How to Use Elderberry Gummies
Now for the practical part. How many of these should you actually eat, and when? Most experts agree that elderberry is best used during times of need, not as a daily preventative for months on end. Think of these as a targeted tool for back-to-school season, cold and flu season, or when your kid comes home with the sniffles. Using them strategically, rather than every single day, is the smarter play.Recommended Dosage
Here’s a simple dosage guide based on your gummy size. These numbers align with standard elderberry syrup serving sizes, scaled for gummies. For large 5 ml gummies:- Children (ages 3+): 1 per day for everyday immune support, or 1 three times daily during illness
- Adults: 2 per day for everyday immune support, or 2 three times daily during illness
- Children (ages 3+): 3 to 5 per day, or 3 to 5 three times daily during illness
- Adults: 6 to 10 per day, or 6 to 10 three times daily during illness
Storing Homemade Elderberry Gummies
Because homemade elderberry gummies are made without preservatives, storage is non-negotiable. Keep them in an airtight container in the refrigerator. They’ll stay fresh for about 2 to 3 weeks. If your kitchen runs warm, tuck them at the back of the fridge where it’s coldest. For school lunches on warm September days, add a small ice pack to the lunchbox. These gummies will soften if they sit in a hot car or a sunny classroom. They’re not fragile, but they are honest foods, they want to be cool. Can you freeze them? Yes. Lay them in a single layer on a parchment-lined sheet, freeze until solid, then transfer to a freezer bag. They’ll keep for up to 3 months. Thaw them in the fridge overnight, and they’re just as glossy and chewy as the day you made them. I always double the batch and freeze half. Future me in February is very grateful.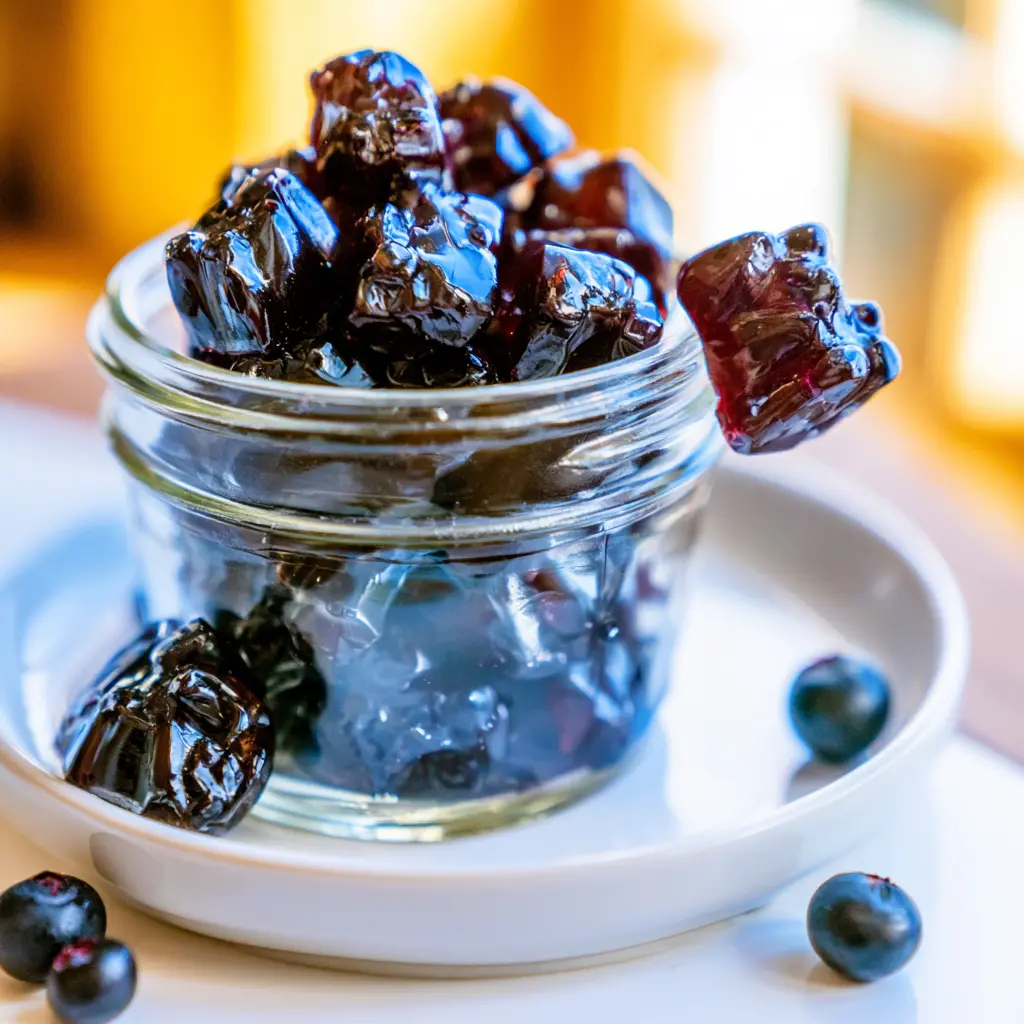
Final Thoughts
Making your own homemade elderberry gummies is one of those small wins that makes you feel like you’ve got it together. A jar of jewel-colored, immune-supporting gummies in the fridge, made with your own two hands. Just two ingredients, nothing artificial, no $28 price tag. The first time your kid asks for their candy at breakfast? That’s the moment. The quiet satisfaction of running a hand over a jar of glossy gummies you made yourself? That’s the payoff. It’s a small daily ritual that makes you feel protected as the kids head back into classrooms full of germs. I make a batch every August, right before school starts. It’s my little pregame ritual for cold and flu season, and honestly, it makes me feel like a superhero parent. If you’re ready to try it, save this homemade elderberry gummies recipe to your immune support board so you can find it when the seasons change.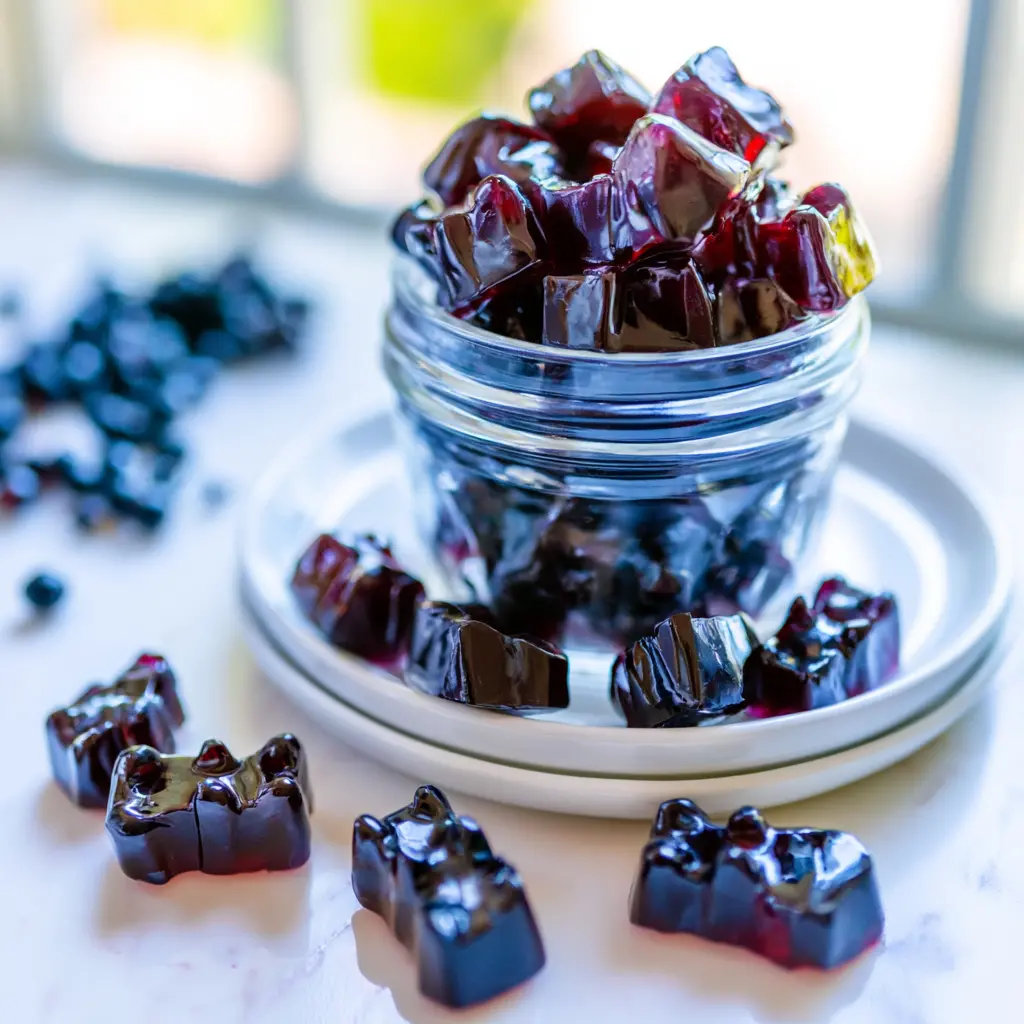
Simple Homemade Elderberry Gummies with Raw Honey
Easy homemade elderberry gummies made with pure elderberry syrup and gelatin. A fun, immune-supporting snack for kids and adults!
Ingredients
Method
- In a small saucepan over medium-low heat, combine the elderberry syrup and beef gelatin. Whisk often until the gelatin is fully dissolved and the mixture is warm to the touch. Keep the heat gentle and do not let the mixture boil, as overheating can prevent the gummies from setting and destroy the raw honey enzymes.
- Using an eyedropper or small pipette, carefully fill silicone gummy molds with the warm liquid. If you have leftover mixture, pour it into a shallow dish and refrigerate; once firm, cut it into small gummy cubes.
- Chill the filled molds in the refrigerator for 1 to 2 hours, until the gummies are completely firm.
- Pop the set gummies out of the molds and store them in an airtight container in the refrigerator. These gummies must stay chilled, as they can melt if left at warm room temperature.
- For dosage, use 5 ml large gummies for children at 1 per day for everyday immune support, or 1 three times daily during illness. For 1 ml small gummies, give 3 to 5 per day, or 3 to 5 three times daily during illness. Adults should double the child dosage.
Nutrition
Notes
Use high-quality unflavored beef gelatin for the best set and a clean flavor.
Do not substitute flavored gelatin, because it will change the texture and sweetness.
Silicone molds in fun shapes make these more appealing to kids.
If the syrup is very sweet, add a squeeze of lemon juice to balance the flavor.
Store gummies in the fridge and take them in a lunch box or cooler with an ice pack.
If the mixture begins to set while filling the molds, reheat it gently over low heat until liquid again.
For a looser set, use a little less gelatin; for a firmer texture, use a bit more.
Tried this recipe?
Let us know how it was!Elderberry Gummies FAQ
Source: Learn More About This Dish
Do elderberry gummies need to be refrigerated?
Yes, absolutely. These homemade elderberry gummies have no preservatives, so they’ll melt and spoil at room temperature. Keep them in an airtight container in the refrigerator, where they’ll stay fresh for 2 to 3 weeks. In summer heat, they can soften within hours.
Are elderberry gummies good for you?
They can be, when made properly. Black elderberry, or Sambucus nigra, is rich in antioxidants and has a long history as a natural immune booster during cold and flu season. Your homemade version skips the corn syrup and artificial colors that many store-bought immune support gummies rely on.
Can I take these gummies every day?
Most experts recommend using elderberry during times of need, not as a daily preventative. Save these for back-to-school season, cold and flu season, or when your family has been exposed to bugs. During illness, the recipe calls for taking them three times daily for a short period.
Who should not take elderberry gummies?
People with autoimmune conditions, anyone on immunosuppressant medications, and those taking diuretics should talk to a doctor first. Pregnant or nursing women should also check with their healthcare provider. For children, stick to age 3 and up, and confirm with your pediatrician before starting.













One response to “How to Make Homemade Elderberry Gummies in 25 Minutes”
Made these with my daughter this weekend and they turned out amazing! We used bear molds and she was so excited to eat her ‘candy.’ I love that there are only two ingredients. Will definitely be making a big batch before cold season hits!