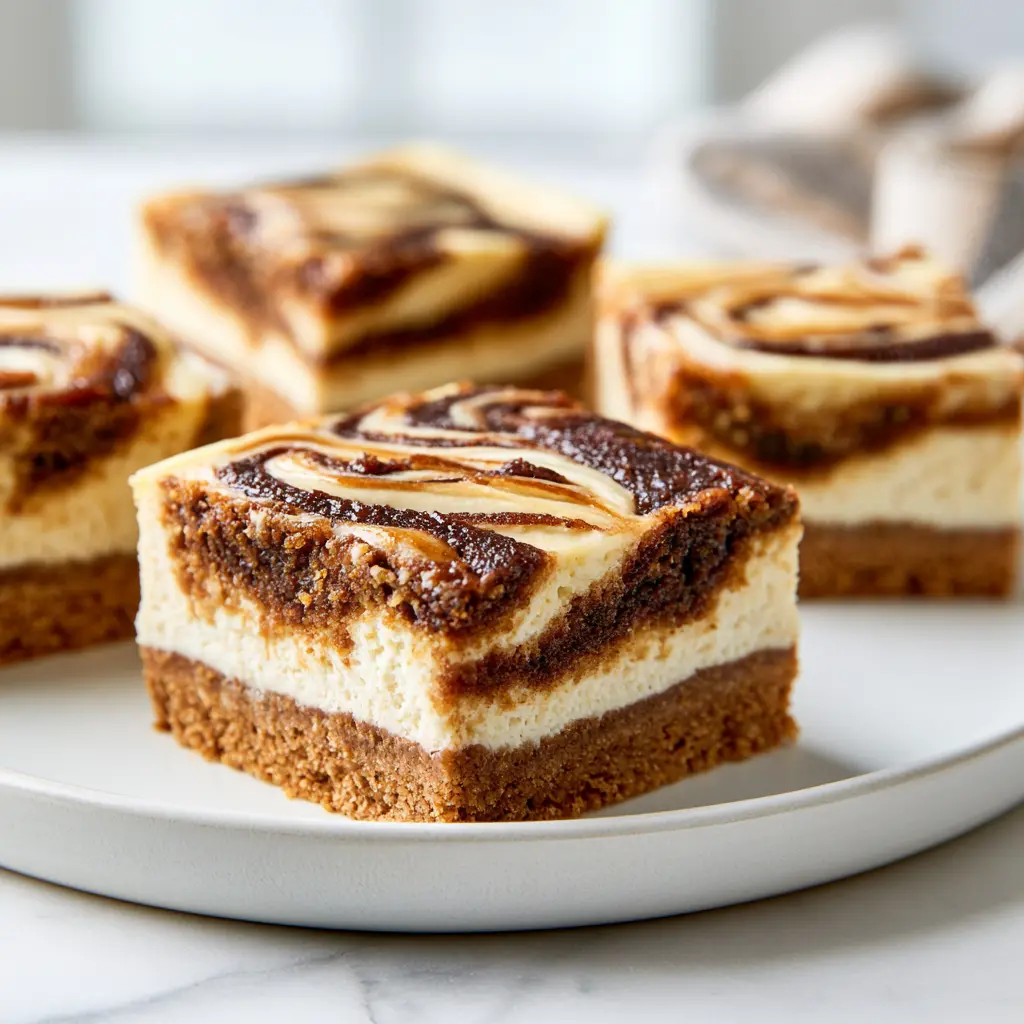
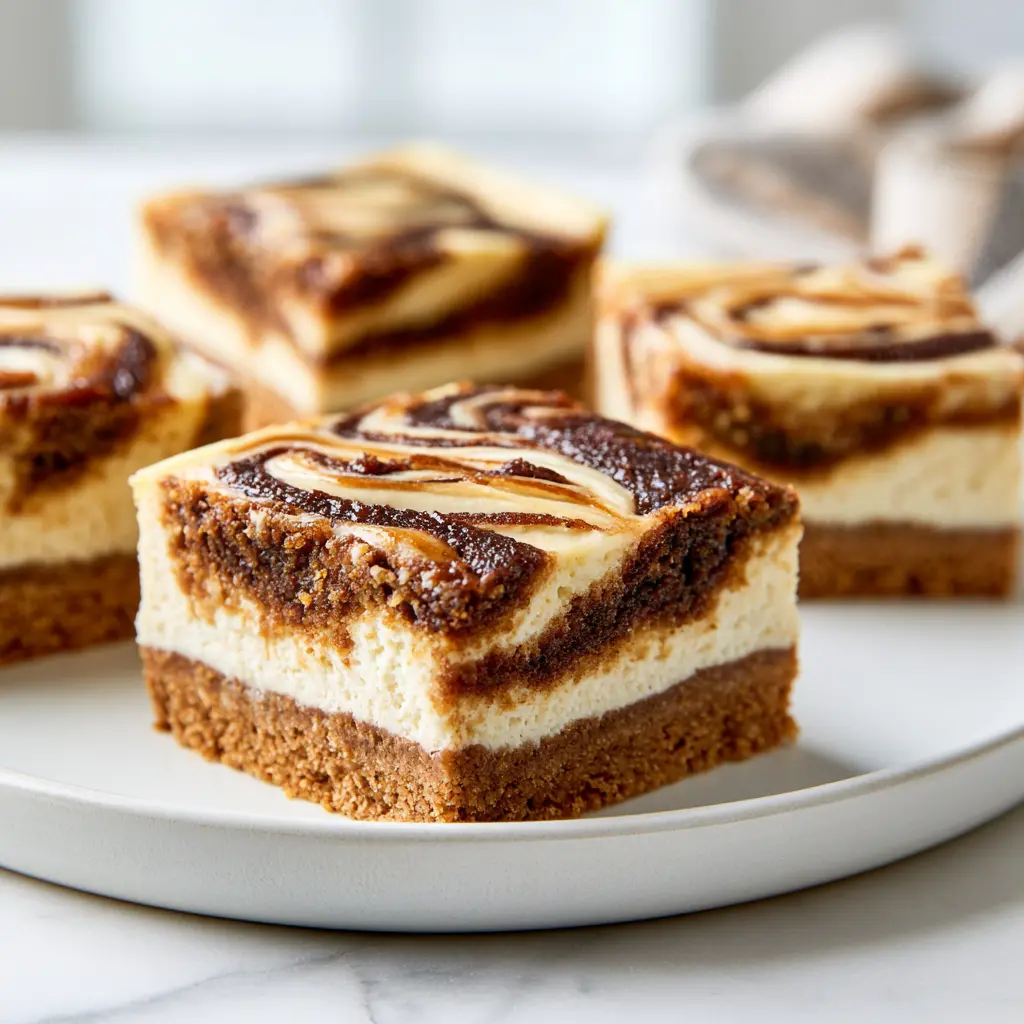
Easy Gingerbread Cheesecake Bars with Spiced Molasses Crust
Ingredients
Method
- Preheat oven to 325°F (163°C). Line a 9x9-inch baking pan with parchment paper, leaving a 2-inch overhang on two opposite sides. Grease lightly with butter or nonstick spray.
- In a medium bowl, whisk graham cracker crumbs, 1/4 cup sugar, 1/2 teaspoon ginger, 1/2 teaspoon cinnamon, 1/4 teaspoon cloves, and salt.
- In a small bowl, stir the melted butter and 2 tablespoons molasses together. Pour over the dry crumb mixture and toss with a fork until evenly moistened and looks like wet sand. Press firmly into the prepared pan using a flat-bottomed measuring cup.
- Bake the crust for 10 minutes. Set it aside to cool slightly while you make the filling.
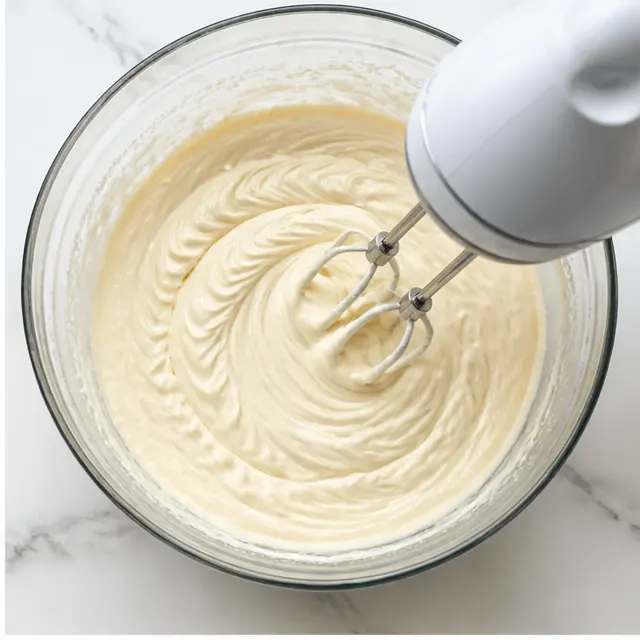
- In a large bowl, beat the softened cream cheese with an electric mixer on medium speed until smooth, about 2 minutes. Scrape down the sides, add 1/2 cup sugar, and beat for 1 minute until light and fluffy.
- Add the eggs one at a time, beating on low after each addition just until incorporated. Mix in the vanilla and sour cream on low until combined. Gently fold in the flour with a spatula until no white streaks remain.
- In a small bowl, whisk together 2 tablespoons molasses, 1/2 teaspoon ginger, 1/4 teaspoon cinnamon, and a pinch of nutmeg.
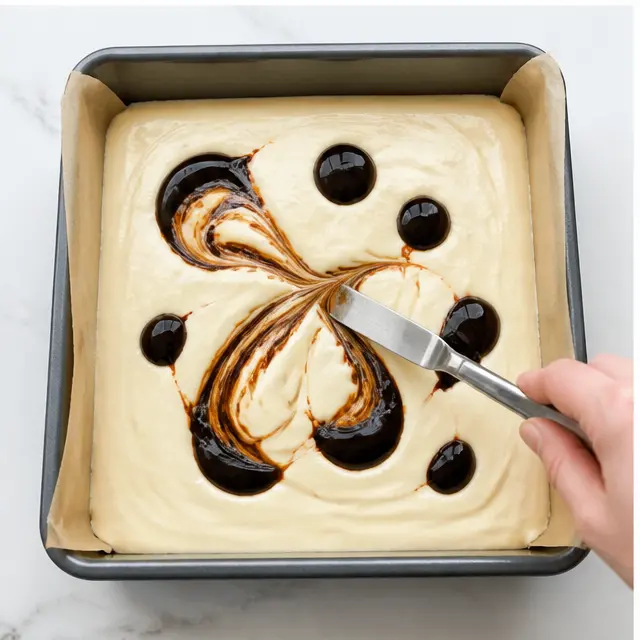
- Pour the cheesecake filling over the crust and spread it evenly. Drop small spoonfuls of the molasses mixture on top, then gently swirl through with a knife or toothpick in 5 to 6 figure-eight motions.
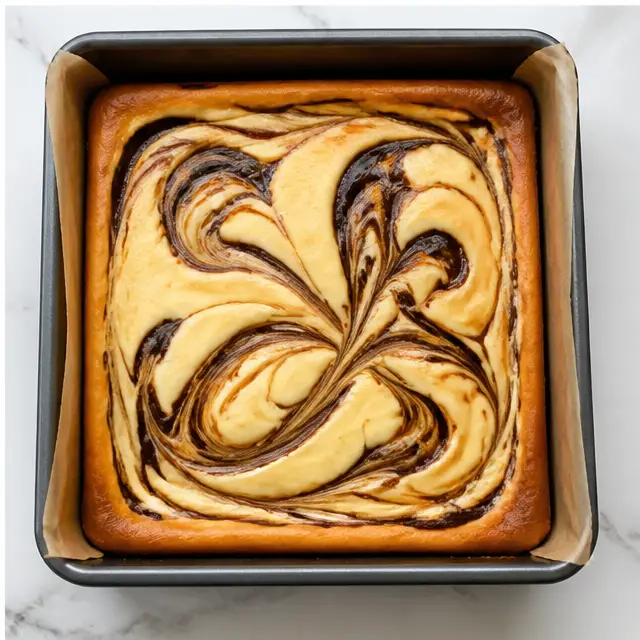
- Bake for 35 to 40 minutes, until the edges are set and the center jiggles slightly when the pan is gently shaken. Turn off the oven, crack the door open, and let the bars rest inside for 10 minutes.
- Remove the pan from the oven and cool completely on a wire rack, about 1 hour. Cover with plastic wrap and refrigerate for at least 4 hours, preferably overnight.
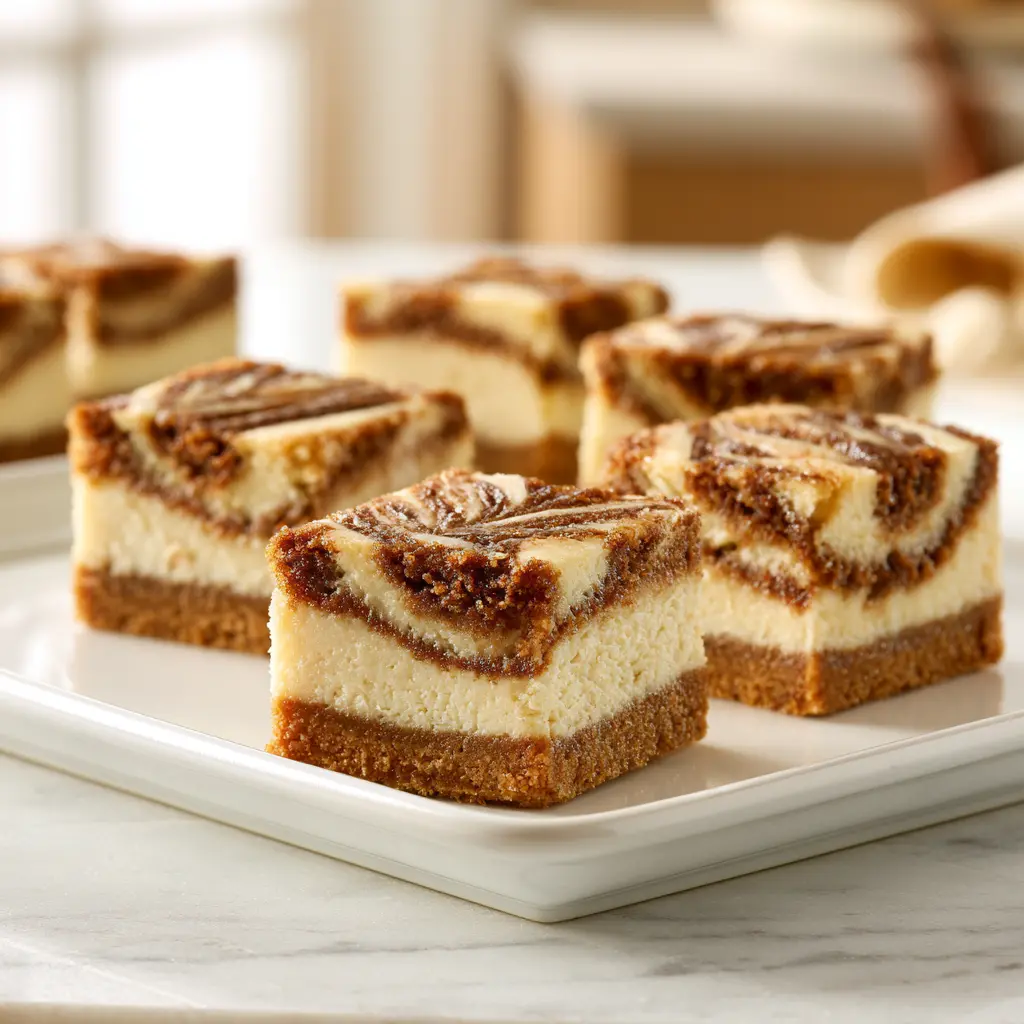
- Lift the chilled slab out using the parchment overhang. Transfer to a cutting board and slice into 16 squares (4 by 4) with a sharp knife, wiping the blade clean between cuts.
Nutrition
Notes
Tried this recipe?
Let us know how it was!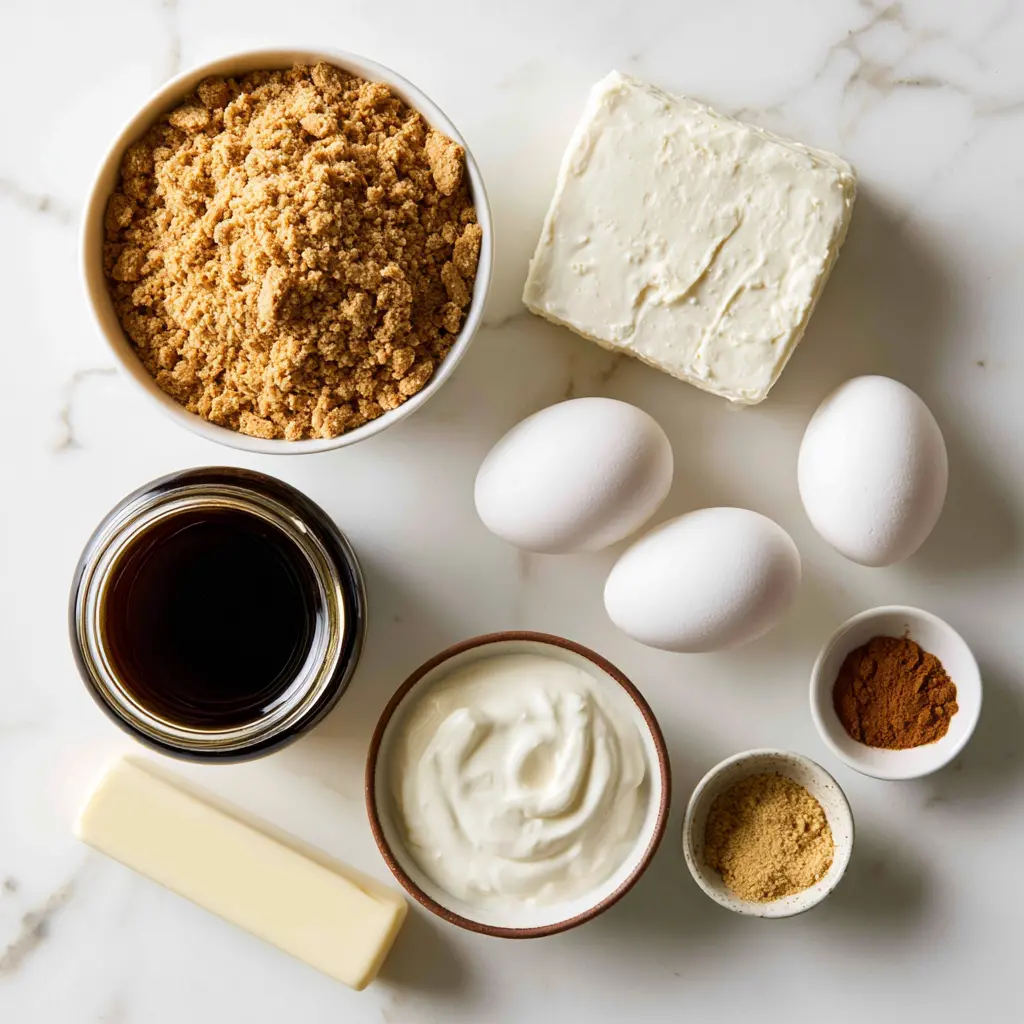
Why You’ll Love These Gingerbread Cheesecake Bars
I used to be genuinely scared of cheesecake. Like, hold-my-breath-while-I-peek-through-the-oven-door scared. Every crack felt personal. Every sunken center felt like a verdict on my baking identity.
Then I discovered cheesecake bars. And honestly? They changed everything. These gingerbread cheesecake bars are the easiest cheesecake you’ll ever make. Maybe the easiest cheesecake, period. No water bath, no springform pan, no 3 a.m. worry spiral about whether the center set.
Here’s why they work so well:
- They’re forgiving. Bars don’t demand the same perfection as a tall round cheesecake.
- They’re make-ahead magic. Bake today, serve this weekend, they actually get better.
- They slice cleanly. 16 neat squares, no crumbling, no drama.
It might be warm where you are right now. It’s definitely warm here in Los Angeles. But that’s low-key the charm of this dessert. You bake for 40 minutes in the cool morning, then the fridge does the rest. By afternoon, you’re pulling out a pan of cold, velvety, molasses-spiced squares that smell like a gingerbread candle and taste like the holidays. In the middle of summer. It’s a beautiful kind of chaos.
If you’ve been hunting for a holiday dessert that doesn’t demand a rolling pin or a springform pan, this is your sign.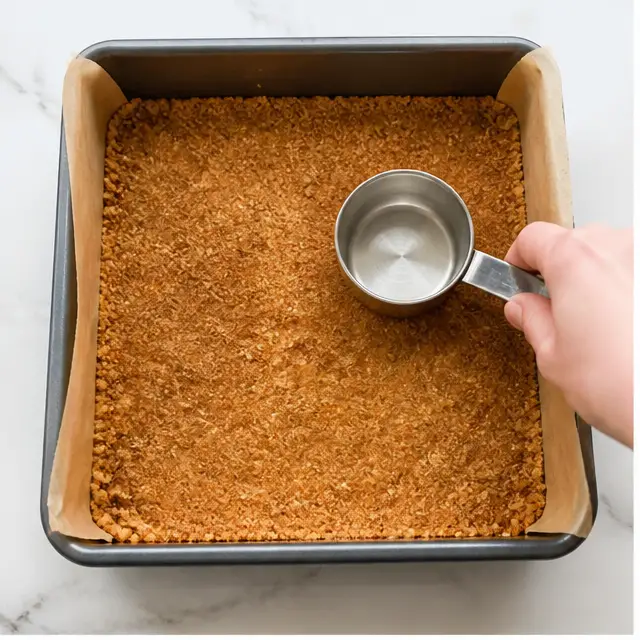
Ingredients That Actually Matter
Before you dive in, let’s talk about the three ingredients that can make or break these bars. I tested this recipe more times than I’d like to admit, and these three are non-negotiable:
Full-Fat Cream Cheese
I know, I know. Light cream cheese feels like the responsible choice on paper. But light cream cheese has more water in it, and water is the enemy of a set cheesecake filling. You’ll end up with bars that bake up soft, refuse to slice cleanly, and generally disappoint. Use the full-fat bricks. Your future self, cutting perfect squares at 9 p.m., will thank you.
Unsulfured Molasses (Not Blackstrap)
This one caught me off guard the first time I made these. Blackstrap molasses sounds like the serious, “real” version, right? But it’s thicker, darker, and dramatically more bitter than regular unsulfured molasses. It will throw off both the texture and the flavor of your bars. Look for “unsulfured” or “original” molasses the kind that pours easily and tastes sweet with a faint, pleasant bitterness.
Gingersnap Cookies
For the crust, you want crisp gingersnaps, not the soft bakery-style cookies. The snap matters. Finely crushed, they give you that buttery, spiced crunch that contrasts with the silky cheesecake layer. If you absolutely can’t find gingersnaps, graham crackers work in a pinch, but you’ll lose some of that gingerbread magic.
How to Make Gingerbread Cheesecake Bars
The full printable recipe is in the recipe card above, but here’s the mental model I use every single time:
- Press the crust. Finely crushed gingersnaps mixed with melted butter and a little sugar, pressed firmly into a parchment-lined 9×9 pan. Bake it briefly so it sets.
- Beat the filling low and slow. Room-temperature cream cheese, sugar, molasses, warm spices, eggs, and sour cream mixed just until smooth. Overbeating adds air, and air leads to cracks.
- Bake until the edges are set and the center jiggles. That jiggle is not a mistake. It’s the cheesecake equivalent of al dente.
- Cool slowly, then chill overnight. Patience is genuinely the hardest ingredient in this recipe.
Expert Tips for Perfect Gingerbread Cheesecake Bars
These are the tips that actually moved the needle during my testing. Not the generic “don’t overmix” advice the specific stuff that makes a visible difference.
- Room-temperature everything. Cream cheese, eggs, sour cream all of it. Cold ingredients create lumps, and lumps don’t bake out. Set everything on the counter about an hour before you start.
- Mix on low speed and stop early. As soon as the batter looks smooth, stop. Overmixing whips air into the filling, and that trapped air expands in the oven and causes cracks on top.
- Use the jiggle test. Pull the pan out when the edges look set but the center still has a gentle wobble, roughly the size of a silver dollar. It will continue to set as it cools.
- Tap the pan. Before baking, give the filled pan a few firm taps on the counter. It releases trapped air bubbles that can turn into little holes in the finished bars.
- Tent with foil if needed. If the crust is browning too fast, loosely tent a piece of foil over the pan for the last 10–15 minutes of baking.
- Use parchment, not foil. Line the pan with parchment paper, leaving overhang on two sides. Foil can tear when you lift the slab out, and torn foil means crumbled edges.
- Warm your knife. Run it under hot water, dry it off, and slice. Repeat between cuts. This gives you clean, bakery-style edges instead of smeared ones.
Pan Size Options
This recipe is written for a 9×9-inch pan, but you have options:
- 8×8 pan: Halve the recipe. The bars will be slightly thicker, so add a few minutes to the bake time and watch the jiggle test.
- 9×13 pan: Double the recipe. The bars will be slightly thinner and bake a little faster, so start checking at the lower end of the baking time.
Recipe Science: Why These Bars Work
Let’s get a little nerdy for a second, because understanding the why genuinely makes you a better baker.
The eggs are doing heavy lifting. Each egg acts as a binder, holding the filling together, while the yolks add richness through their fats. That’s why this recipe leans on multiple eggs they’re what transform cream cheese and sugar into a structure that actually slices.
The cream cheese needs to be full-fat. Light cream cheese contains more water and less fat. Water weakens the protein structure that sets during baking, leaving you with a filling that’s soft, weepy, or just plain runny. Full-fat cream cheese gives you that dense, velvety texture you’re chasing.
The molasses is doing double duty. Beyond flavor, molasses adds moisture and a subtle acidity that rounds out the sweetness. But the type matters. Blackstrap molasses is more concentrated, which makes it thicker and significantly more bitter, throwing off both the texture and the taste of the filling.
Variations and Substitutions
This recipe is more forgiving than a traditional cheesecake, and it’s easy to make it your own. A few of my favorites:
- Adjust the spices. Add an extra pinch of cinnamon for a warmer flavor, or go heavier on the ground ginger for a spicier kick. Nutmeg and cloves are welcome guests, too.
- Swap the crust. Graham crackers or digestive biscuits work beautifully if gingersnaps aren’t in your pantry. It shifts the flavor slightly, but the buttery crunch stays.
- Change the topping. Drizzle with caramel sauce, melted chocolate, or fresh berries. Or keep it classic with a dollop of whipped cream and a crumble of extra gingersnaps on top.
- Make it gluten-free. Use certified gluten-free gingersnap cookies for the crust. The filling ingredients are all naturally gluten-free, so that’s the only swap you need.
Make-Ahead & Freezing Guide
These bars are the ultimate make-ahead dessert, which is exactly what you want during the holidays. Here’s the full timeline, from bake day to serving day.
If you’re serving them this week:
Bake, cool completely on the counter, then refrigerate the pan uncovered for a few hours. Once fully chilled, cover the pan and keep it refrigerated. They’ll stay perfect for up to 5 days. Honestly, day 2 and day 3 are when the flavors really settle in and the texture hits its peak.
If you’re freezing them:
- Bake and cool the bars completely, leaving them in the pan.
- Chill in the fridge for at least 2 hours so they’re fully set.
- Lift the whole slab out using the parchment overhang.
- Wrap the slab tightly in plastic wrap, then again in aluminum foil, or place it in a freezer-safe container.
- Freeze for up to 2 months.
To thaw: transfer the wrapped slab to the refrigerator and let it thaw overnight. Don’t rush it on the counter condensation will make the texture soggy. Once thawed, slice and serve. Add whipped cream and any toppings just before serving so they stay fresh and pretty.
Storage & Shelf Life
Refrigerator: Store the bars in an airtight container in the fridge for up to 5 days. I like to layer a piece of parchment between stacked squares so they don’t stick together.
Freezer: Properly wrapped, these bars freeze beautifully for up to 2 months. Thaw overnight in the fridge, and never add toppings until you’re ready to serve.
Serving temperature: Here’s the nuance these bars are best served slightly chilled, not straight-from-the-fridge ice cold. Let them sit on the counter for 10–15 minutes before serving. The warm spices really open up as they approach room temperature.
Serving Suggestions
These bars were made for holiday tables, but they’re also sneaky good on a random Tuesday. Here’s how I like to serve them:
- On a holiday cookie plate. Cut them into smaller squares and arrange them alongside your cookies. They’re easy to grab, easy to snack on, and they vanish fast.
- With coffee or chai. The spices in these bars were basically designed for a gingerbread latte or a strong cup of chai. The pairing is pure comfort.
- Dressed up. Top with piped whipped cream, festive sprinkles, or a few little gingerbread men. If you’re feeling extra, a light drizzle of caramel sauce or molasses works wonders.
- Leftover style. Okay, unpopular opinion: cold, straight from the fridge, at 2 a.m. These bars do not judge.
Frequently Asked Questions
Do these bars freeze well?
Yes they’re genuinely one of the best freezing desserts I know. Wrap the fully chilled slab tightly in plastic wrap and foil, freeze for up to 2 months, and thaw overnight in the fridge.
Can I use light cream cheese instead of full-fat?
I really don’t recommend it. Light cream cheese has a higher water content, which can make the filling runny and stop it from setting properly. Full-fat is the way to go, every time.
Can I halve the recipe?
Absolutely. Halve every ingredient and bake it in an 8×8-inch pan instead of a 9×9. Start checking for doneness a few minutes early the thicker bars may need a touch more time.
Why not blackstrap molasses?
Blackstrap molasses is thicker and significantly more bitter than regular unsulfured molasses. It changes both the texture and the flavor of the bars, and not in a good way. Stick with regular unsulfured molasses, sometimes labeled “original” or “mild.”
Can I use aluminum foil instead of parchment paper?
Parchment is better here. Foil can tear when you lift the bars out of the pan, especially along the edges. Parchment with overhang gives you a clean, effortless lift every single time.
Why is the center jiggly when the bars are done?
That wobble in the center is exactly what you’re looking for. Cheesecake continues to set as it cools, so if you bake until the center is completely firm, you’ve overbaked and you’ll end up with dry, cracked bars. Trust the jiggle.
Can I use gingerbread cookies instead of gingersnaps for the crust?
You can, but look for crisp, crunchy gingerbread cookies rather than soft bakery-style ones. The crust needs that dry, snappy texture to hold together. If your gingerbread cookies are soft, bake the crust a little longer so it sets properly.
How long should the bars chill before slicing?
At least 4 hours, but overnight is best. The longer they chill, the cleaner your slices will be. Cutting too early is the #1 cause of cheesecake bar tears, and I say that from personal experience.
Why did my cheesecake crack on top?
Cracks are almost always caused by overmixing or overbaking. Overmixing whips air into the batter, and overbaking dries out the filling. Mix on low speed, stop when smooth, and pull the pan out while the center still jiggles.
Can I make these bars gluten-free?
Yes! Just swap the crust for certified gluten-free gingersnaps. The filling ingredients are all naturally gluten-free, so no other changes are needed.
Expert Notes & Data Insights
After testing this recipe more times than I’ll publicly admit and eating more test batches than I should have here’s what I want you to take away.
The most common failure point isn’t the baking. It’s the shortcuts. I tested a batch with cold cream cheese, a batch with light cream cheese, and a batch with blackstrap molasses. All three produced noticeably worse results. Cold cream cheese gave me lumpy batter. Light cream cheese gave me a filling that never fully firmed up. Blackstrap molasses turned the bars bitter and dense. But when I used room-temperature ingredients, full-fat cream cheese, and regular unsulfured molasses? Perfect bars, every single time. That’s not coincidence that’s the recipe working the way it was designed to.
The other big insight is that patience pays off. The difference between good bars and great bars is the overnight chill. When you bake, cool, and refrigerate overnight, the spices have time to meld, the texture firms up to that signature velvety density, and slicing becomes completely effortless. Bars made the same day are good. Bars made the day before are something else entirely.
And one more data point from my kitchen to yours: the corner pieces go first. Every time. If you want to be the hero of your holiday dessert table, maybe hide a corner square for yourself. You’ve earned it.
Happy baking and save me a slice.