
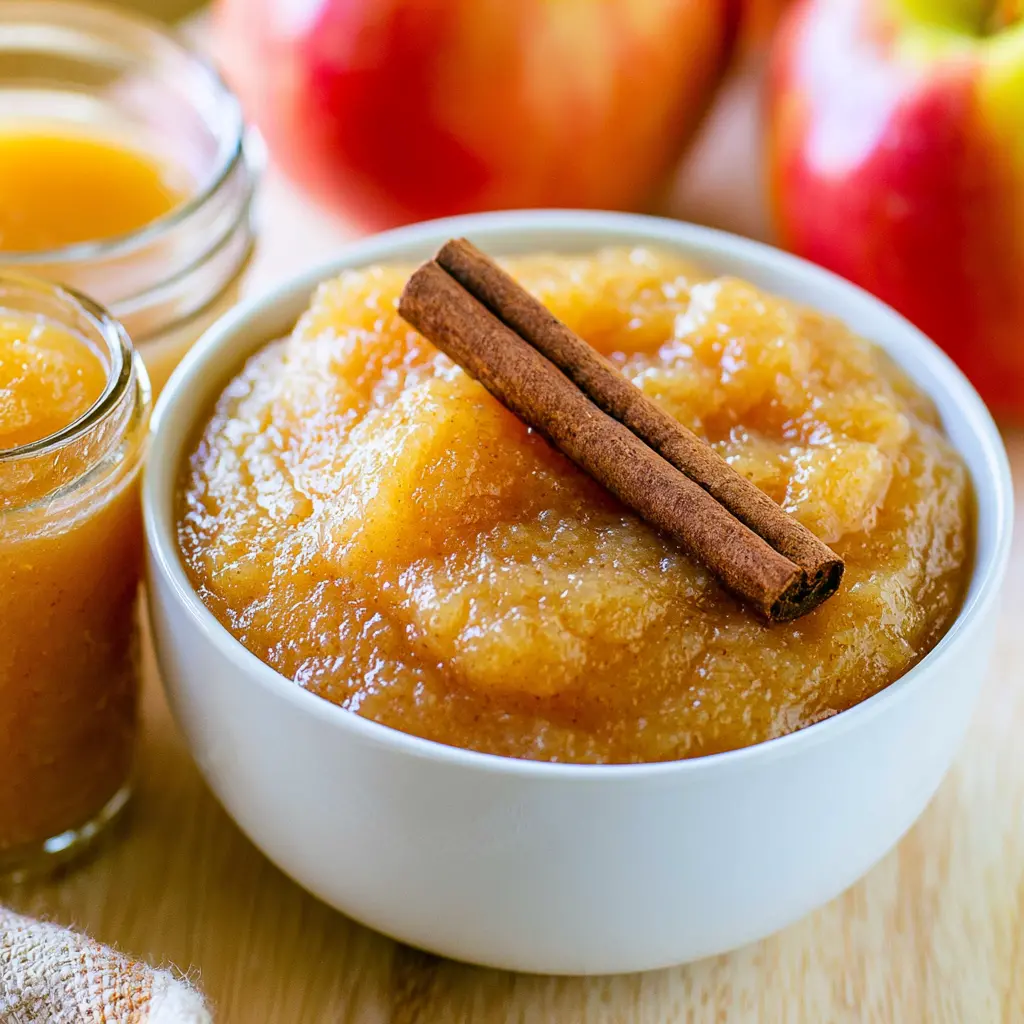
Why This Recipe Works
The smell of apples and cinnamon simmering on the stove is my childhood in a pot. My mom made stovetop applesauce every fall, and the whole house smelled like a pie filling that never quite made it into a crust. I’d stand by the stove with a wooden spoon, “helping,” which really meant taste-testing.
Now I make it for my own kids, and honestly? It’s the recipe I’m most proud of. Not because it’s fancy. Because it’s so simple that a Tuesday evening can suddenly feel like Saturday morning. You’ve got this. It’s basically boiled apples with a glow-up.
This stovetop applesauce recipe is the one I come back to every single week. Here’s why it wins over the jars in the grocery store aisle:
- One pot, about 35 minutes. No endless peeling marathons, no special equipment.
- Zero mystery ingredients. No corn syrup, no preservatives, no words I can’t pronounce.
- Naturally sweet. You decide if it needs sugar. Most batches don’t need any.
- Kid-approved and parent proud. It’s the lunchbox win that keeps on winning.
I bought store-bought applesauce for years, flipping the label over and feeling a little guilty every time. Then I made one batch of this and never looked back. It tastes like actual apples, not apple-flavored goo. The three essential ingredients here are apples, cinnamon, and lemon juice. Everything else is a bonus.
Best Apples for Applesauce
Quick answer? Honeycrisp, Fuji, and Gala are all fantastic choices for the best stovetop applesauce. They’re crisp, sweet, and break down beautifully. Which apples are best for applesauce really comes down to what’s fresh and affordable near you.
Here’s my honest take: any apple works. Tart varieties like Granny Smith just need a little extra time and maybe a touch more sweetener. If you’re using all tart and crisp apples, add 5 to 10 minutes to the simmer time. No big deal.
My favorite blend is half sweet and half tart. The sweet apples bring that honey-like flavor, the tart ones add a little backbone so the final sauce doesn’t taste flat. Something like:
- 3 Honeycrisp + 2 Granny Smith
- 2 Fuji + 2 Gala + 1 Pink Lady
- Any combo where at least half the apples are crisp and sweet
In August, early-harvest Galas start showing up at the Santa Monica farmers market, and Honeycrisps aren’t far behind. Grab them when they’re priced well. This is also the month when that bag of slightly bruised apples in your fruit bowl becomes a perfect candidate. They break down faster, which honestly makes for even better stovetop applesauce.
And about peeling: it’s optional. Skip it. The food mill does the work. Leave the skins on for extra color and fiber, simmer everything, then run it through a food mill afterward. That’s the no-peel applesauce shortcut that saves you a solid 15 minutes. If you want a pale, velvet-smooth sauce for a baby’s first foods, peel them first. Both paths lead to great applesauce.
Ingredients in Stovetop Applesauce
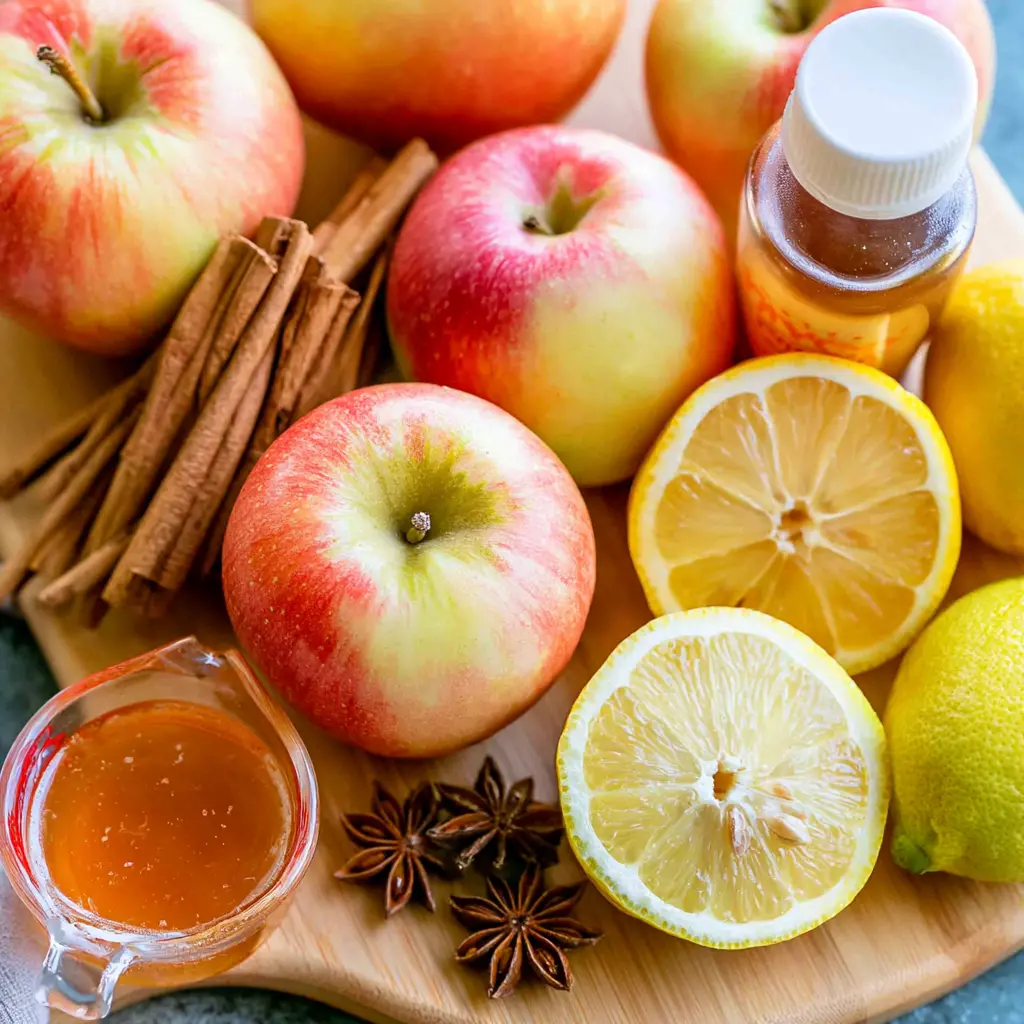
You need six things, and four of them are probably in your kitchen right now. These are the ingredients in this stovetop applesauce:
- 4 pounds crisp sweet apples (about 8 large). Honeycrisp, Fuji, or Gala are great choices.
- 1 cinnamon stick (3 inches), or 1/2 teaspoon ground cinnamon.
- 2 tablespoons fresh Meyer lemon juice. This prevents browning and brightens the apple flavor.
- 1 1/2 teaspoons vanilla extract. Adds that warm, cozy depth.
- 1 to 2 whole star anise, optional, but it brings a subtle aromatic quality that’s hard to place and easy to love.
- Brown sugar, honey, or maple syrup, to taste, only if the apples need it.
The lemon juice in applesauce does two quiet jobs. It keeps the sauce golden instead of brown, and it makes the apple flavor taste brighter, more like the fruit right off the tree. That’s the whole explanation, moving on. Orange juice or apple cider vinegar work as swaps in a pinch. (Meyer lemons are everywhere in California, so I use them constantly.)
A word on cinnamon: the stick is easier to fish out before blending, and it gives a gentler, more fragrant flavor. Ground cinnamon gives you a more assertive cinnamon applesauce with zero fuss. Use whatever you have, and use it confidently.
How to Make Stovetop Applesauce
The whole method, in four stages. No stress, no special equipment. Just a large heavy-bottomed pot, a wooden spoon, and about half an hour of your evening. Here’s how to make stovetop applesauce that tastes like it simmered all day.
Stage 1: Prep the Apples
Decide on peels first. Smooth and pale? Peel them. Fine with a little tint and extra fiber? Leave them on, the food mill will sort it out. Core each apple and cut it into large chunks or wedges. Big pieces are totally fine. They break down quickly in the pot.
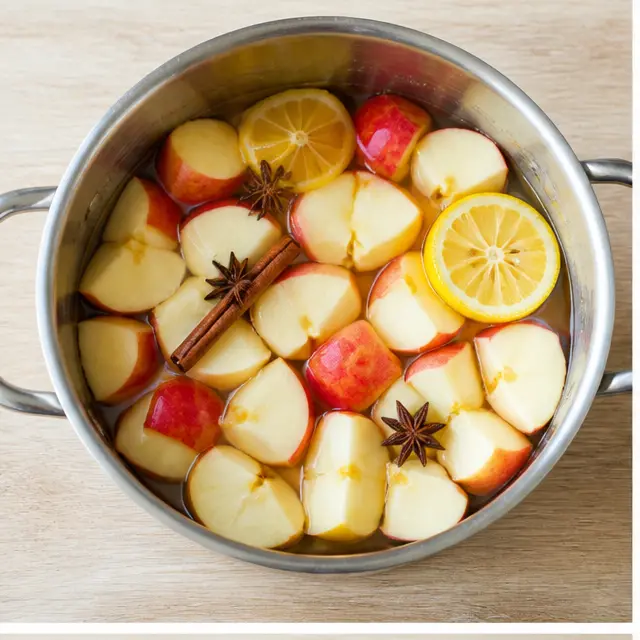
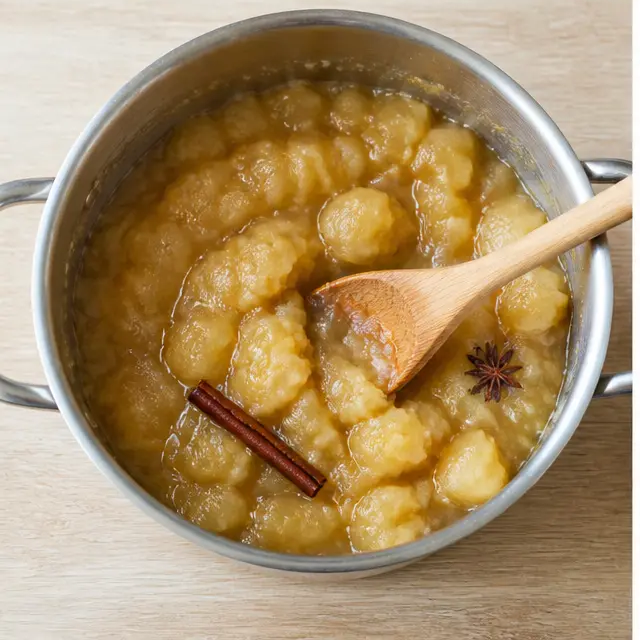
Combine the prepared apples, the cinnamon stick, lemon juice, vanilla extract, and star anise (if you’re using it) in a heavy-bottomed pot. Pour in 1/4 cup water and give everything a few gentle stirs. That’s it. The pot matters because it distributes heat evenly and keeps the bottom from scorching. The right pan does half the work for you.
Stage 2: Simmer Until Jammy
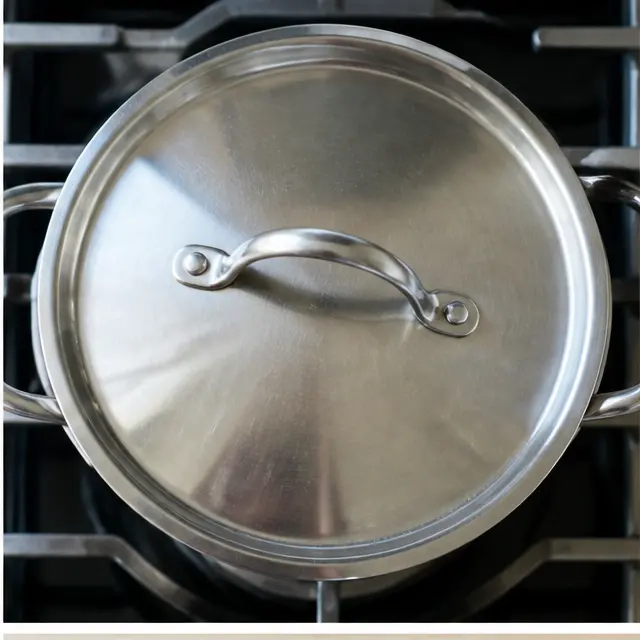
Cover the pot and cook over medium-low heat for 25 to 35 minutes. How long to simmer applesauce? Until the apples are completely tender and fall apart the moment you poke them with a spoon. That’s the doneness cue. The whole code phrase is “soft, jammy, no liquid pooling.” If you tilt the pot and watery juice rushes to the side, it’s not done yet.
Stir every now and then. Watch for dryness, especially in the first 10 minutes. If the pot looks dry before the apples have released their juices, add a splash more water and lower the heat slightly. The apples will do the rest. They’re mostly water, and they give it up willingly as they soften. This is the coziest stage, the one that fills your kitchen with that fall-in-August scent.
Stage 3: Taste and Sweeten
Take the lid off and let the fruit cool for a few minutes. Then taste it. This is the step people skip, and it’s the single biggest secret to great applesauce. Apples vary wildly in sweetness. One week your Galas are practically candy. The next, they’re tart and need help.
So taste first, then decide. If you want it sweeter, stir in your sweetener a little at a time, starting with 1 teaspoon, until it tastes right. Brown sugar, honey, or maple syrup all work beautifully here.
- Never add sweetener at the beginning. You might not need any.
- Remember the sauce thickens as it cools. Loose sauce now means jammy sauce later.
- When in doubt, under-sweeten. You can always add more, but you can’t take it out.
Stage 4: Mash, Blend, or Keep It Chunky
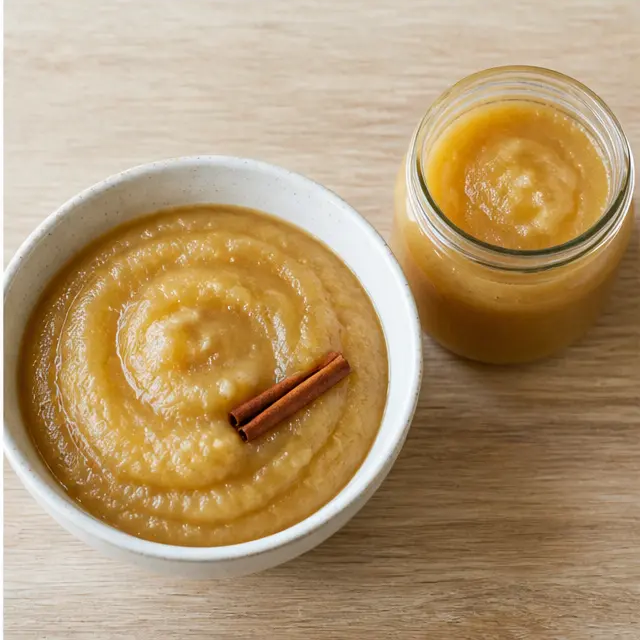
This is where you set the texture. A potato masher gives you chunky applesauce with real bite, perfect for spooning over pancakes. A blender or food processor turns it silky and smooth. Can you just blend raw apples? Sure, but you’ll get a smoothie, not applesauce. The simmering is what develops that jammy, concentrated goodness.
If you cooked the apples with the skins on, run the sauce through a food mill fitted with the medium disk, or press it through a mesh strainer. The food mill is honestly magic. It removes the skins and leaves a velvety sauce that tastes like it took twice as long.
The one thing to avoid? Overprocessing. A food processor can turn applesauce from fluffy to soupy in about four seconds. Pulse in short bursts and check between each one. And if the sauce seems too thin after blending, pour it back into the pot and simmer gently until it reduces and thickens. That’s also how to thicken applesauce when the apples were extra juicy.
Applesauce Tips (From Someone Who’s Burned a Batch)
I have a confession. The first time I made this stovetop applesauce, I wandered off to fold laundry and came back to a pot that smelled less like fall and more like regret. The bottom was scorched, the kids were wailing, and I learned my one big lesson. Set a timer. Stir often. Do not trust your “I’ll remember” brain. That failure taught me everything I’m about to share.
Beyond that, these are the tips I actually use every single batch:
- Set a timer for every 10 minutes. Even if you’re staying in the kitchen, it keeps you honest.
- Use a heavy-bottomed pot. Even heat, no scorching. This recipe depends on it.
- Taste before you sweeten. Every batch of apples is different. Trust your mouth.
- Don’t overprocess for smooth. Pulse in short bursts, check, pulse again.
- Tart apples need more time. Granny Smith and other firm tart varieties want an extra 5 to 10 minutes and possibly a little sweetener at the end.
- Skip the fancy gadgets. An apple peeler corer is nice if you have one, but a knife and cutting board work perfectly. Save the money. A budget-friendly batch uses whatever apples are on sale that week.
Here are the common mistakes, solved:
❌ Adding too much water at the start. Apples release their own liquid, so 1/4 cup is plenty.
✅ Start with 1/4 cup, add small splashes only if the pot looks dry.
❌ Leaving the lid on the whole time and wondering why it’s watery.
✅ Take the lid off at the end so excess moisture can escape. This is also the fix for thin sauce.
❌ Burning it because you walked away.
✅ Timer, wooden spoon, and medium-low heat. Consider the timer a non-negotiable appointment.
❌ Cooking tart apples without adjusting.
✅ Add 5 to 10 extra minutes and plan to sweeten to taste at the end.
Variations
The base stovetop applesauce is perfect on its own, but it’s also a blank canvas that loves a little creativity. These add-ins are all optional, so don’t feel pressured. Here are my favorite ways to change it up:
- Spiced applesauce: Add a pinch of nutmeg, allspice, cardamom, cloves, or ginger while it simmers. A mere 1/8 teaspoon of cardamom brings this warm, almost floral depth that’ll have everyone guessing.
- Cinnamon-forward: Use 2 to 3 cinnamon sticks or 3/4 teaspoon ground cinnamon for a bolder cinnamon applesauce. This is the version that makes your kitchen smell like a bakery.
- Pure and simple: Skip the cinnamon, vanilla, and star anise entirely for a clean, unadorned apple flavor. Perfect for babies and for anyone who wants the straight truth of the fruit.
- Apple cider instead of water: Swap the 1/4 cup water for fresh-pressed apple cider to double down on apple flavor. Same effort, twice the apple.
- Swap the sweetener: White sugar, brown sugar, honey, or maple syrup all work. Honey adds a floral note, maple brings a woodsy caramel thing, brown sugar goes full molasses warmth.
The unsweetened version is naturally sugar-free applesauce, ideal for babies starting solids, for the BRAT diet after a stomach bug, and for anyone watching their sugar intake. No added anything. Just fruit and a little lemon to keep it pretty.
Storage, Freezing, and Serving Suggestions
Storing homemade applesauce is as easy as cooking it. Cool the sauce completely, then spoon it into airtight containers or jars. It keeps in the refrigerator for about a week, which is plenty of time to work through a batch with waffle mornings and lunchboxes in the mix. This is where meal prep really shines: make a double batch on Sunday and you’ve got snacks for the whole week.
Freezing applesauce works beautifully too, for up to 3 months. Use freezer-safe jars or bags, leave a little headroom for expansion, and thaw overnight in the fridge. I like to freeze single-serving portions in small containers so the kids can grab one for their lunchbox snack without any last-minute fuss. Frozen and thawed applesauce tastes basically identical to fresh, so batch cooking is never a bad idea.
Canning applesauce is an option if you want pantry shelves full of fall. You can water-bath can this exact recipe. Fill sterilized jars with hot sauce, leave 1/2-inch headspace, and process pints for 20 minutes in a boiling water bath. That’s the short version. Grab a reliable canning guide and follow its safety steps exactly. For most home cooks, though, the freezer is easier and just as rewarding.
How to serve it:
- Warm over pancakes, waffles, French toast, or oatmeal
- Swirled into yogurt or cottage cheese for a quick breakfast
- Chilled alongside roast chicken or grilled chicken
- Spooned into muffin, cake, or quick bread batter as a baking substitute for oil or butter
- Straight from the jar with a spoon. No judgement. I do it all the time.
Seriously, if you bake, try swapping applesauce for oil in your next muffin recipe. It cuts the fat, adds moisture, and makes the muffin taste faintly of fall. It’s one of my favorite hidden tricks.
The Bottom Line
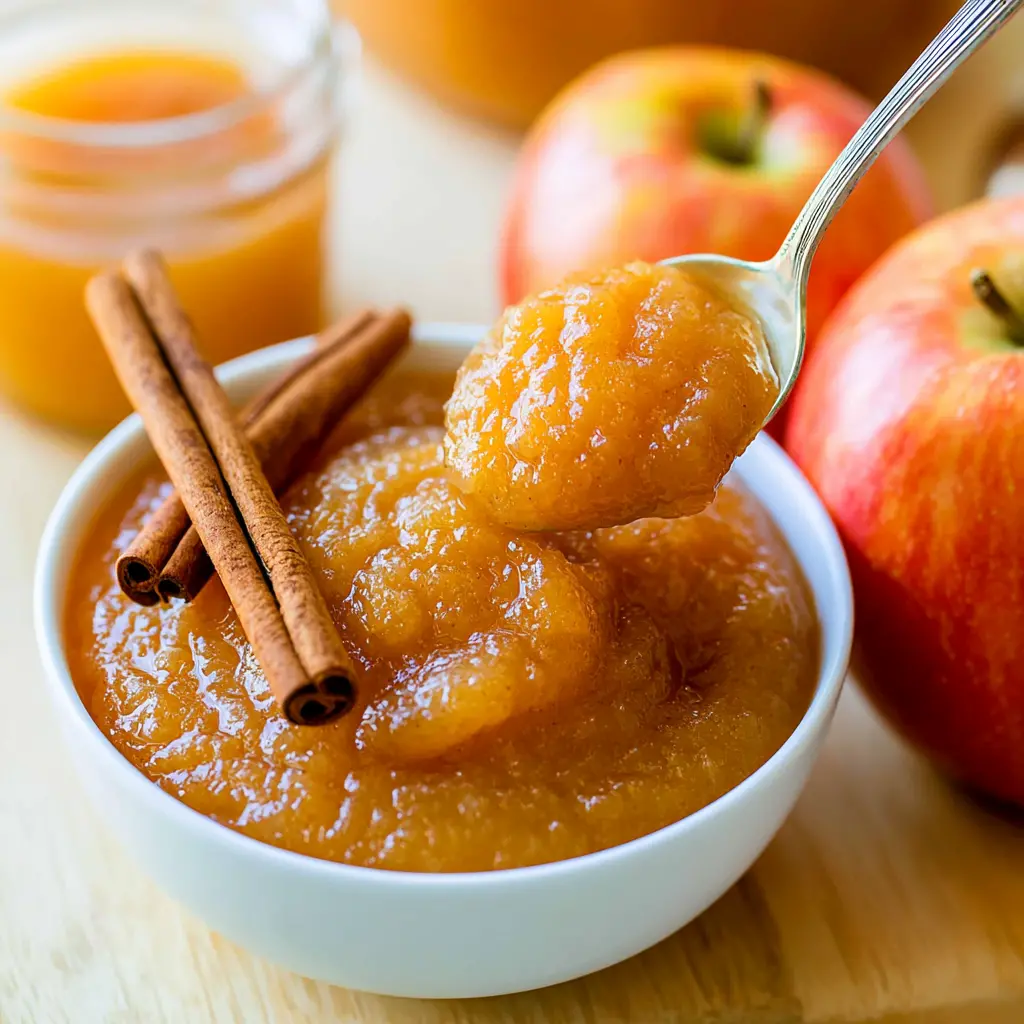
Making stovetop applesauce is one of those small kitchen wins that never gets old. Twenty-five minutes, one pot, and suddenly you’re the kind of person with a jar of golden, naturally sweet applesauce sitting in the fridge. The quiet pride of opening your own jar is real. I feel it every single time.
When you crack open your own jar next week, you’ll never go back to the store-bought plastic cups. The smell alone, cinnamon and vanilla and warm apples, will make it worth it. Every time. And you’ll be the person who made that, which honestly feels amazing.
If you’re ready to try it, save this stovetop applesauce recipe to your Pinterest board now, so it’s waiting for you when those early apples show up at the farmers market. You’ll thank yourself in a couple of weeks. Go grab some Gala apples and get cooking. You’ve got this.
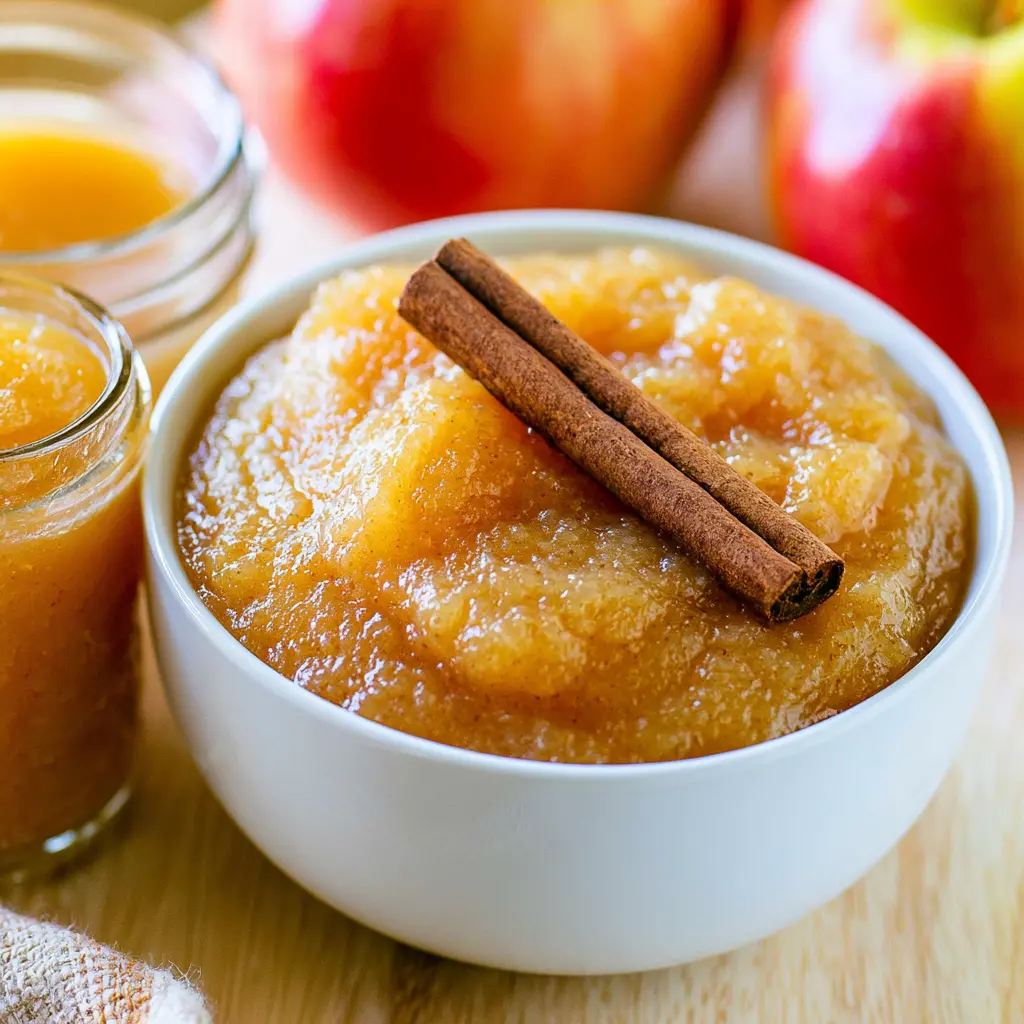
Classic Stovetop Applesauce with Cinnamon and Vanilla
Ingredients
Method
- If you prefer a smoother sauce without skins, peel the apples first. Core each apple and cut it into large chunks or wedges.
- Combine the prepared apples, cinnamon stick, lemon juice, vanilla extract, and star anise (if using) in a large heavy-bottomed pot. Pour in 1/4 cup water and give everything a few gentle stirs.
- Cover the pot and cook over medium-low heat, stirring from time to time, until the apples are completely tender and easily fall apart, 25 to 35 minutes. Watch for dryness; if the pot looks dry, add a splash more water and lower the heat slightly.
- Take off the lid, let the fruit cool for a few minutes, then taste. If you want a sweeter sauce, stir in your sweetener a little at a time, starting with 1 teaspoon, until it tastes right.
- Mash or blend the apples until they reach the consistency you like. If you cooked the apples with the peel on, run the sauce through a food mill fitted with the medium disk to remove the skins, or press it through a mesh strainer.
- Keep in mind that the sauce thickens as it cools. If it seems too thin, pour it back into the pot and simmer gently until it reduces and thickens.
Nutrition
Notes
Tried this recipe?
Let us know how it was!Frequently Asked Questions
Source: Learn More About This Dish













3 responses to “How to Make Stovetop Applesauce in One Pot”
Could I make this in a slow cooker instead of on the stove? Also, if I don’t have a food mill, is peeling the apples the best way to get a smooth texture? I want to try this with my daughter this weekend.
Yes, a slow cooker works great! Just cook on low for 4-5 hours until the apples are very soft. And if you don’t have a food mill, I’d recommend peeling the apples before cooking for the smoothest result without any extra steps.
I made this with Honeycrisp apples from our local orchard and it turned out incredible! The house smelled like fall for hours. I didn’t add any sweetener and it was perfectly sweet for us. My kids asked for it on their oatmeal the next morning!