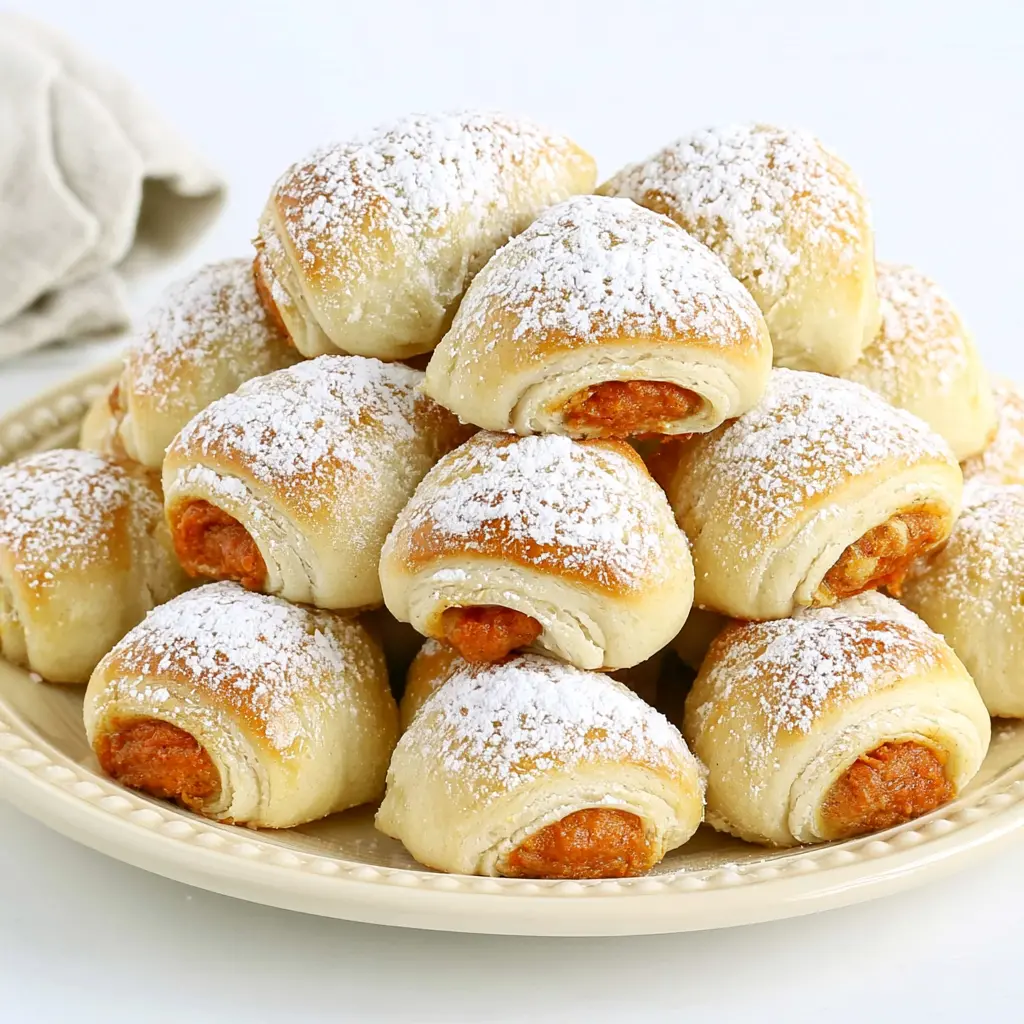
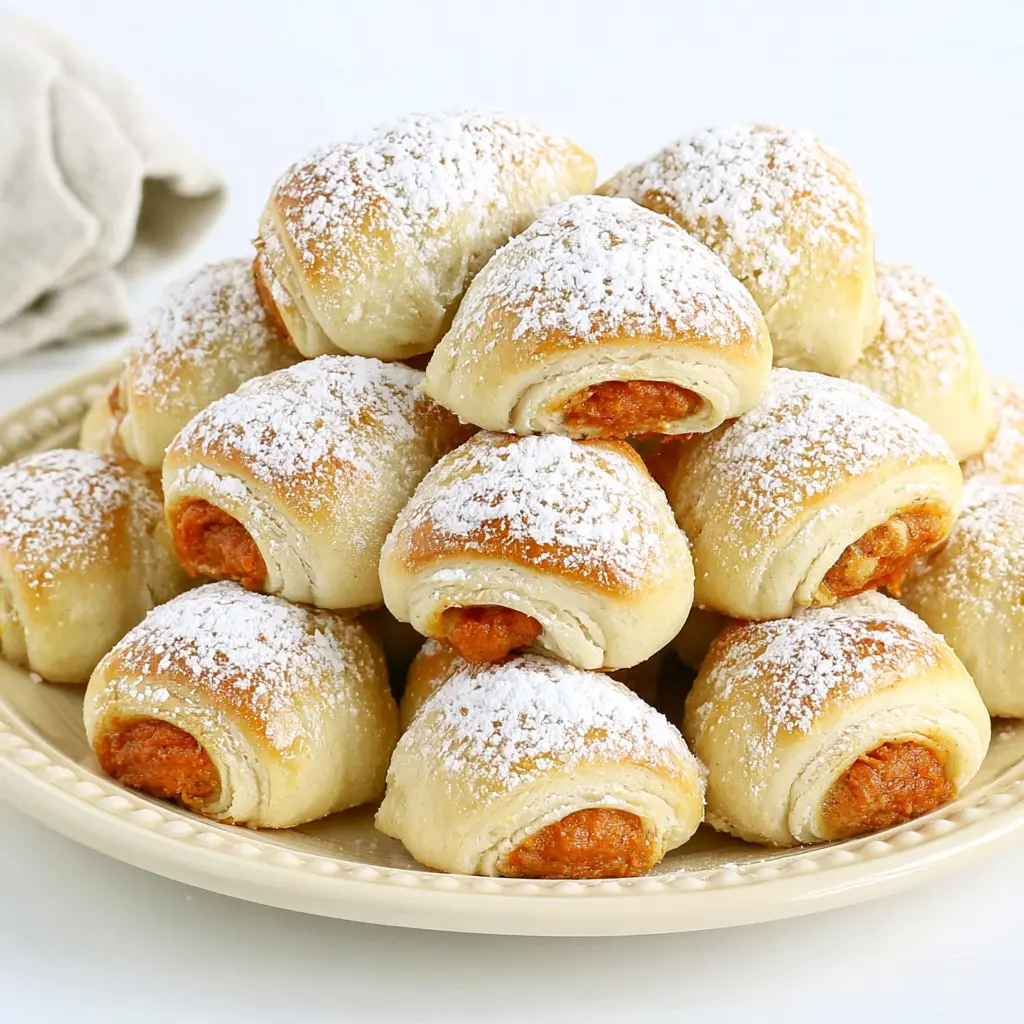
Mini Pumpkin Roll Crescent Bites
Ingredients
Method
- Heat your oven to 375°F and line a baking sheet with parchment paper.
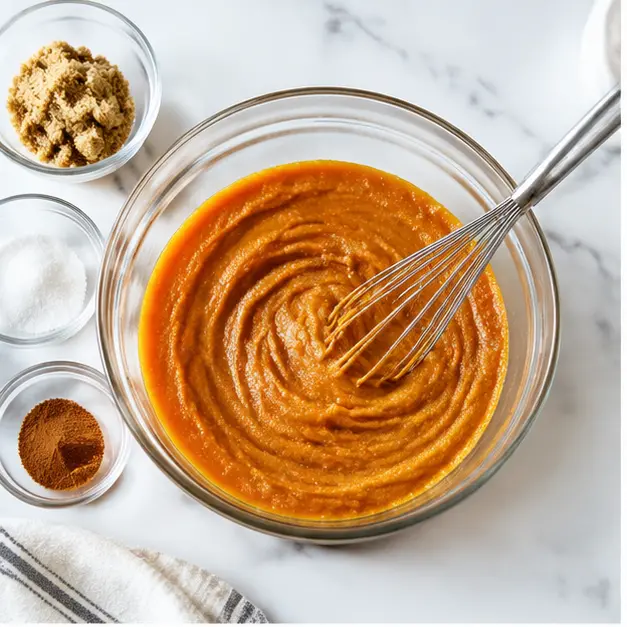
- Whisk together the pumpkin puree, granulated sugar, brown sugar, pumpkin pie spice, and vanilla in a mixing bowl until smooth, then beat in the egg yolks.
- Unroll the crescent dough onto the prepared sheet and press the perforations to separate the triangles. Slice each triangle lengthwise down the middle to create two smaller triangles. (If using crescent dough sheet, cut it into triangles about 2 to 2½ inches wide and 9 to 10 inches long.)
- Spoon about 1 tablespoon of the pumpkin filling onto each dough triangle and spread it evenly.
- Starting from the wider end, roll each triangle gently into a crescent shape and set them on the baking sheet at least 2½ inches apart.
- Bake for 10 to 12 minutes, until the rolls are puffed and golden brown. Serve warm, dusted with powdered sugar if you like.
Nutrition
Notes
Tried this recipe?
Let us know how it was!Why This Pumpkin Roll Recipe Works
It looked like a construction zone. Cracks running in every direction, filling escaping through the seams. Tasted amazing. Looked tragic.
That was my first attempt at a classic pumpkin roll. You know the one. The cake in a jelly roll pan, the kitchen towel, the terrifying moment when you roll it up and pray it doesn’t split. I’ve been there. And if you’re here because your last pumpkin roll didn’t survive, I get it.
Here’s what I want you to know: this pumpkin roll recipe skips all of that drama. No jelly roll pan. No towel gymnastics. No crack-prone sponge. Instead, refrigerated crescent dough does the heavy lifting, and a velvety spiced pumpkin puree handles the flavor. The result is a tray of golden mini pumpkin roll bites that come out right, every single time.
This is the recipe that ended my cracking streak.
Three things make it work:
- One-bowl filling that comes together in under two minutes
- Crescent dough handling the structure, so there’s zero rolling technique involved
- A hot 375°F oven that puffs the rolls golden in about 12 minutes
From start to finish, you’re looking at 27 minutes. And the house smells like autumn the entire time.
Why This Pumpkin Roll Never Cracks
The classic pumpkin roll cracks when the cake overbakes or sets before it’s rolled. This version sidesteps the whole problem. Crescent dough is naturally flexible, so there’s no sponge to tear. The filling is baked into each roll, not spread on afterward. And the short bake time means nothing ever dries out.
Key Ingredients for Pumpkin Roll Bites
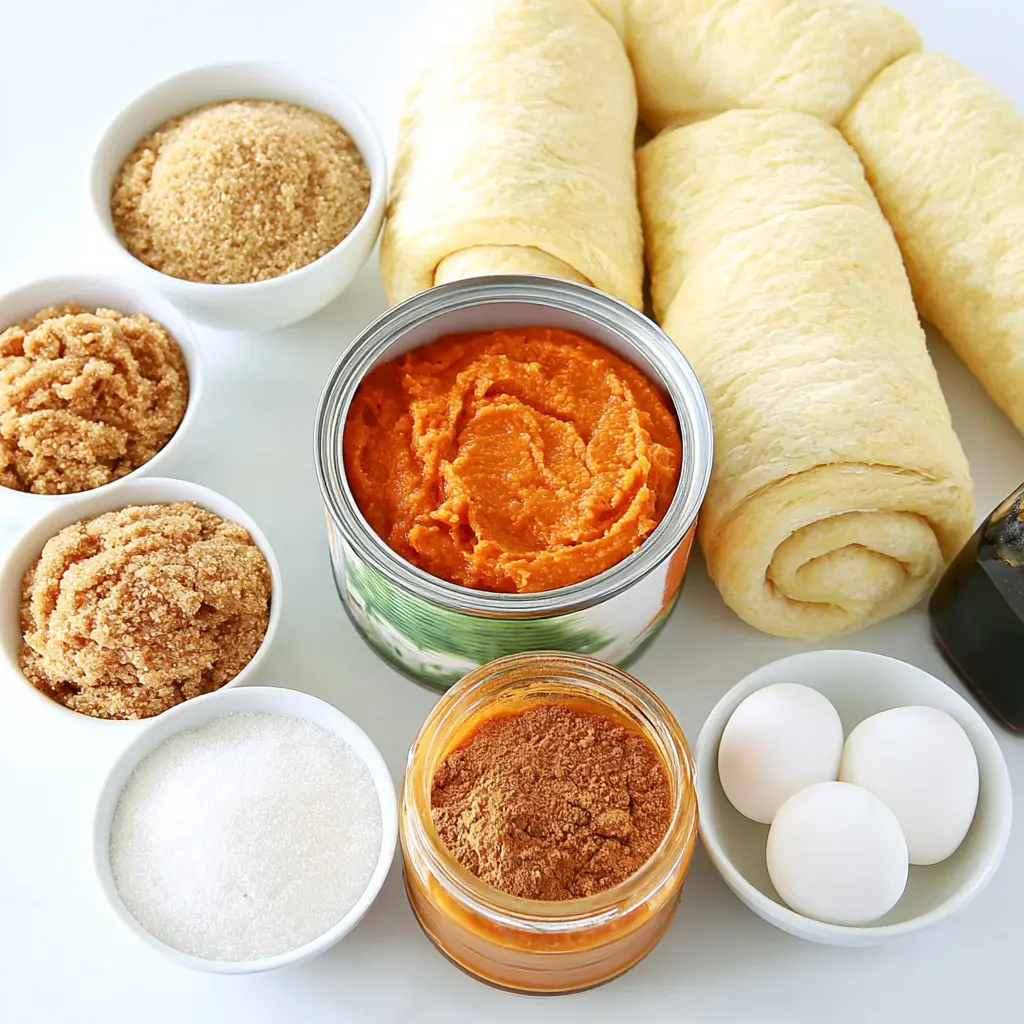
You only need seven ingredients, and most are probably in your pantry right now.
Refrigerated crescent roll dough. Two tubes. This is the shortcut that makes the whole recipe so manageable. Grab the cold dough near the biscuits. If you can find the sheet version without perforations, even better, though the classic triangle tubes work beautifully too.
Canned pumpkin puree. Check the label carefully. You want 100% pumpkin, not pumpkin pie filling. The pie filling already has sugar and spices mixed in, which throws off the entire balance. Plain pumpkin puree, every time.
Brown sugar and granulated sugar. Together they give the filling a deep, caramel-like sweetness with clean edges. Pack that brown sugar down, don’t scoop it loose.
Pumpkin pie spice. One to two tablespoons, depending on how bold you want it. This is your moment to customize. Love warm spice? Go full two tablespoons.
Egg yolks. Only the yolks. They add richness and help the filling set up without turning runny. The whites would loosen things too much, and loose filling leaks.
Vanilla extract. Just a teaspoon. It rounds out every other flavor.
Seven ingredients, and that’s the whole ticket.
How to Make Pumpkin Roll Crescent Bites
Let’s walk through the process, stage by stage. Four movements, like a little kitchen symphony.
Stage one: make the filling. Whisk the pumpkin puree, granulated sugar, brown sugar, pumpkin pie spice, and vanilla together until completely smooth. Then beat in the egg yolks. Give it a solid minute. The pumpkin roll filling should look glossy, a deep burnished orange, and it will smell like fall decided to move into your kitchen.
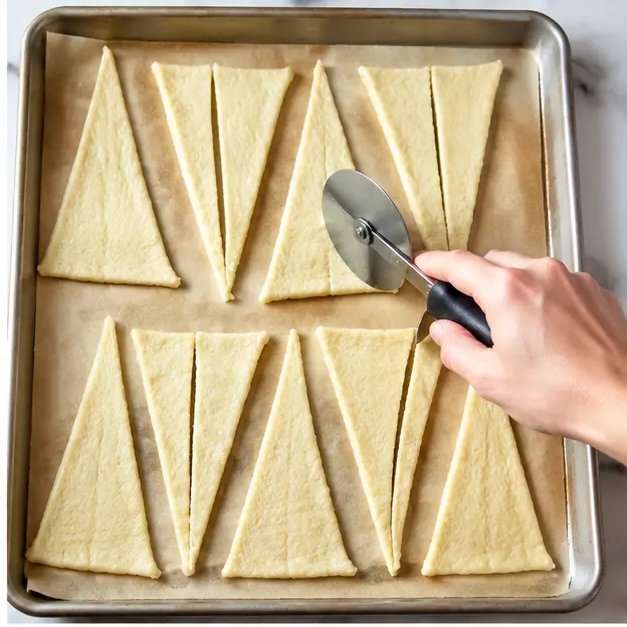
Stage two: prep the dough. Unroll the crescent dough onto a parchment-lined baking sheet and press along the perforations to separate the triangles. Cut each triangle lengthwise down the middle, creating two smaller triangles. A pizza cutter is the best tool here. One clean pass, and you don’t tear the dough the way a knife sometimes does.
If you’re using the crescent dough sheet, cut it into triangles about two to two and a half inches wide and nine to ten inches long. The smaller size is what makes these mini pumpkin roll bites so cute, and it helps them bake through quickly without burning.
cutter” />Set the cut triangles onto a parchment-lined baking sheet as you go, leaving a little breathing room between each one. They’ll puff up in the oven, and crowded dough steams instead of crisps. The triangles don’t need to look perfect. Imperfect edges bake up rustic and charming, which is part of the appeal here.
Stage three: fill and roll. This is the fun part. Drop a small spoonful of filling about a rounded teaspoon onto the wide end of each triangle. Here’s the most important thing I learned from my leaky batches: spread it thin and stop about a quarter-inch shy of the edges. The filling expands as it bakes. If you paint it all the way to the border, it will find its way out and pool on the pan.
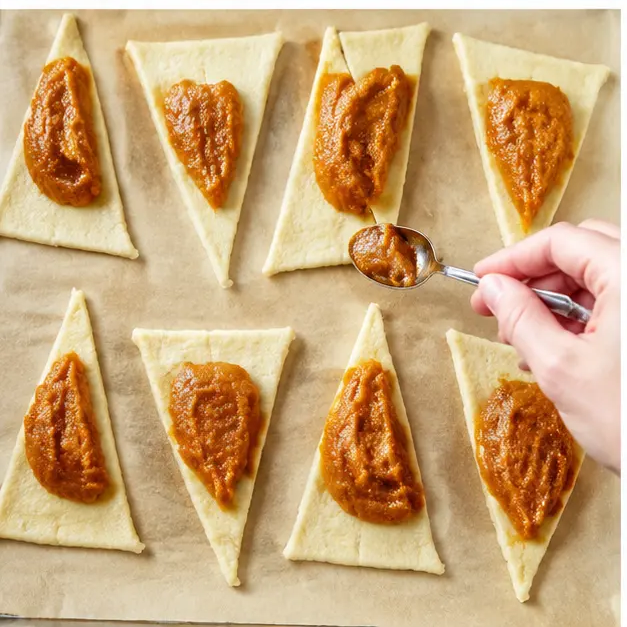
Roll from the wide end toward the point, just like you’re making a croissant. No piercing, no pressing too hard. Tuck the tip underneath the roll and set it seam-side down on the baking sheet. Space the pumpkin roll bites about an inch and a half apart. They grow in the oven, though not as much as you’d think.
Resist the urge to overfill. I tried the generous route once, and the filling oozed out during baking, scorched onto the parchment, and left the rolls pale and empty-feeling inside. A teaspoon is plenty. The filling is concentrated, so a little covers a lot of ground. If you’re using the larger sheet-cut triangles, use a heaping teaspoon instead; for the smaller ones, level it off.
Stage four: bake. Slide the sheet onto the middle rack of a preheated 375°F oven. Bake for 11 to 14 minutes, rotating the pan halfway through if your oven runs uneven. You’ll know the pumpkin roll crescent bites are done when the dough is puffed and deeply golden at the edges, and the filling looks set matte, not glossy-Wet.
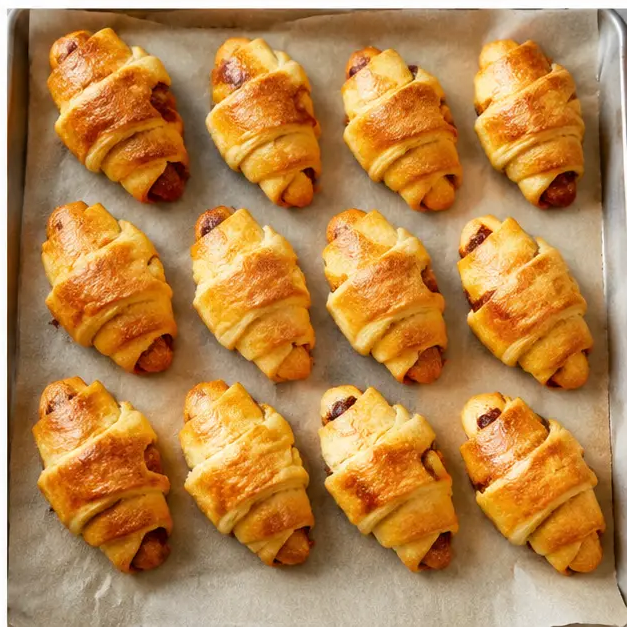
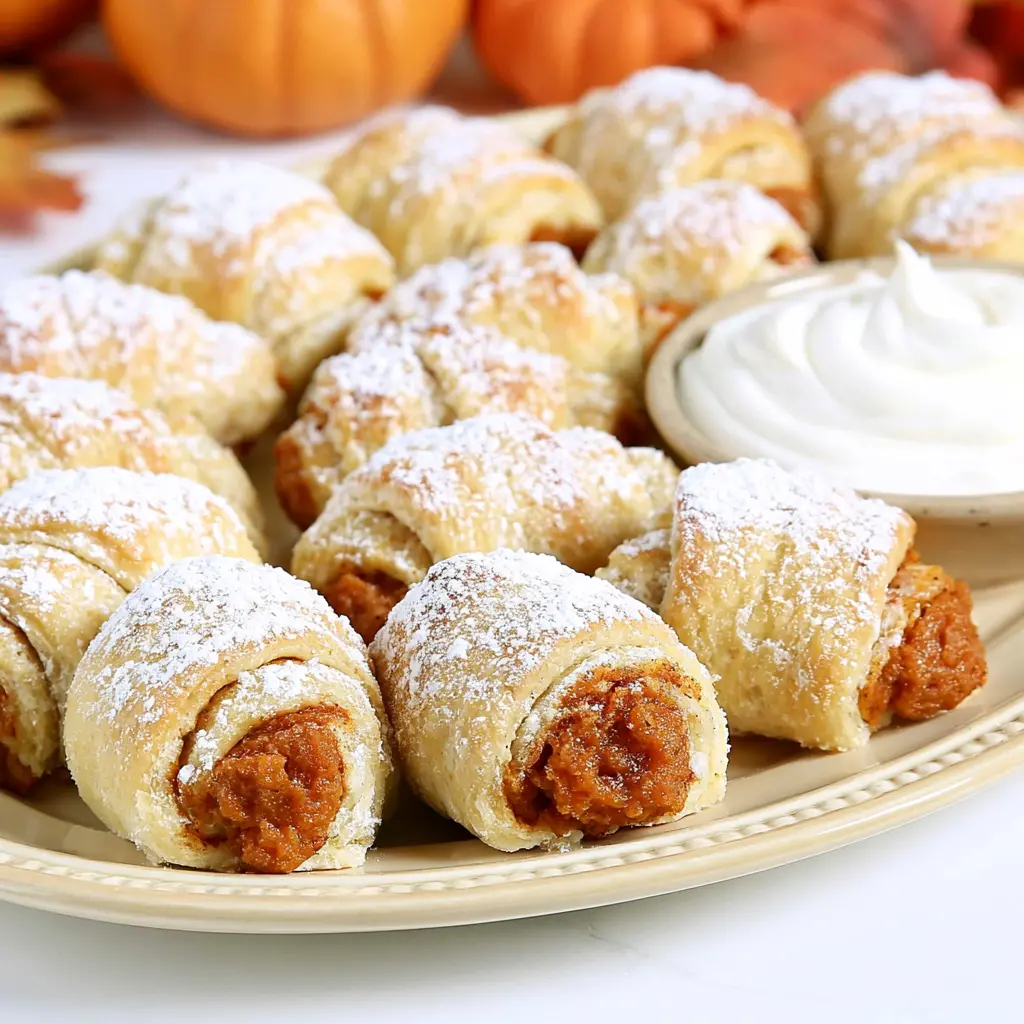
Let them rest on the pan for about five minutes before transferring them to a cooling rack. Then dust generously with powdered sugar while they’re still warm, letting it melt just slightly into the crevices. That last step is what makes them look like little snow-capped autumn pastries. And there’s your fourth movement. Applause optional, but recommended.
Pro Tips for Perfect Pumpkin Roll Crescent Bites
After several batches and a few spectacular failures, these are the rules I refuse to break:
- Keep the dough cold. Crescent dough gets sticky and cranky when it warms up. Work quickly, and if the kitchen is hot, pop the sheet in the fridge for ten minutes before filling.
- Don’t overfill, ever. One rounded teaspoon per triangle. Trust the process. The filling is the flavor, but the dough is the star.
- Leave a border. Spreading the filling to the very edge is the number one cause of pumpkin leakage all over your pan.
- Use a pizza cutter. It slices through the dough without dragging or tearing, which a butter knife absolutely will do.
- Rotate the pan. Most ovens have hot spots. Halfway through the bake, give the sheet a turn and your rolls will brown evenly.
- Dust before serving. Powdered sugar melts into the warm crevices within the first five minutes. If you dust too early, you lose that pretty snow effect.
Troubleshooting: What Went Wrong and How to Fix It
The filling leaked out everywhere. You overfilled, or you spread the filling too close to the edge. Next time, use less. A quarter-inch border of bare dough is your insurance policy.
The rolls came out doughy in the center. Your oven might be running cooler than it says. Oven thermometers are cheap and they remove all the guesswork. It could also mean the rolls were coiled too tightly, so the dough couldn’t puff. Roll gently, just snug enough to hold the shape.
The bottoms are soggy. This happens when rolls sit on the pan after baking, steaming themselves from below. Move them to a cooling rack within five minutes. Always use parchment, too; it helps the bottoms crisp instead of stick.
Some rolls baked faster than others. Rotate the pan at the halfway mark, and if a few edges look dark while others are pale, pull the dark ones off and let the rest finish. No shame in selective harvesting.
Make-Ahead and Storage for Mini Pumpkin Rolls
One of the best things about this mini pumpkin roll recipe is how forgiving it is when life gets busy.
Make them ahead, unbaked. Assemble the rolls completely, arrange them on the baking sheet, cover tightly with plastic wrap, and refrigerate for up to 24 hours. When you’re ready, bake as directed, adding a couple of extra minutes since the dough starts cold. This is a major advantage over classic pumpkin rolls, which really don’t want to wait around.
Store baked rolls. Keep them in an airtight container at room temperature for up to two days. Beyond that, move them to the fridge, since the filling contains egg yolks. In the fridge they’ll stay good for about four more days.
Freeze them. Baked rolls freeze beautifully for up to three months. Layer them in a freezer-safe container with parchment between the layers so they don’t stick together. Thaw overnight in the fridge, or go straight from freezer to oven.
Reheating without turning them soggy. Please skip the microwave. It turns these little pumpkin roll bites into rubber. Instead, heat them in a 350°F oven for five to seven minutes, or in an air fryer at 325°F for three to four minutes. The edges crisp back up, and the filling gets warm and fragrant again. They taste nearly as good as fresh.
Substitutions for Key Ingredients
Pumpkin pie spice. If you don’t have a jar, whisk together your own blend. For each teaspoon of pumpkin pie spice, use 1/2 teaspoon ground cinnamon, 1/4 teaspoon ground ginger, 1/4 teaspoon ground nutmeg, and 1/8 teaspoon ground cloves. Double or triple as needed for the full two tablespoons.
Canned pumpkin puree vs. pumpkin pie filling. This is the one substitution I never recommend. I know it’s tempting when the cans sit side by side in the baking aisle, but pumpkin pie filling is pre-sweetened and pre-spiced, and it’s looser than puree. It will throw off the sugar balance and make the filling run. You want 100% pumpkin puree, nothing else.
Fresh pumpkin puree. If you’re determined to roast your own, pumpkin puree needs to be drained in a cheesecloth overnight or the filling will be watery. Canned is more consistent, and Libby’s is a solid pick if you can find it.
Crescent roll sheet vs. triangles. The sheet version without perforations is easier to cut into clean, uniform triangles, but the classic tube of triangle dough works just as well you’ll just be pressing along the perforations first. Puff pastry is a fantastic substitute in a pinch; it bakes even flakier, though the rolls will be a touch taller.
Egg yolks. They’re there to help the filling set without getting runny. If you need to swap, one whole beaten egg can stand in, but the filling will be slightly looser, so be extra strict with that teaspoon measure.
Variations Worth Trying
Once you’ve made these once, you’ll start imagining possibilities. I know I did.
- Cream cheese drizzle. Whisk together 4 ounces of softened cream cheese, 1/2 cup powdered sugar, and a splash of milk. Drizzle over the cooled bites for a nod to the classic pumpkin roll’s cream cheese filling.
- Maple glaze. Mix 1 cup powdered sugar with 2 tablespoons maple syrup and a little milk until pourable. It turns these into a breakfast treat that outshines most pastries.
- Chai-spiced version. Swap half the pumpkin pie spice for ground cardamom and extra ginger. Warm, aromatic, and slightly unexpected.
- Crunchy pepitas. Sprinkle a few pumpkin seeds over the filling before rolling. The seeds add texture and make the rolls look like they came from a bakery.
- Cinnamon-sugar dusting. Instead of plain powdered sugar, mix it with a teaspoon of cinnamon. The extra warmth lands well with a mug of coffee.
Frequently Asked Questions
Can I use pumpkin pie filling instead of pumpkin puree?
No. Pumpkin pie filling is already sweetened and spiced, and it’s looser than puree. It will make the filling runny and oversweet. Check the label: you want the can that says 100% pumpkin.
How do I keep the filling from oozing out during baking?
Three rules: use about a teaspoon of filling per triangle, leave a quarter-inch border of bare dough around the edges, and place the rolls seam-side down on the baking sheet. If your filling seems especially loose, refrigerate it for ten minutes before using.
Can I make these pumpkin roll bites ahead of time?
Absolutely. Assemble the rolls, cover the baking sheet, and refrigerate for up to 24 hours before baking. Or bake them completely, cool, and freeze for up to three months.
How do I reheat them without making them soggy?
Skip the microwave. Reheat in a 350°F oven for five to seven minutes, or in an air fryer at 325°F for three to four minutes. The exterior crisps back up so they taste almost fresh-baked.
What can I use instead of crescent roll dough?
Puff pastry sheets are the best substitute; cut them into triangles about the same size. Refrigerated biscuit dough works in a pinch, though the rolls come out thicker and denser. Phyllo dough is too delicate and thin for this filling.
Why did my crescent rolls come out doughy in the center?
Usually it’s an underbaked situation. Check that your oven is genuinely at 375°F with an oven thermometer, and make sure the rolls have enough space on the pan to puff. Rolling them too tightly can also keep the center from cooking through, so keep the rolls loose enough to breathe.
Expert Notes & Data Insights
When I was developing this recipe, I kept a little notebook on the counter. I have a habit of repeating experiments until I understand exactly why things work. Here’s what my testing actually showed, in plain numbers and honest observations.
Filling amount was the variable that mattered most. I tested 1/2 teaspoon, 1 teaspoon, and 1-1/2 teaspoons across three batches. The 1/2-teaspoon rolls tasted a little hollow, all dough and not enough pumpkin. The 1-1/2-teaspoon rolls leaked from at least half of the triangles, leaving burnt residue on the pan and filling the kitchen with a slightly acrid smell. The 1-teaspoon rolls came out clean, plump, and perfectly balanced. That’s your number, and I say it with confidence because my countertop took the punishment so you don’t have to.
Bake time ran consistently between 11 and 14 minutes in my standard home oven. At 11 minutes, the rolls were set and edible but a little pale. At 14 minutes, the edges were deeply caramelized and borderline crunchy. The sweet spot in most ovens is 12 to 13 minutes golden, puffed, and tender. If your oven runs hot, check at the 10-minute mark and trust your eyes more than the timer.
One data point that surprised me: cold filling holds up better than room-temperature filling. Chilled filling stays where you put it, while warm filling thins out and migrates toward the dough edges. So if you’re prepping in a warm kitchen, a quick chill of the assembled tray is genuinely valuable, not a fussy chef habit.
And the meta-discovery of all these batches: traditional pumpkin roll recipes fail because they involve rolling a warm sponge cake, which is an unforgiving maneuver. This recipe throws that entire category of failure out the window. Crescent dough is structured to roll, the filling bakes right into it, and the margin for error is gigantic. The most common mistake is overthinking it. Measure with your heart, keep the filling at a teaspoon, and you will nail this on your first attempt.
My crack-streaked first pumpkin roll still lives in my memory, but it doesn’t live in this kitchen anymore. This is the pumpkin roll recipe I reach for when I want the flavor of fall without the drama. These mini pumpkin rolls have become my go-to for lazy weekend mornings, impromptu dessert trays, and the moment the house finally smells like autumn. I hope they earn that same spot in your kitchen.