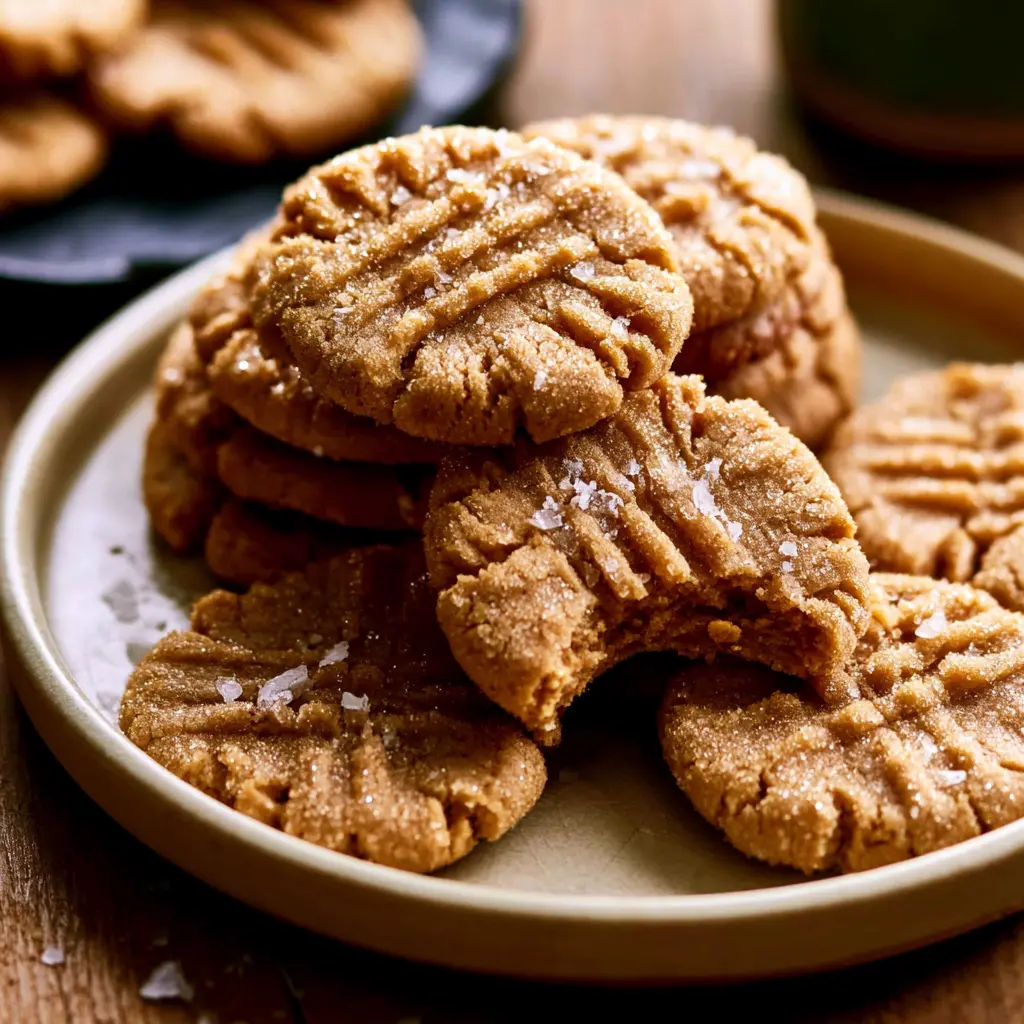
Classic Crisscross Peanut Butter Cookies
Ingredients
Method
- Heat your oven to 350°F. Line a baking sheet with parchment paper or a silicone baking mat.
- In a large mixing bowl, beat the softened butter, creamy peanut butter, packed brown sugar, and 1/4 cup granulated sugar until smooth and creamy.
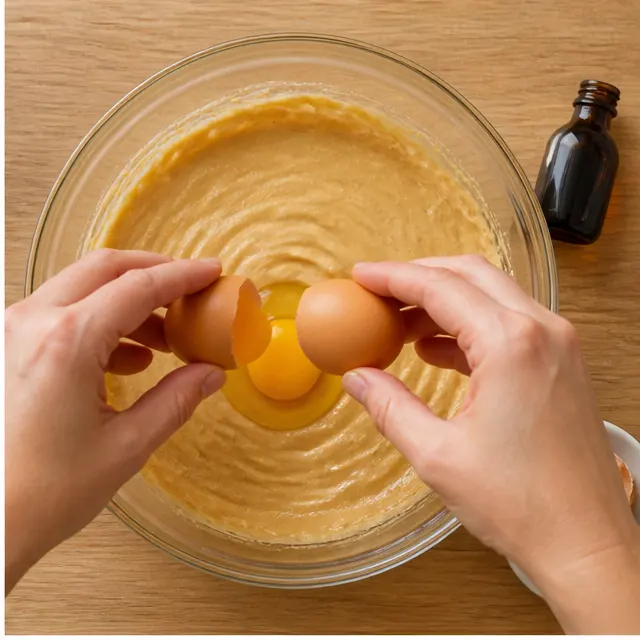
- Add the egg and vanilla extract, then mix until fully incorporated.
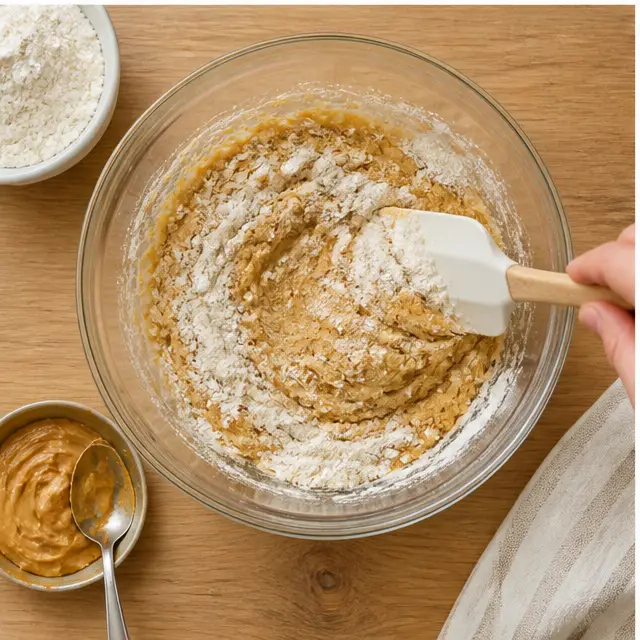
- Stir in the salt, baking soda, and all-purpose flour, mixing just until no streaks of flour remain. Do not overmix.
- Scoop the dough into 1/4 cup portions and roll each ball in the remaining 3 tablespoons granulated sugar to coat evenly.
- Place six dough balls on the prepared baking sheet and gently press with a fork to create a crisscross pattern.
- Bake in the preheated oven for 8 to 10 minutes, until the edges are set and the tops barely crack.
- Let the cookies cool on the baking pan for 5 to 10 minutes, then move them to a wire rack to cool completely.
Nutrition
Notes
Tried this recipe?
Let us know how it was!Why You’ll Love These Peanut Butter Cookies
There’s a moment every August that gets me. The shiny new backpacks, the school supply lists taped to the fridge, that little flutter of “here we go again.” And right alongside it, the mental tally of what goes into lunchboxes. For me, peanut butter cookies have always been part of that ritual. The smell of them baking says “welcome home” better than words ever could.
These soft peanut butter cookies are the ones I actually trust. The ones I’ve baked so many times I could do it in my sleep. They’re chewy in the center, faintly crackly on top, and rolled in sugar so they sparkle just a little. They come together in about 20 minutes, which honestly feels like cheating on a busy school night.
Here’s the thing though. This isn’t just any peanut butter cookie recipe. It’s the one with a California touch if you want it: a pinch of flaky sea salt over the warm cookies before they cool. That little hit of salt against the sweet, nutty cookie? Unreal.
If you’ve ever had a batch turn out dry or flat, hang tight. I’ve made every mistake in the book, including one time forgetting the flour entirely. Don’t do that. This guide walks through the why behind each step, so you get chewy peanut butter cookies every single time.
Peanut Butter Cookie Ingredients
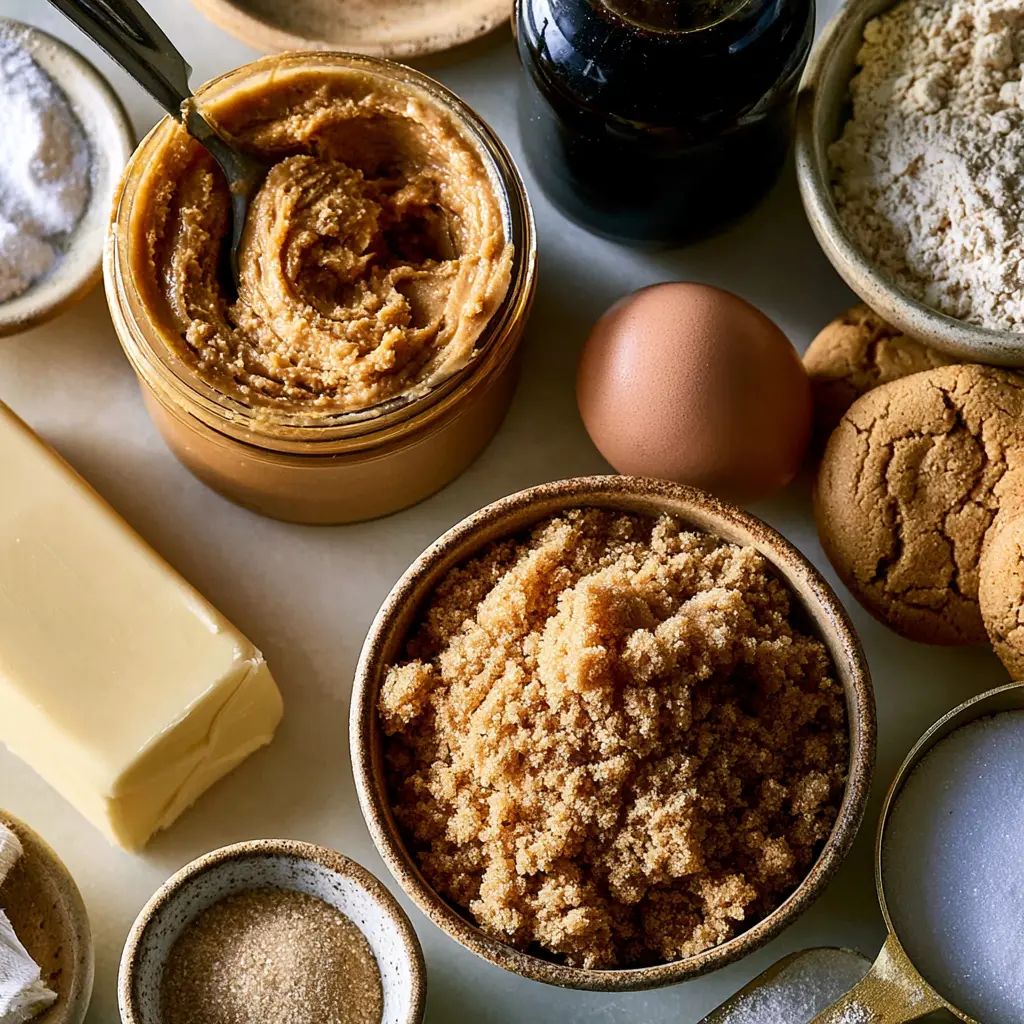
You probably have most of what you need already. The base is a classic lineup: softened butter, creamy peanut butter, two kinds of sugar, one egg, vanilla, and the usual dry suspects like flour, salt, and baking soda.
The two sugars pull their weight here. Brown sugar brings moisture and that subtle molasses depth, while granulated sugar helps the edges crisp. Together they give you that soft center with just enough structure outside.
The peanut butter itself? Use the good creamy stuff. The jar that sits in your pantry, whether it’s Jif, Skippy, or whatever’s on sale at Ralphs this week. It matters more than you’d think, and I’ll explain why in a second.
Ingredient Success Tips
Let’s talk about the details that make or break these soft peanut butter cookies.
- Room temperature butter. Cold butter won’t cream properly, and you’ll end up with dense, greasy cookies. Leave the stick out for an hour before you start. Set a timer if you’re like me and will absolutely forget.
- Pack that brown sugar. When a recipe says packed, press it firmly into the measuring cup. A loose scoop is roughly 20 percent less sugar, which changes the texture completely.
- Skip natural peanut butter here. The drippy, stir-it-well kind can make the dough oily or crumbly. Stick with commercial creamy peanut butter for the softest result.
- Baking soda, not baking powder. Baking soda helps the cookies spread just enough and develop those crackly tops. Swapping in baking powder gives a thicker, cakier cookie.
One more thing. Each cookie clocks in around 304 calories, so they’re a treat, no question. But they’re the kind of treat that feels worth every bite, especially with a cold glass of milk.
How to Make Peanut Butter Cookies
The full recipe is in the card above. But let’s walk through the rhythm of it, because the feel of the dough matters as much as the ingredients.
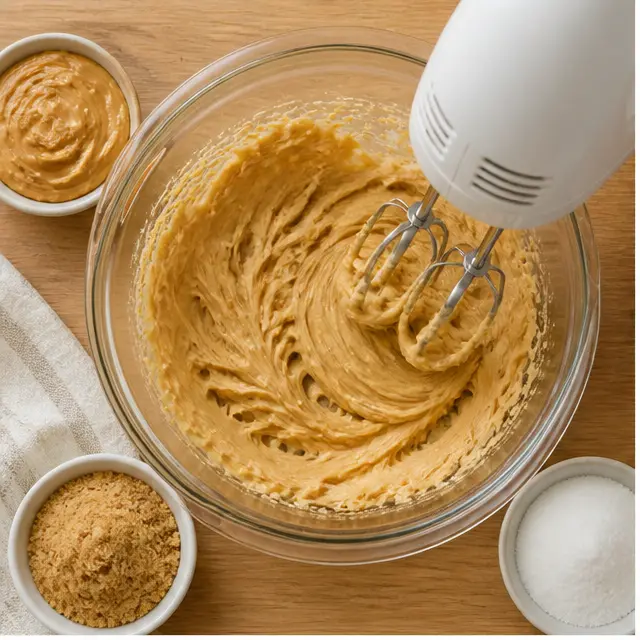
Stage 1: Cream the base. Beat the softened butter, peanut butter, and both sugars until smooth and creamy. You’re looking for a light, airy texture, so let the mixer run a good couple of minutes. It should smell like peanut butter frosting at this point, honestly.
Stage 2: Add the wet ingredients. Drop in the egg and vanilla extract, then mix until fully incorporated. Scrape the sides of the bowl once or twice. Nobody wants a streak of unmixed egg in their cookie.
Stage 3: Fold in the dry ingredients. Stir in the salt, baking soda, and flour just until no streaks remain. Overmixing develops gluten, which makes cookies tough. Stop when it comes together, even if it looks slightly crumbly. That’s normal. The dough will come together as you roll it.
Stage 4: Roll, mark, and bake. Scoop 1/4 cup portions, roll each ball in granulated sugar, then press a fork twice crosswise to make that classic crisscross pattern. Bake at 350°F for 8 to 10 minutes, until the edges are set and the tops barely crack. The centers will look puffy and soft. That’s exactly what you want.
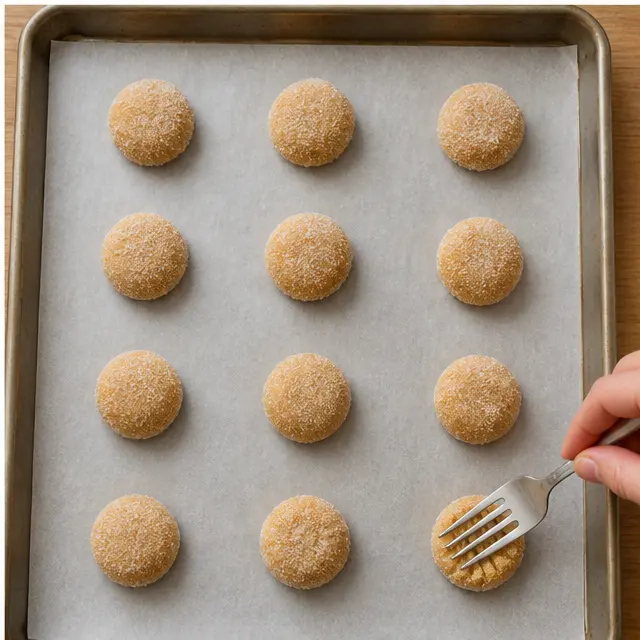
Speaking of that fork pattern. No, the crisscross isn’t just for looks. It flattens the dough balls so they bake evenly. Without it, you’d get a puffy dome with a raw center. It also gives criss cross peanut butter cookies that signature craggy top everyone recognizes.
Why You Should Chill the Cookie Dough
Here’s the thing. This dough is very creamy, which is great for texture but means it can spread in the oven. If your kitchen is warm, especially in August, chill the dough for 15 to 20 minutes before rolling. It firms up just enough to make rolling easier and prevents flat pancakes.
If the dough is already chilled and still too sticky? You measured your flour right, so it’s likely just a warm kitchen. Pop it back in the fridge a bit longer.
For the perfect fork pattern, dip the fork tines in granulated sugar before pressing. It keeps them from sticking and adds a little extra sparkle. Then lift straight up, don’t wiggle. Gentle pressure, nice and even.
Peanut Butter Cookie Variations
This recipe is wonderful as is, but it’s also a great starting point. A few of my favorite peanut butter cookie variations:
- Chocolate chips: Fold in 1 cup of semisweet chocolate chips. Skip the fork indent so the chips don’t cause cracks.
- Peanut butter chips: Another 1 cup folded in. For the true peanut butter lover.
- Chopped peanuts: 1 cup of salted or unsalted peanuts adds a nice crunch. Pairs great with the flaky salt on top.
- Flourless version: Those 3 ingredient peanut butter cookies, 1 cup peanut butter, 1 cup sugar, 1 egg, totally work and they’re naturally gluten free. But the texture is denser and crumblier. This recipe bakes up softer.
If you’re adding mix-ins, the baking time stays roughly the same. And that crisscross pattern? You can skip it. The cookies will still bake evenly, just rounder.
Can I Use Natural Peanut Butter?
I get this question a lot. Yes, you can. Just know what you’re signing up for.
Natural peanut butter has a looser consistency, so natural peanut butter cookies will spread more and turn out slightly crumblier. If that’s what you like, go for it. Seriously, stir the jar very well first, or you’ll end up with oily, runny dough that bakes unevenly.
Crunchy vs. Creamy Peanut Butter
For soft, chewy peanut butter cookies, creamy is the way to go. Crunchy peanut butter adds texture, sure, but the peanut pieces can make the cookie more crumbly and harder to shape. If you only have crunchy on hand, you can absolutely use it. Just expect a slightly different crumb.
I’d say this about it. Save the crunchy for sandwiches, and let creamy shine here. The smooth, nutty dough is the whole point.
How to Store & Freeze Peanut Butter Cookies
These are best in the first couple of days, when the centers are at their softest. But they keep surprisingly well.
At room temperature: Store in an airtight container for up to one week. To keep cookies soft, add a slice of bread to the container. It absorbs excess moisture and the cookies stay chewy. Weird trick, works every time.
In the freezer, baked: Freeze in a single layer on a baking sheet, then transfer to a freezer bag. They’ll keep for up to 3 months. Thaw at room temp or give them a quick 10 second zap in the microwave.
In the freezer, as dough: Shape the dough balls, roll in sugar, and freeze on a tray. Once solid, move to a freezer bag for up to 3 months. Bake from frozen, adding 1 to 2 minutes to the bake time. Future you will be very grateful on a chaotic Tuesday afternoon.
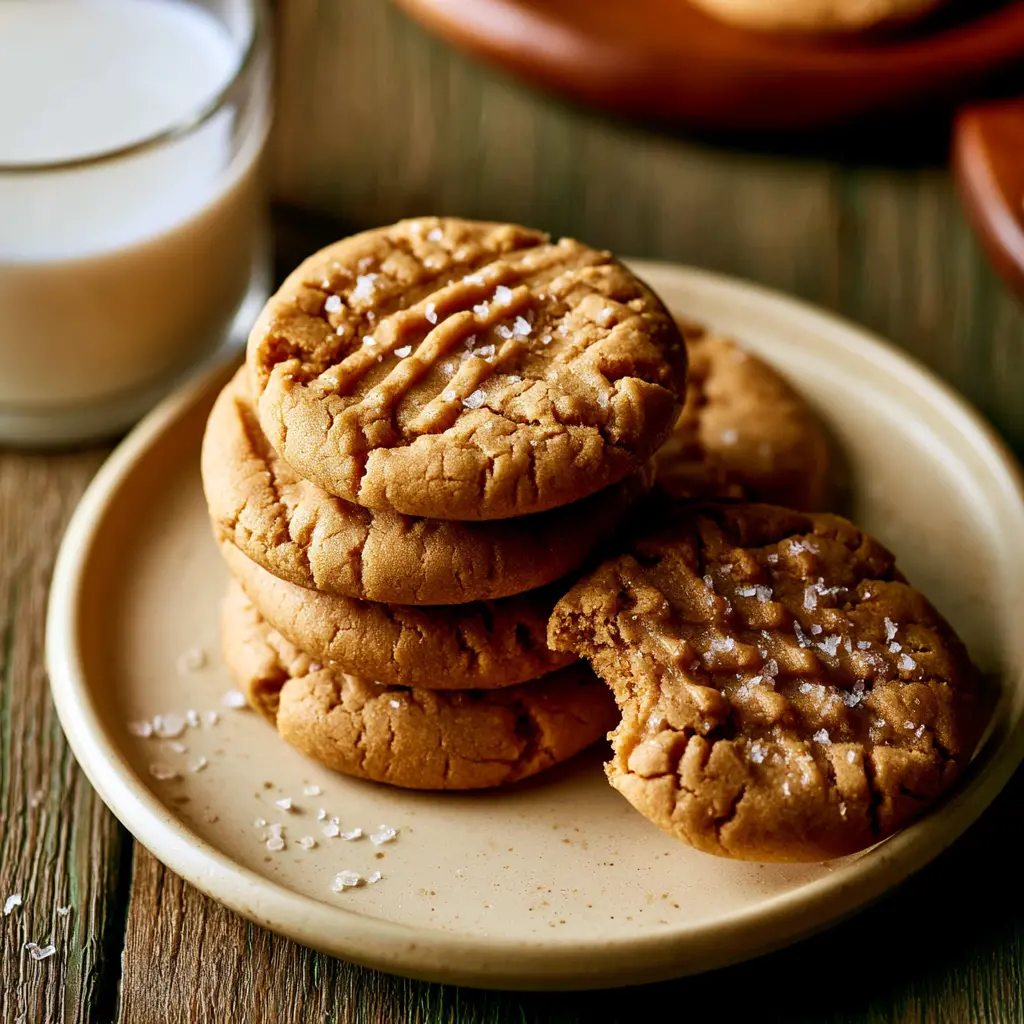
Reader Comments
The best part of sharing these peanut butter cookies? Hearing how they turned out in other people’s kitchens. Some readers swap in dark brown sugar for a deeper, almost caramel flavor. Others add chocolate chips and call it their new favorite. A few have even used the dough to make peanut butter cookie cups.
Drop a comment below and tell us, did you go classic or add a twist? Your notes help every other home baker who lands here.
Peanut Butter Cookie FAQ
Alright, go make these. When you pull a tray of soft peanut butter cookies out of the oven and the kitchen smells like warm vanilla and roasted peanuts, you’ll understand why this recipe has a permanent spot in my rotation. And when you nail that crisscross pattern, I want to see it. Pin this recipe on Pinterest and show me your baking wins. I’m over there saving ideas every week.
Source: Learn More About This Dish