Why You’ll Love This No-Churn Salted Caramel Ice Cream
I don’t own an ice cream maker. Never have. And this is still the best ice cream I’ve ever made, which honestly surprised me.
I grew up above my family’s plate lunch counter in Honolulu. Rice was my job. Dessert was an afterthought. But when my daughter Maile dared me to figure out ice cream without a machine, I got curious. (I can’t resist a challenge from a nine year old.)
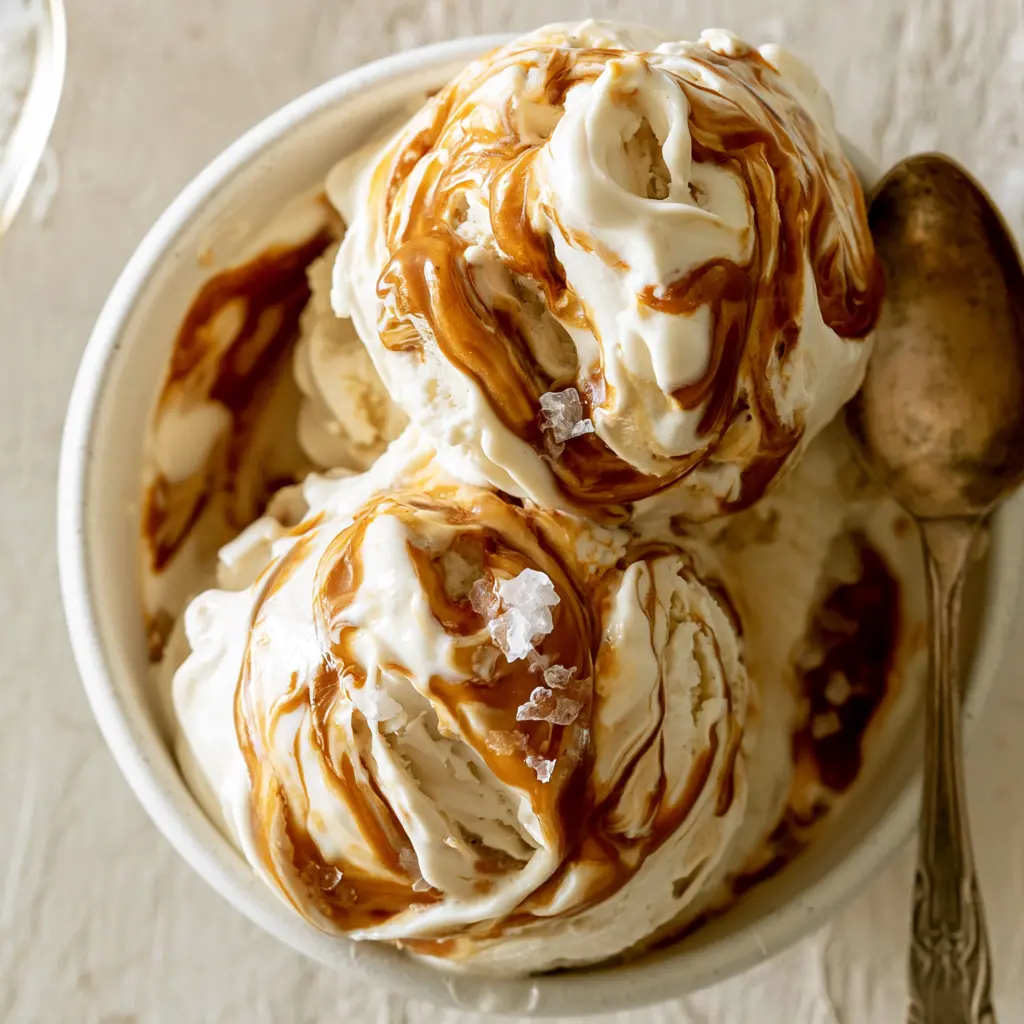
This no-churn salted caramel ice cream is the result. Five ingredients, about twenty minutes of hands-on work, and a freezer that does the rest.
It’s dense and creamy, threaded with sticky caramel ribbons. The salt crackles at the very end. Honestly, it tastes like one of those eleven dollar pints from the market, except you made it in a loaf pan.
The equinox is almost here, which means one thing in our house: the return of warm apple desserts. Cool evenings and a scoop of homemade ice cream melting over a crisp, that’s my kind of fall.
- No machine required. You don’t need an ice cream maker alternative, just a bowl, a whisk or mixer, and freezer space.
- Five simple ingredients. Heavy whipping cream, sweetened condensed milk, vanilla, salt, and a good caramel sauce.
- Creamy, not icy. The whipped cream and condensed milk create a smooth, scoopable texture without any custard or eggs.
- Make-ahead friendly. Give it 5 hours in the freezer and it’s ready whenever you need it.
What Is No-Churn Salted Caramel Ice Cream?
No-churn ice cream with condensed milk is exactly what it sounds like. It skips the machine completely. You whip cold air into heavy whipping cream, fold in sweetened condensed milk, and let the freezer do the rest.
Here’s the plain English version. An ice cream maker freezes the base while stirring it, which keeps ice crystals small. This recipe works a different way. Whipped cream already holds millions of tiny air bubbles, and condensed milk keeps the texture soft. That’s how you get that creamy no-churn texture without the machine.
No custard. No tempering eggs. No thermometer. If you can whip cream to stiff peaks, you can make this. I might be old school about rice, but I’m fully on board with easy desserts.
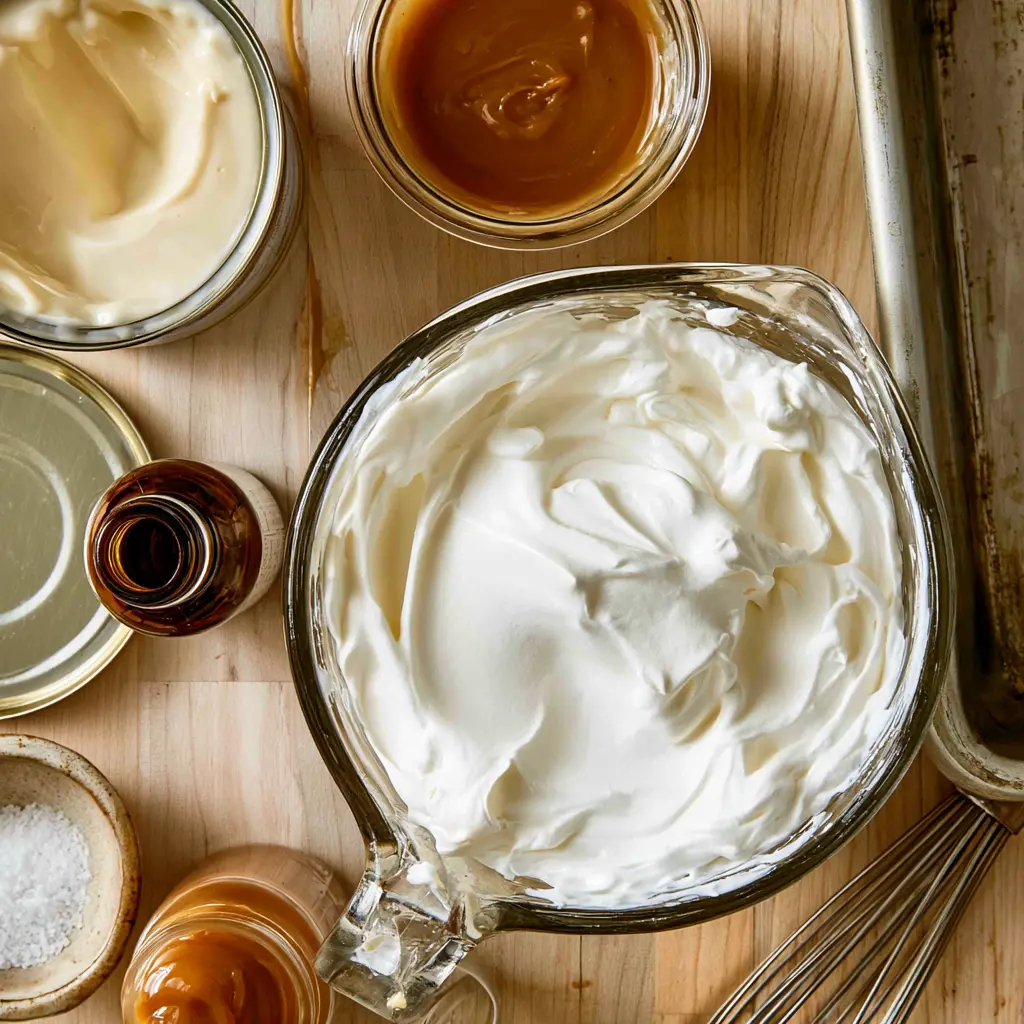
Here’s what you need: heavy whipping cream, one can of sweetened condensed milk (check the label so you don’t grab evaporated milk by accident), vanilla extract, kosher salt, and one cup of thick caramel sauce. That’s the whole list. No worries if you don’t have a stand mixer, a hand mixer does the job beautifully.
How to Make This No-Churn Salted Caramel Ice Cream
Start with a cold start. Put a 9×5 loaf pan in the freezer for about 15 minutes before you mix anything. Chilling the pan helps the ice cream set quickly and evenly, which means smoother results later.
1. Whip the Cream to Stiff Peaks
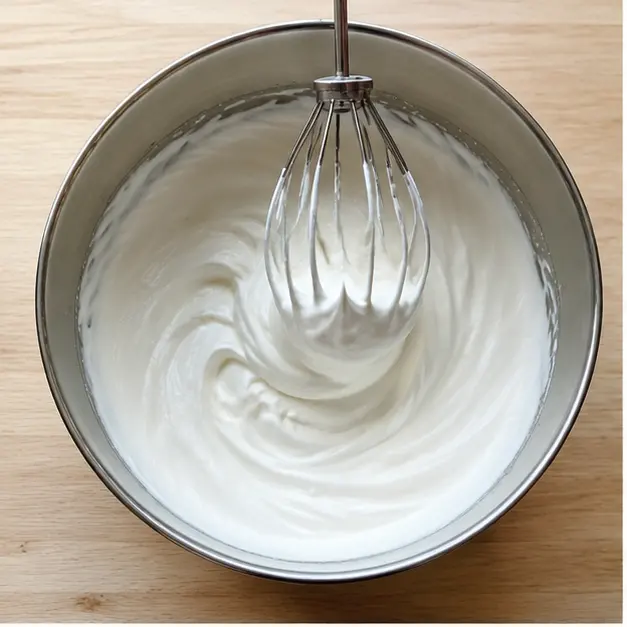
Pour very cold heavy whipping cream into a large bowl. A stand mixer with the whisk attachment is easiest, though a hand mixer works great too. Start on low, then slowly increase the speed as the cream thickens. You don’t want cream splashing all over the kitchen, and yes, I learned that the hard way.
Keep going until the cream holds a firm peak when you lift the whisk. You’re looking for the whisk to leave clear tracks in the cream. This trapped air is the entire secret behind the creamy no-churn texture, so don’t rush it.
2. Fold in the Condensed Milk Mixture
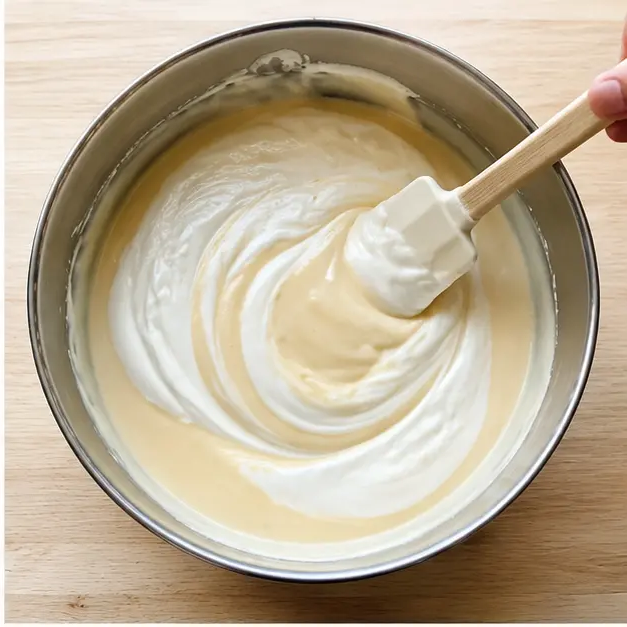
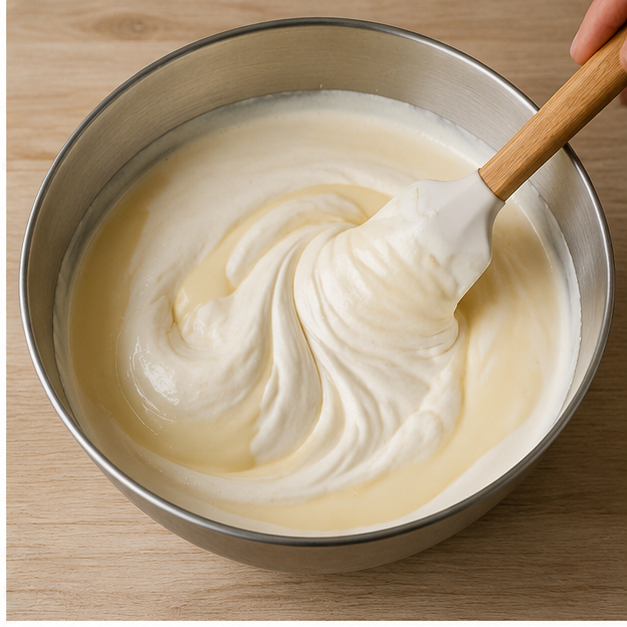
In a separate bowl, stir the sweetened condensed milk, vanilla extract, kosher salt, and about one cup of the freshly whipped cream until the mixture is smooth and combined. Then scrape it all back into the bowl with the remaining whipped cream.
Fold gently with a spatula, the way you’d fold a soufflé. Stop the moment no white streaks remain. Overmixing deflates the whipped cream and turns the ice cream base heavy, so be patient and use a light hand.
3. Layer and Swirl in the Caramel
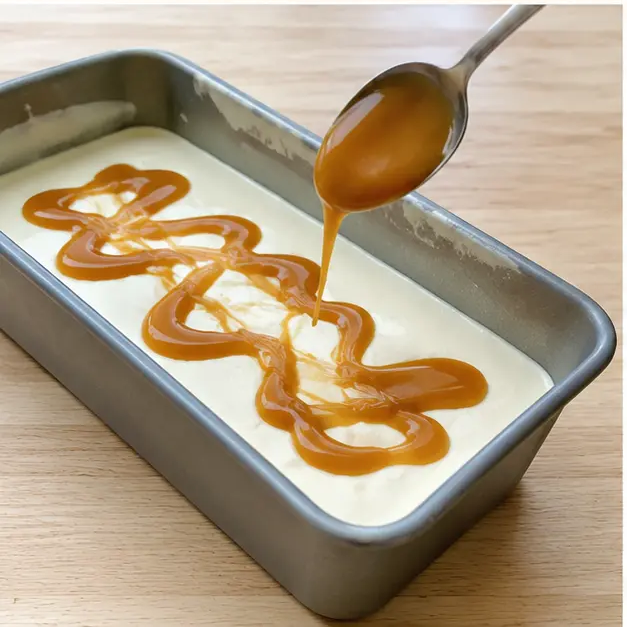
Spoon half the ice cream base into the chilled loaf pan and smooth the top. Drizzle about half the caramel sauce across the surface in broad zigzags, letting it pool a little in spots. Add the remaining ice cream base in dollops, smooth it gently, then spoon the rest of the caramel over the top.
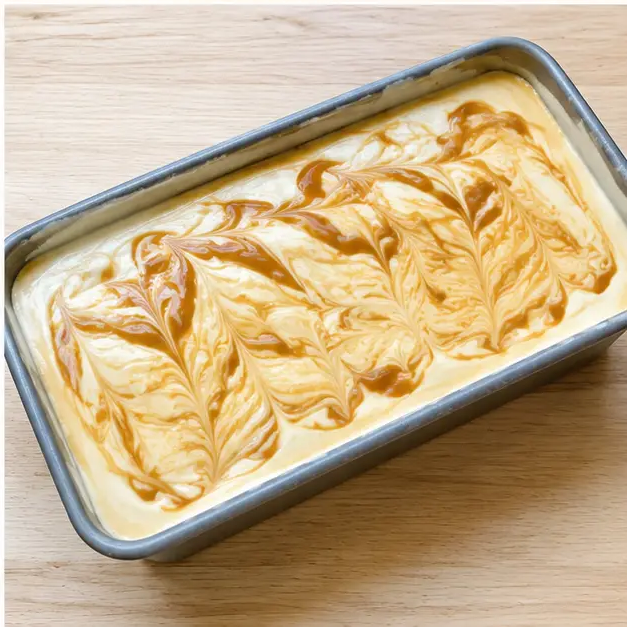
Now resist the urge to stir. Take a butter knife or a long skewer and drag it through the pan in a wide figure eight. Four or five passes, then stop. You want pale ice cream with caramel ribbons running through it, not one uniform tan mixture. The marbled look is the whole point, and it’s also what gives you two textures in every single bite.
4. Freeze Until Firm
Cover the pan with plastic wrap or a tight-fitting lid and slide it into the freezer. Give it at least 5 hours, though overnight is even better. Because the caramel sauce never freezes completely hard, you can usually scoop this straight from the pan. Just don’t let it sit out for more than about 10 minutes before serving, or the caramel softens fast and the scoops start to slump.
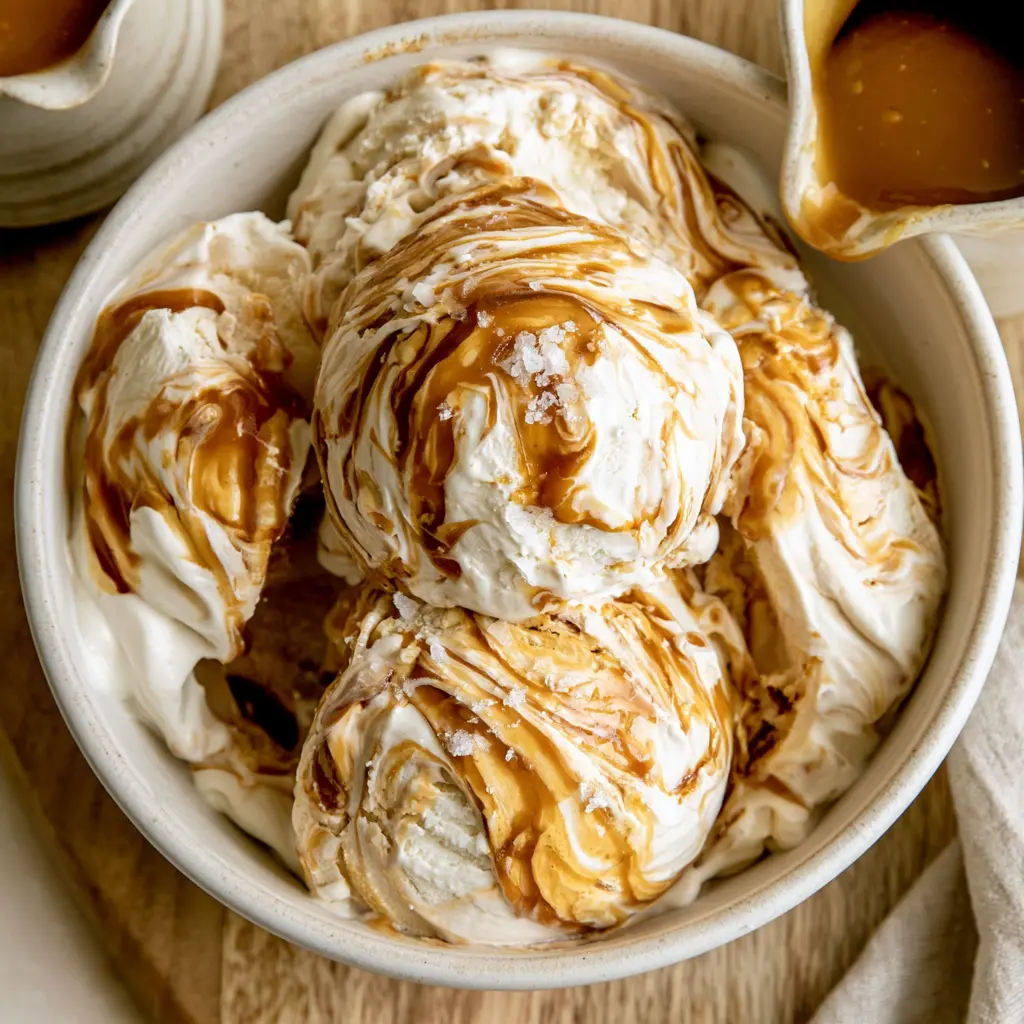
When you’re ready to serve, sprinkle a pinch of flaky sea salt over each scoop. It’s that final little crackle that brings everything together.
My Best Tips for No-Churn Salted Caramel Ice Cream
I’ve made this recipe more times than I can count this year. These are the small details that make the difference between good ice cream and ice cream you’ll dream about.
Choose a Caramel That Stays Soft in the Freezer
Not all caramel sauces behave the same way at freezer temperature. The thick, soft kind, the sort you have to scrape out of the jar, stays slightly pliable when frozen. That’s what you want for swirling. Thin syrupy sundae toppings have a way of sinking straight to the bottom and disappearing into the base, and some homemade caramel sauces freeze hard as a rock.
Here’s the test I use: spoon a little of your caramel onto a small plate and freeze it for 10 minutes. If it still bends when you push it with your finger, swirl it in. If it cracks or turns brittle, save it for drizzling over the scoops instead. If you aren’t sure which store-bought jar to grab, look for one labeled caramel ice cream topping or caramel sauce rather than syrup. Thick and spoonable is the goal.
Use Salt in Two Different Places
The kosher salt goes into the ice cream base, where it sharpens the vanilla and keeps the sweetness from feeling one-note. The flaky sea salt goes on top at the very end, where it gives you little pops of crunch. They do different jobs, and you want both. If all you have is table salt, start with half the amount in the base. It’s much finer, so it measures more densely than kosher salt.
Treat the Whipped Cream Like It’s Precious
The air you whip into that cream is the entire reason this no-churn method works. An ice cream maker churns air in as it freezes. This recipe traps the air in advance, which means deflating the cream is the one real crime you can commit. Fold slowly, stop while a few streaks remain, and don’t overdo the caramel swirl. You’ll feel the difference in the finished texture.
Check the Condensed Milk Label, Twice
Sweetened condensed milk and evaporated milk live right next to each other on the shelf and the cans look nearly identical. They are not interchangeable. You specifically want the sweetened, sticky one for this recipe. Evaporated milk is thinner and unsweetened, and it would give you icy ice cream instead of creamy ice cream. I speak from one very disappointing batch.
Mix-In and Variation Ideas
Once you’re comfortable with the basic method, the additions are nearly endless. I usually decide on the mix-ins before I start folding so I can gently stir them into the final base before it goes into the pan.
- Toasted macadamia nuts. Growing up in Honolulu, I never met a dessert I didn’t want to add mac nuts to. Chop them coarsely and fold them into the base; they add a buttery crunch that pairs beautifully with salted caramel.
- Chocolate chunks or mini chocolate chips. Fold in about a cup before freezing. Mini chips distribute more evenly; larger chunks give you bigger pockets of chocolate.
- Crushed cookies or graham crackers. Shortbread, vanilla wafers, or chocolate cookies all work. Stir them in gently so they don’t completely dissolve into the base.
- Peanut butter or Nutella swirl. Warm a few tablespoons just until loose, then drizzle it alongside the caramel for a double-swirl situation.
- Salted pretzel pieces. If you’re a salty-sweet person like me, crushed pretzels add crunch and just enough savoriness to keep you coming back for another spoonful.
For a vanilla version, skip the caramel swirl entirely and add an extra splash of vanilla extract to the condensed milk mixture. The base alone makes a wonderful plain no-churn vanilla ice cream.
You can also swap the caramel sauce for dulce de leche. Dulce de leche is essentially sweetened condensed milk that’s been cooked until it turns golden and toasty, so it has a deeper, almost butterscotch-like flavor. If it’s too thick to drizzle, warm it in the microwave in 10-second bursts until it loosens up.
Need a dairy-free version? Use dairy-free whipping cream and a can of sweetened condensed coconut milk. The texture will be slightly softer, so expect to scoop it a little sooner after pulling it from the freezer.
How to Store Homemade No-Churn Ice Cream
This ice cream will keep in the freezer for about 2 weeks at its very best. If you store it really well, it can stretch toward a couple of months, but the texture does fade after the second week. It slowly picks up ice crystals the longer it sits, and there’s no shame in admitting a batch was so good it never had the chance to find out.
For leftovers, transfer the ice cream to a freezer-safe container with a tight-fitting lid. Press a layer of plastic wrap directly onto the surface before sealing it. That extra barrier is what keeps freezer burn and ice crystals from forming on top.
Store the container in the back of the freezer, not in the door. Every time the door opens, the temperature shifts, and those little shifts are what make homemade ice cream turn icy before its time. If the surface ever looks frosty or dry, the ice cream is past its best.
When you’re ready for a scoop, remember the 10-minute rule: this caramel-sauce version can be scooped straight from the freezer, but don’t let the container sit on the counter much longer than that. The caramel softens quickly and the whole batch starts to melt around the edges.
Frequently Asked Questions
Does salted caramel ice cream taste salty?
Not the way you’re imagining. There’s just a quarter teaspoon of kosher salt in the whole batch, and its real job is to make the caramel taste more like caramel. The flaky salt sprinkled on top provides those occasional crunchy pops, but even those are subtle. If you use table salt instead of kosher salt, start with half the amount and taste as you go.
Can I use homemade caramel sauce?
It depends entirely on the recipe. A homemade caramel made with heavy cream and butter, the kind that stays soft and spoonable when chilled, works beautifully. A sugar-forward caramel that turns stiff in the fridge will freeze too hard and make the ice cream difficult to scoop. That’s what the freezer-spoon test is for. If your homemade caramel bends after 10 minutes in the freezer, swirl it in. If it doesn’t, keep it as a topping.
Why did my caramel swirls disappear?
Two things usually cause this. Either the caramel was too thin and sank into the base, or it got over-swirled into one uniform brown mixture. Remember that you’re layering, not mixing. Add the caramel in distinct ribbons, then drag your knife through four or five times and stop. You’re aiming for pale ice cream with visible tan trails running through it.
What if my cream won’t reach stiff peaks?
Make sure your cream is truly cold and that it’s heavy whipping cream with enough milk fat to hold air. Chill the mixing bowl and beaters for 10 minutes before you start, and don’t rush the speed. Start slow, then increase gradually. If the cream turns grainy and separates, you’ve gone too far and whipped it into butter. It happens to everyone at least once, and there’s no fixing it, but the good news is the ingredients are cheap enough to start over.
Can I use dulce de leche instead of caramel sauce?
Yes. Dulce de leche is basically sweetened condensed milk that’s been caramelized, so it pairs naturally with this no-churn base. It’s thicker than most caramel sauces, which actually makes it easier to create distinct ribbons. Just warm it slightly if it’s too stiff to drizzle.
How long does no-churn ice cream last in the freezer?
Plan on about 2 weeks for the best texture. Well sealed with plastic wrap pressed to the surface and stored in the back of the freezer, it can last closer to a couple of months, but the texture gradually becomes more icy and less creamy. If it looks frosty or dry, it’s time to let it go.
Expert Notes & Data Insights
I keep a test notebook for every recipe that leaves my kitchen, scribbling down what worked, what didn’t, and what I’d change next time. This salted caramel ice cream has more pages than most, so here are the notes I think you’ll actually use.
- Timing matters more than you’d think. At a standard 0°F freezer, the ice cream sets in about 5 hours, but it reaches its smoothest, most scoopable texture around the 8-hour mark. Overnight is my standard move now. The caramel sauce keeps it from freezing brick-solid, so you never have to plan a thawing session ahead.
- Air is doing the heavy lifting. Whipping cream can roughly double or triple in volume by the time it reaches stiff peaks. That trapped air is what gives no-churn ice cream its creamy texture, because it stands in for the air an ice cream maker would normally churn in. Every time you overmix, you’re deflating the very thing that makes this recipe work.
- Salt is measurable. In my testing, a quarter teaspoon of Diamond Crystal kosher salt hit the sweet spot. If you’re using Morton kosher salt, which is denser, cut it back slightly. If you’re using table salt, start with an eighth of a teaspoon. The flaky sea salt on top is more forgiving, so season that one by eye.
- Caramel thickness is the variable that changes everything. The batches I made with thick, spreadable caramel sauce produced clean, distinct ribbons. The batches made with thin syrup turned into one brown swirl that disappeared visually. The batch made with a stiff homemade caramel froze so hard I had to let the whole pan sit out for 15 minutes before I could scoop it. Choose a caramel that stays bendable when frozen.
- The texture timeline is real. Days one through ten are prime territory. Around the two-week mark, the base starts to firm up and develop tiny ice crystals, especially if the container has been opened frequently. Pressing plastic wrap directly onto the surface genuinely slows that process down. I tested it side by side, and the covered batch stayed noticeably creamier.
If you’re making this for a fall evening, do yourself a favor and scoop it warm over a slice of apple crisp. Cold caramel ice cream melting into warm spiced apples might be the best argument for cooler weather I’ve found yet. And if you are not making apple crisp, this ice cream is honestly excellent straight from the loaf pan with nothing but a spoon.
Is homemade or store-bought salted caramel ice cream better?
Hands down, homemade no-churn salted caramel ice cream is the best choice for flavor and texture. When you make it yourself, you can control the quality of the heavy cream, choose your favorite caramel sauce, and adjust the sea salt to your taste—no stabilizers or preservatives required. Store-bought versions from brands like Häagen-Dazs or Talenti are fine in a pinch, but this easy no-machine recipe gives you a richer, fresher, and more customizable scoop every time.
Where can I buy salted caramel ice cream?
You can buy salted caramel ice cream in the frozen dessert aisle of most grocery stores, supermarkets, and even specialty ice cream shops. However, this creamy no-churn salted caramel ice cream is so simple to make at home with just heavy cream, sweetened condensed milk, and salted caramel sauce that you may not want to buy it again. Making your own also lets you create generous caramel swirls and control the saltiness better than any store-bought carton.
Does Cook’s Country make no-churn ice cream?
Yes, Cook’s Country and other trusted cooking shows have featured no-churn ice cream recipes, proving that you can achieve luscious, scoopable ice cream without an ice cream maker. This salted caramel no-churn ice cream uses that same classic method—whipping cold heavy cream to stiff peaks and gently folding in sweetened condensed milk—so you can enjoy the same creamy results right from your own freezer with zero special equipment.
How do you make no-churn salted caramel ice cream with condensed milk?
To make no-churn salted caramel ice cream, whip 2 cups of cold heavy whipping cream until stiff peaks form. In a separate bowl, stir together one 14-ounce can of sweetened condensed milk with a splash of vanilla and about 1/4 teaspoon kosher salt, then gently fold that mixture into the whipped cream until just combined. Spread half the base into a chilled loaf pan, drizzle generously with salted caramel sauce, and use a knife to create swirls; repeat with the remaining base and caramel. Cover the pan and freeze for at least 6 hours or overnight until firm. Scoop and serve with a pinch of flaky sea salt for the perfect sweet-salty finish.