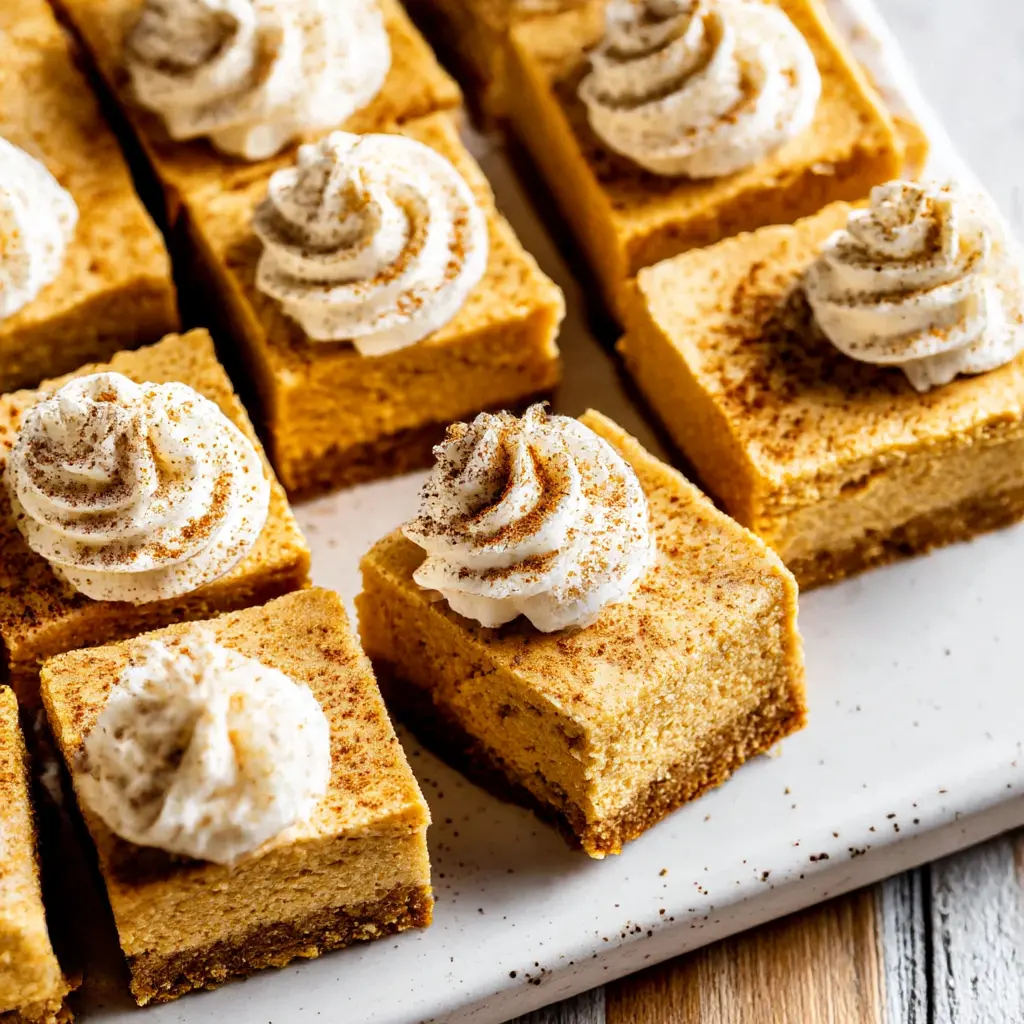
Why You’ll Love These No-Bake Pumpkin Cheesecake Bars
It’s August, it’s 95 degrees outside, and all I want is pumpkin. Blame the PSL, blame my weird seasonal brain, but the craving is real. The good news? These no-bake pumpkin cheesecake bars deliver all that cozy fall flavor without turning your kitchen into a sauna.
No oven. No water bath. No stress. Just creamy, spiced, make-ahead dessert that looks like you secretly trained at a pastry school. Fall is 26 days away, but nobody said you have to wait, especially when the AC is fighting the stove.
Here’s the thing I love most about these no-bake pumpkin cheesecake bars: they skip every scary part of traditional cheesecake. No cracking on top. No curdled filling. No waiting for the oven spring.
- No oven needed: your AC and your electric bill will thank you
- Make-ahead friendly: they need 8 hours to chill, so you prep today, serve tomorrow
- Foolproof texture: the secret is whipped cream beaten to stiff peaks
- Pumpkin spice in every layer: crust, filling, and a dusting on top
I’ve brought a tray of these to Labor Day cookouts and back-to-school weeknights, and I’m telling you, they vanish fast. Last year my daughter Layla guarded the platter like a little dessert bodyguard.
Key Ingredients
Let’s talk about what goes into these no-bake pumpkin cheesecake bars, because a few choices make all the difference. Use full-fat block cream cheese. Not the tub, not the whipped kind. The block gives the filling structure so it sets properly. Trust me on this one.
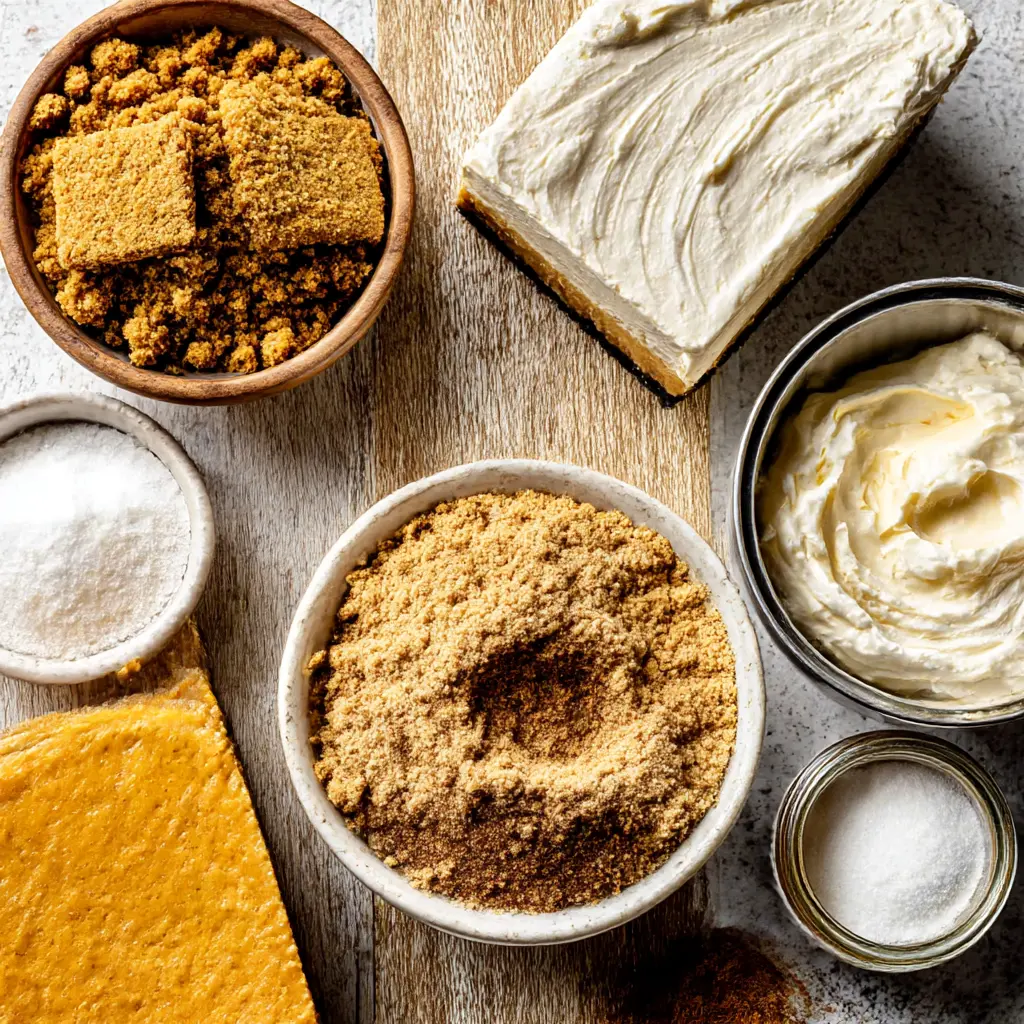
Here’s the lineup:
- Graham cracker crumbs: the base of that buttery, crunchy crust
- Brown sugar: adds moisture and a hint of molasses that loves pumpkin spice
- Cream cheese: softened, full-fat block style for a velvety cream cheese filling
- Heavy whipping cream: beaten to stiff peaks, this is what helps the bars set without gelatin or eggs
- Pumpkin puree: not pumpkin pie filling, we’ll cover that in a sec
- Pumpkin pie spice: warm aromatic comfort in a jar
- Lemon juice: a tiny squeeze brightens the whole thing
The powdered sugar and vanilla extract in the whipped topping give you that sweet, cloud-like finish. Simple, everyday ingredients, no special grocery run required.
What Type of Pumpkin to Use
This is the one place people get tripped up. Grab canned pumpkin puree, not pumpkin pie filling. Pie filling is already sweetened and spiced, so it’ll throw off both the flavor and the texture of your no-bake pumpkin cheesecake bars. Puree is just pumpkin, plain and simple.
If you’re feeling ambitious and using homemade puree, make sure it’s thick, like Greek yogurt. If it’s watery, strain it or simmer it down. Otherwise your filling might turn out too soft, and nobody wants that after a full 8-hour chill.
How to Make No-Bake Pumpkin Cheesecake Bars
I’m going to walk you through the four stages as if we’re standing in my kitchen together. It’s easier than it sounds, I promise.
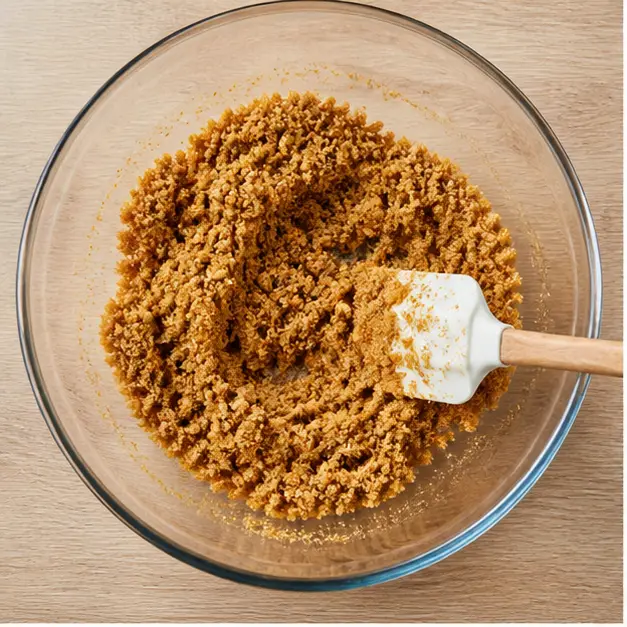
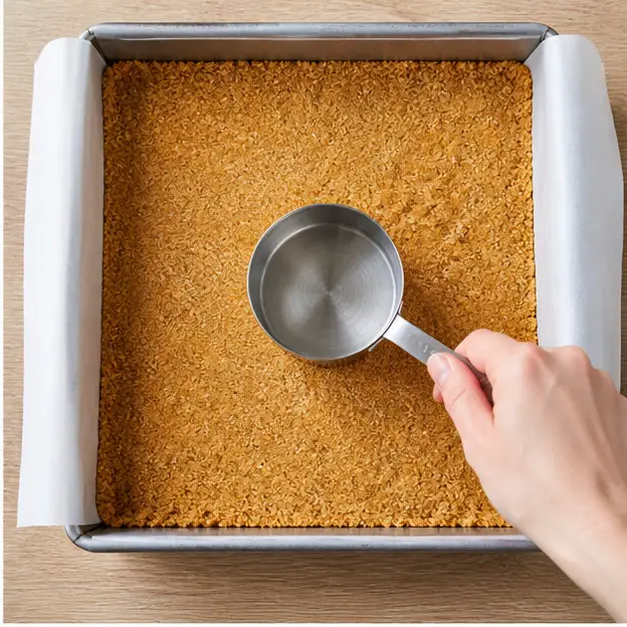
Stage 1: The Crust. In a big bowl, stir the graham crumbs with brown sugar, a pinch of fine sea salt, and a little pumpkin pie spice. Pour in the melted butter and mix until every crumb is coated. Press it firmly and evenly into your parchment-lined pan using the bottom of a measuring cup. Pack it hard. A loose crust crumbles when you slice, and we’re not about that.
Stage 2: The Filling Base. Beat that softened cream cheese with sugar until it’s perfectly smooth, no lumps left behind. Then add vanilla, a squeeze of fresh lemon juice, the pumpkin puree, and more pumpkin pie spice. Beat again until it’s silky and uniform. If your cream cheese isn’t properly softened, you’ll end up with little chunks, and no amount of mixing will fix it fast.
Stage 3: Fold in the Whipped Cream. In a separate bowl, whip the cold heavy cream to stiff peaks. Stiff means the peaks hold their shape when you lift the whisk, no drooping. Gently fold the whipped cream into the pumpkin cream cheese mixture with a rubber spatula. Use a light circular motion, scraping the bottom, until no streaks remain. Don’t overmix, or you’ll deflate all that air and lose the structure.
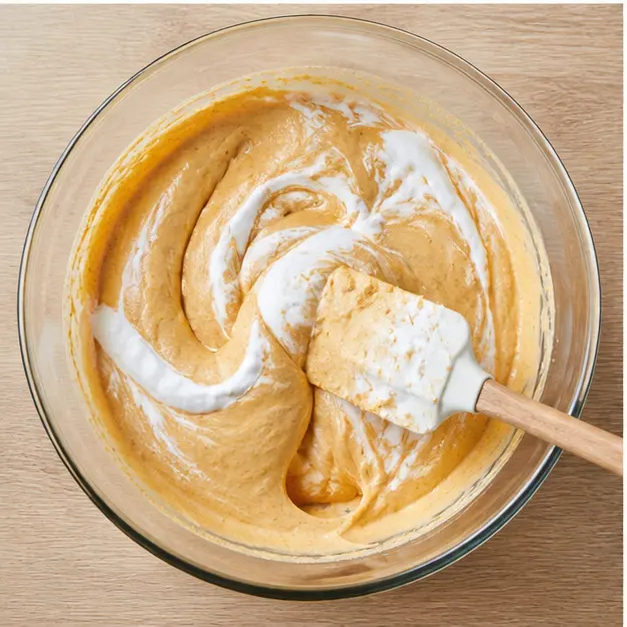
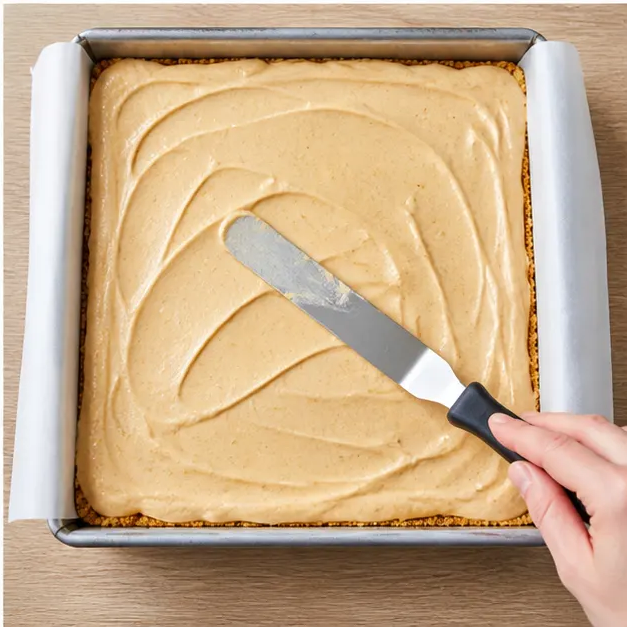
Stage 4: Chill and Slice. Spoon the filling over the crust, smooth the top with an offset spatula, cover, and refrigerate for at least 8 hours. Overnight is even better. For the cleanest slices ever, freeze the whole pan for 1 hour before cutting. Lift it out using the parchment overhang, wipe your knife between cuts, and you’ll get those perfect bars that make people say wow.
Tips for the Best No-Bake Pumpkin Cheesecake Bars
After testing this recipe more times than I can count, here are the mistakes I see most often, and exactly how to avoid them:
- ❌ The Too-Eager Slicer cuts after 4 hours and ends up with a mess. ✅ Give it the full 8 hours minimum. The refrigerator set time is non-negotiable.
- ❌ The Overmixer beats the whipped cream into the filling until it’s flat. ✅ Fold gently until just combined. Air is your best friend.
- ❌ The Impatient Eater digs in straight from the fridge with a dull knife. ✅ Freeze for 1 hour, use a large sharp knife, and wipe the blade between slices.
- ❌ Using low-fat cream cheese from the tub. ✅ It has more water and less structure. Stick with full-fat block style.
- ❌ Using canned whipped cream as the measure of success. ✅ For the filling, beat real heavy cream to stiff peaks. Canned whipped cream won’t hold up.
These no-bake pumpkin cheesecake bars are genuinely forgiving, though. Even if one layer wobbles, it’ll still taste incredible. I’ve had my share of kitchen disasters over the years, including a baked cheesecake that cracked like the earth in a drought, and I’m here to tell you this is the easy path.
Crust Variations
Want to switch things up? The graham cracker crust is classic for these no-bake pumpkin cheesecake bars, but you can substitute equal amounts of other crisp cookies:
- Gingersnaps: extra warmth and a little bite
- Biscoff: the caramelized spice flavor is unreal
- Vanilla wafers: sweet and simple, great with kids
- Gluten-free graham-style cookies: an easy way to build a gluten-free graham crust
Just pulse them into fine crumbs and follow the same ratios. The rest of the recipe stays exactly the same.
Substitutions
Dairy-free substitution: It is possible. Use dairy-free block cream cheese and swap the heavy whipping cream for coconut cream. The texture won’t be identical to the original, but it’ll still be creamy and delicious, and it’s a great option for anyone avoiding dairy.
Cool Whip vs. homemade whipped cream: I’ll settle this debate right now. For the filling, real whipped cream beaten to stiff peaks gives the best set and flavor. You can use an equal amount of thawed Cool Whip as a whipped topping substitute in a pinch. It’s a legit shortcut that works, just know the bars will be a bit sweeter.
No pumpkin pie spice? Make your own with the classic blend of cinnamon, ginger, nutmeg, and a pinch of cloves. Mix a little extra and keep it in a jar for the next batch.
Storage and Freezing
These no-bake pumpkin cheesecake bars are the ultimate make-ahead dessert. You can have them assembled and chilled up to 3 days before you plan to serve. Just wait on the whipped cream topping until the big moment.
Store leftovers in an airtight container in the fridge for up to 4 days. They won’t last that long, but just in case.
Freeze? Yes. Wrap the bars tightly and freeze for up to 2 months. Thaw them overnight in the fridge before serving, then top with fresh whipped cream and a dusting of pumpkin pie spice. Nobody will ever guess they’ve been in the freezer.
Don’t pipe the whipped cream swirls until right before serving. Once those finished bars go back in the fridge, the swirls can flatten if they get bumped or stacked. I learned that one the hard way.
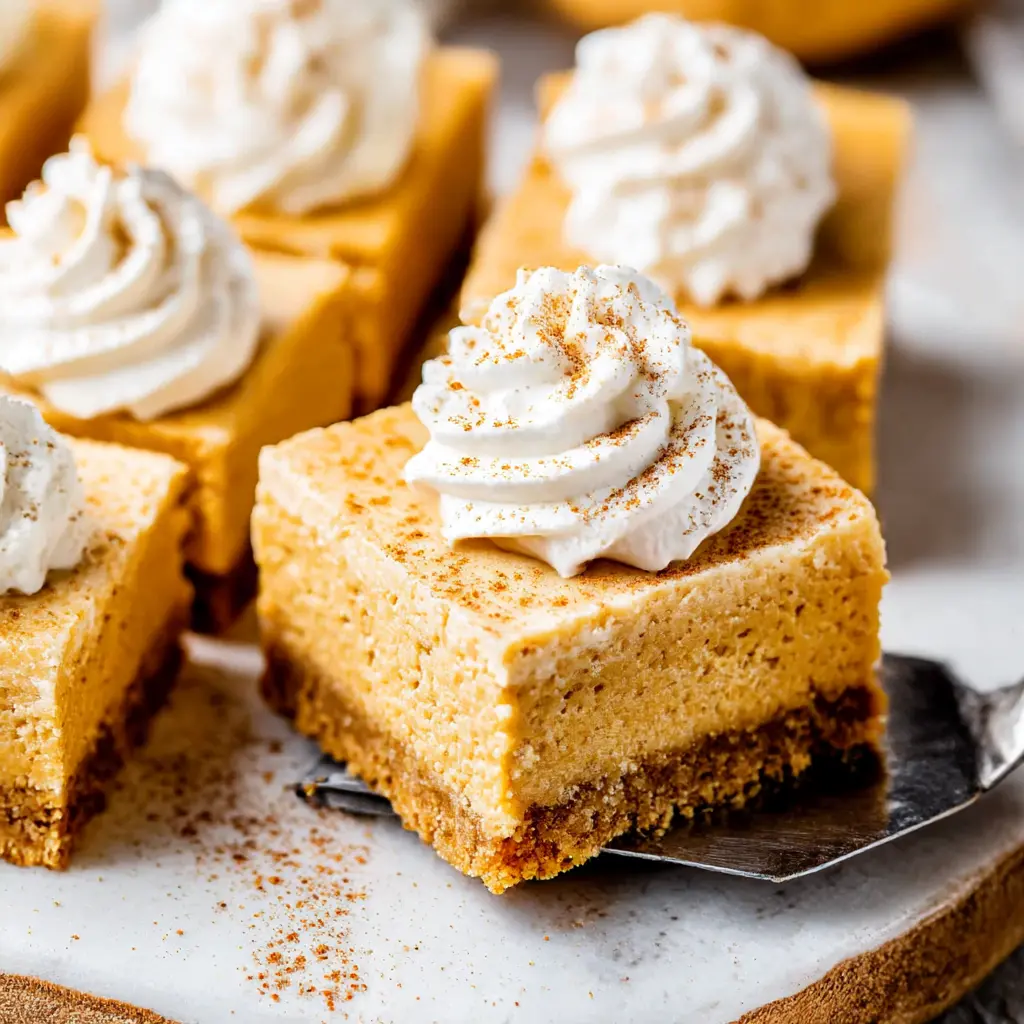
So there you have it. Creamy, spiced, impossibly easy no-bake pumpkin cheesecake bars that taste like autumn on a plate, without turning on the oven once.
When you pull these out of the fridge and cut that first clean slice, you’re going to feel like a dessert magician. I genuinely want to see your results, so tag me in your photos. And if you’re collecting fall dessert ideas like I do, save these no-bake pumpkin cheesecake bars on Pinterest so they’re ready when the craving hits.
Fall isn’t officially here yet, but your kitchen is about to taste like it. Yalla, go make these.
No-Bake Pumpkin Cheesecake Bars
Ingredients
Method
- Line an 8x8 or 9x9 square baking pan with parchment paper, leaving two opposite sides overhanging to create easy lifting handles.
- Stir together the graham crumbs, brown sugar, pumpkin pie spice, and salt in a big mixing bowl. Pour in the melted butter and mix thoroughly until every crumb is coated.
- Transfer the mixture into the pan and press it into a firm, even layer using the bottom of a measuring cup or a flat glass. Put it aside.
- Pour the cold heavy cream into a large chilled bowl and beat until stiff peaks form. Keep the whipped cream in the refrigerator while you work on the filling.
- In another large bowl, beat the cream cheese with the granulated sugar and salt until perfectly smooth and free of lumps. Add the vanilla, lemon juice, pumpkin puree, and pumpkin pie spice, then beat again until the mixture is silky and uniform.
- Use a rubber spatula to fold the reserved whipped cream into the pumpkin cream cheese mixture in a gentle circular motion, scraping the bottom, until fully incorporated with no streaks.
- Spoon the filling over the prepared crust and smooth the top with an offset spatula. Cover the pan and refrigerate for at least 8 hours, preferably overnight. For neat slices, freeze for 1 hour before cutting.
- Lift the set cheesecake out of the pan using the parchment overhang and transfer it to a cutting board. Trim any uneven edges, then cut into 12 even bars in a 4 by 3 grid, wiping the knife clean after each slice.
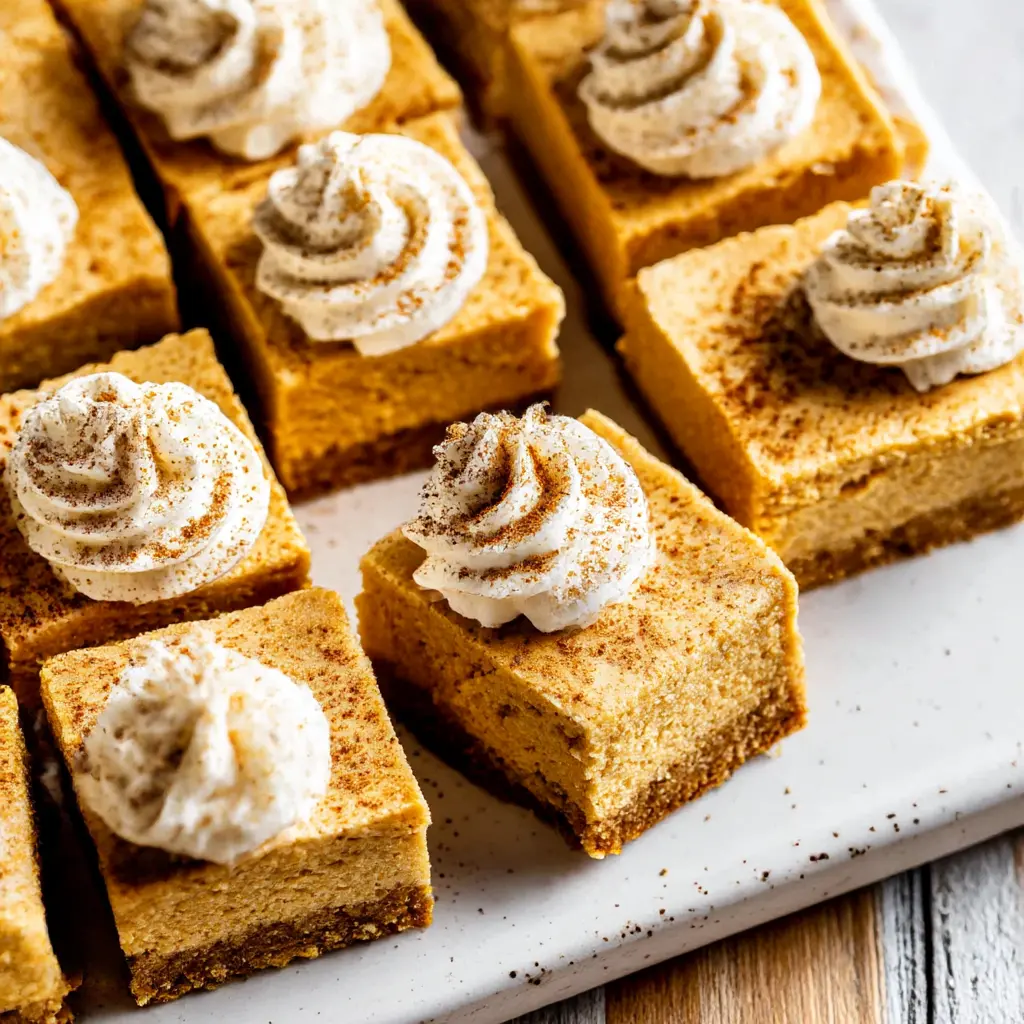
- In a chilled bowl, whip the cream, powdered sugar, and vanilla until stiff peaks form. Place the cream in a piping bag fitted with a large star tip (like Wilton 1M) and pipe a decorative swirl onto each bar. Finish by dusting the tops with pumpkin pie spice and serve chilled.
Nutrition
Notes
Tried this recipe?
Let us know how it was!Frequently Asked Questions
Source: Learn More About This Dish