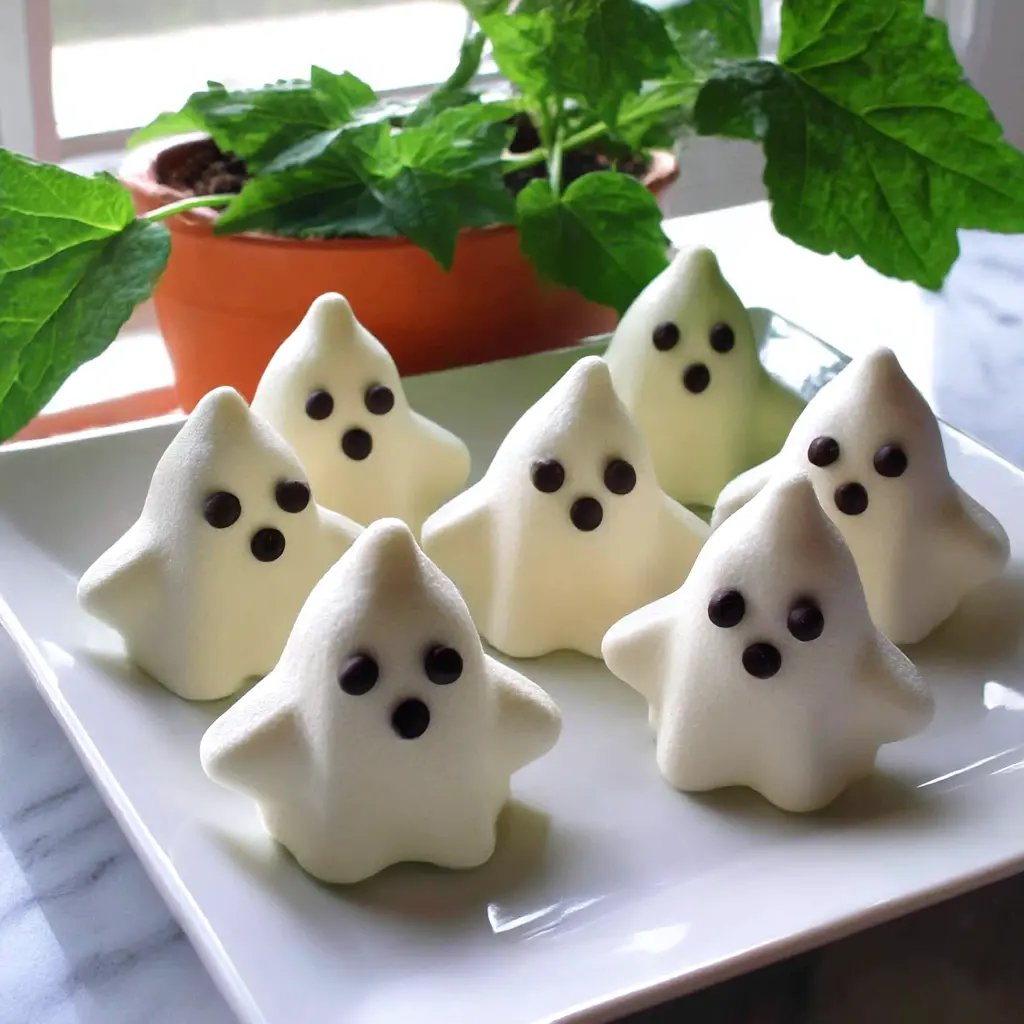
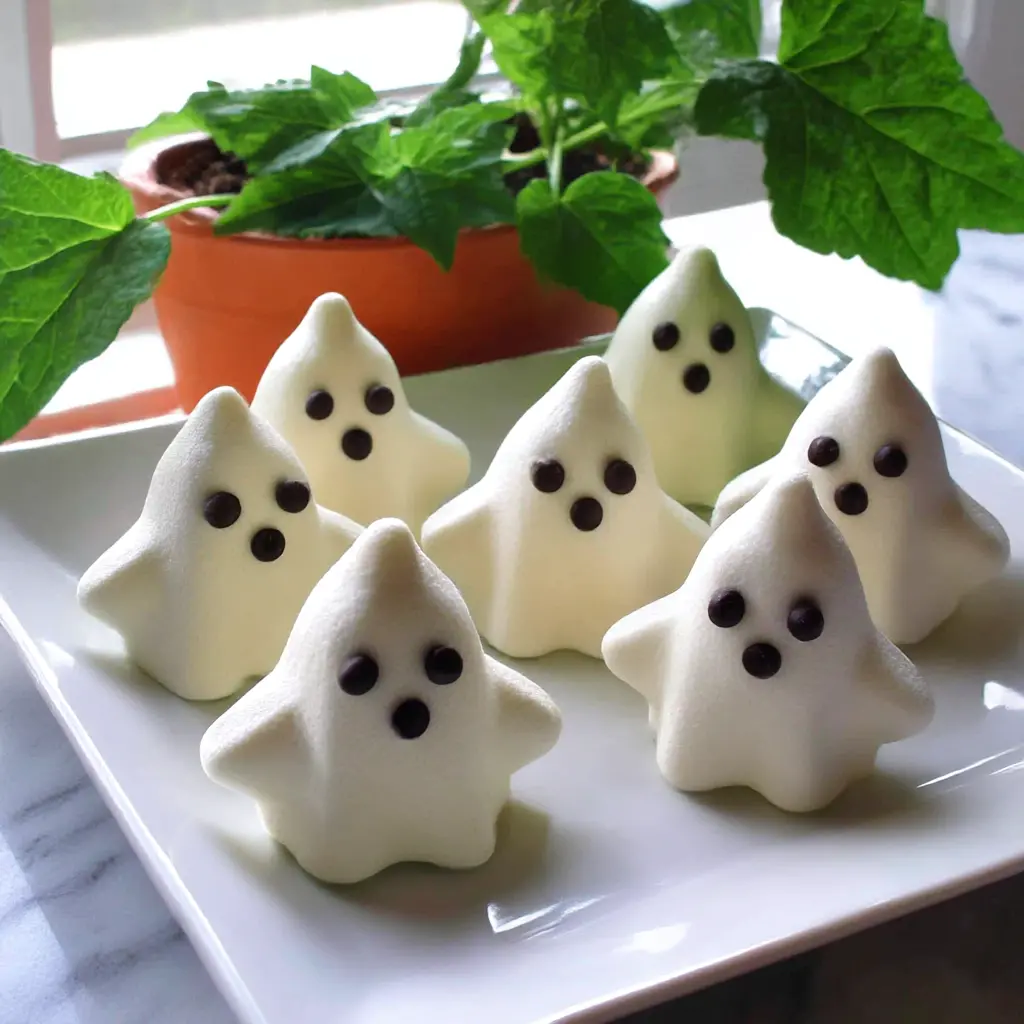
Vanilla Ghost Meringue Cookies
Ingredients
Method
- Separate the cold egg whites from the yolks carefully; any speck of yolk, grease, or residue on the bowl or beaters will keep the meringue from becoming fluffy. Cover the yolks and refrigerate them for another use, then set the whites aside until they reach room temperature, about 30 minutes.
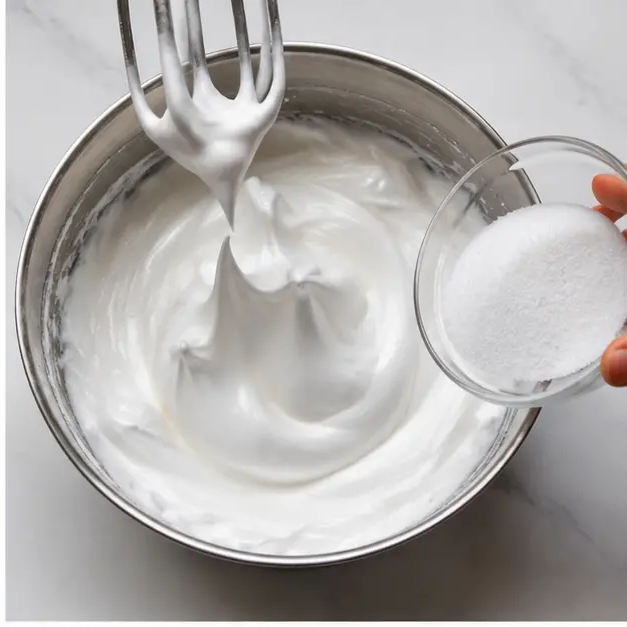
- Beat the egg whites and cream of tartar in a deep bowl with an electric mixer on high speed until soft peaks form. Continue beating while adding the sugar one tablespoon at a time, then beat until stiff, glossy peaks form and a little meringue rubbed between your fingers no longer feels gritty. Beat in the vanilla extract.
- Heat the oven to 200 degrees Fahrenheit. Line two baking sheets with parchment paper, dabbing a small bit of meringue between the pan and the parchment corners to keep the paper flat.
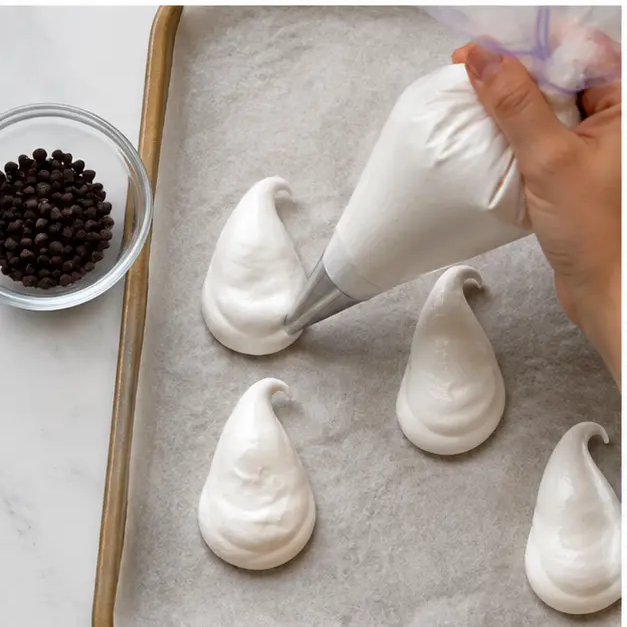
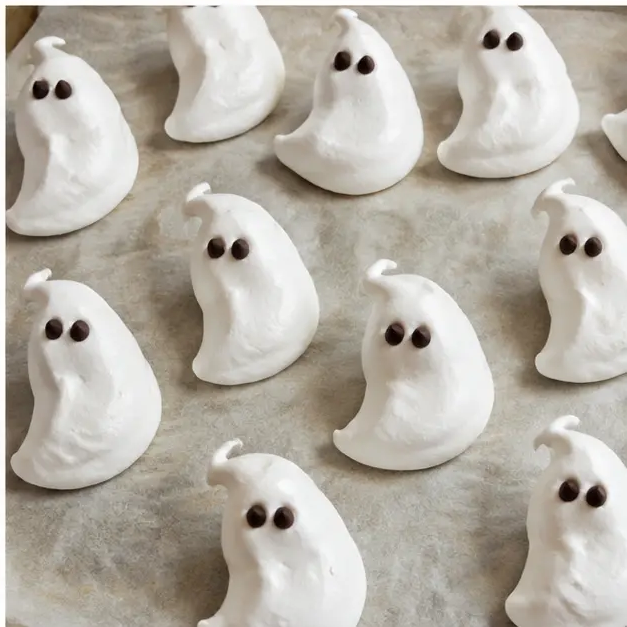
- Scoop the meringue into a large resealable plastic bag and seal it. Snip a 1/2 inch opening across one lower corner and use the bag like a pastry bag to pipe ghost shapes about 2 inches wide and 3 to 4 inches long onto the parchment, leaving about 2 inches between shapes. Gently press two miniature chocolate chips into each ghost for eyes, then repeat with the remaining meringue.
- Bake the ghosts until they turn lightly golden, about 1 1/2 hours, rotating and switching the position of the baking sheets halfway through. Turn off the oven and let the meringues rest inside the closed oven for another hour before removing them.
Nutrition
Notes
Tried this recipe?
Let us know how it was!Ghost Meringue Cookie Ingredients
Halloween is officially on the horizon, which means it’s time to lock in your spooky treat lineup. And these ghost meringue cookies? They take about ten minutes of real effort and look like they came from a fancy bakery. I promise, you can do this.
I used to be scared of meringue, honestly. All those stories about weeping whites and sticky tops made me think it was pastry chef territory. Then I made my first batch one humid Richmond afternoon. The cookies came out gloriously lopsided, and my boys ate every single one anyway.
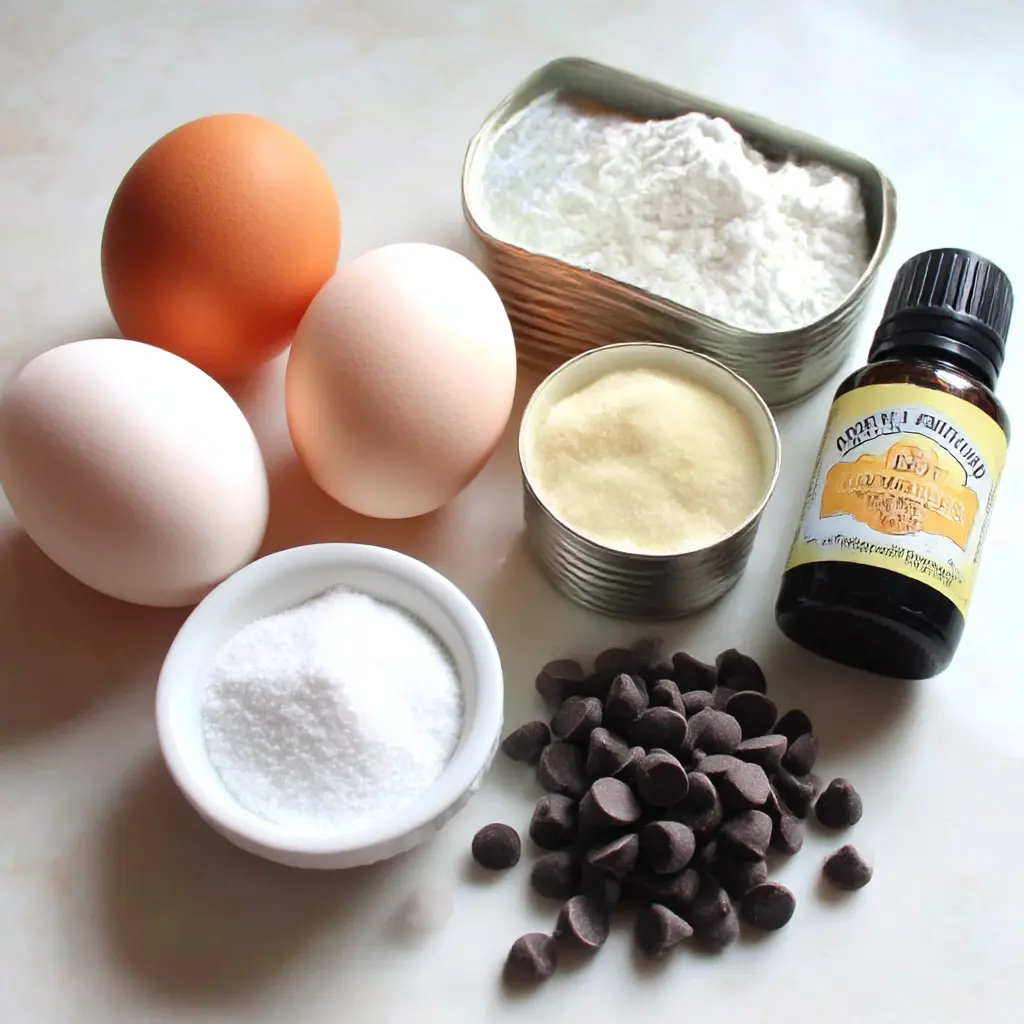
Here’s the thing about ghost meringue cookies: the ingredient list is almost embarrassingly short. Egg whites, cream of tartar, granulated sugar, vanilla extract, and miniature chocolate chips for the eyes. You probably have all of it in your kitchen right now.
The egg whites do the heavy lifting. The cream of tartar? Think of it as meringue’s insurance policy. It’s an acid that stabilizes the whites, helping them whip into egg white stiff peaks that hold their shape through piping and baking. The base is essentially a 3-ingredient meringue cookie, no butter, no flour, nothing complicated.
That makes these spooky ghost cookies naturally low in calories, dairy free, and gluten free. The boys don’t care about any of that. They just care that the cookies are cute and taste like little vanilla clouds. Crisp on the outside, featherlight inside, the kind of melt-in-your-mouth cookie that disappears before the party starts.
How to Make Meringue Ghosts
Meringue isn’t difficult. It’s particular. It rewards clean bowls and patience, and it always tells you when it’s ready if you listen. Here are the four moments that matter, so nothing catches you off guard.
Stage one: room temperature egg whites in a spotless bowl. Separate the eggs while they’re cold, since the yolks are less likely to break. Any speck of yolk in the whites, and they won’t whip up. Let the whites sit for about 30 minutes, then add the cream of tartar and beat on high until soft peaks form. The mixer will start to sound different, a bit deeper, as the bubbles get smaller and tighter.
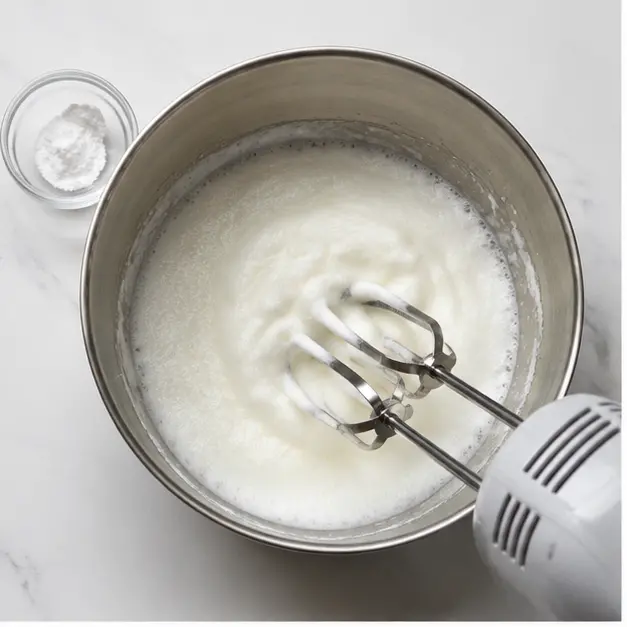
Stage two: add the sugar slowly. This is the step most people rush. Add the sugar one tablespoon at a time while the mixer runs. Dump it all at once, and the foam can deflate before it ever gets going. Beat until the meringue is glossy and holds stiff peaks. Rub a little between your fingers. Gritty means keep beating. Silky means done. Beat in the vanilla extract.
Stage three: pipe the ghosts. No fancy pastry bag required. Scoop the meringue into a large resealable plastic bag, snip a half-inch opening across one lower corner, and pipe away. Pipe ghosts about 2 inches wide and 3 to 4 inches long onto parchment-lined sheets, leaving space between them. Press two chocolate chips in for eyes right away, before the meringue sets. Trust me on this timing.
Stage four: the slow, low bake. The oven goes to 200 degrees. That’s not a typo. This low oven temperature baking dries the meringues out completely, which gives them that crisp, airy bite. Bake for about 1.5 hours, rotating the sheets halfway. Then turn off the oven and let the ghosts rest inside the closed oven for another full hour. No peeking.
Tips for Success with Meringue Ghosts
These ghost meringue cookies turn out best when you set yourself up for a win. Here’s what I learned the hard way:
- Keep everything spotless. Wipe the bowl and beaters with white vinegar or lemon juice if you’re worried about any grease residue.
- Watch the weather. Humidity makes meringue cookies sticky. If it’s a muggy summer day, run the AC or wait for a drier afternoon.
- Don’t rush the sugar. One tablespoon at a time. It’s the difference between glossy peaks and a deflated puddle.
- Cracks are okay. If a ghost cracks a little in the oven, it just looks more haunted. A feature, not a bug.
Common mistakes, fixed:
- ❌ Cold egg whites straight from the fridge → ✅ Let them sit out for 30 minutes first.
- ❌ Adding all the sugar at once → ✅ One tablespoon at a time.
- ❌ Opening the oven door mid-bake → ✅ Keep it shut, and let the cookies finish cooling inside.
What to Do with Extra Egg Yolks
This recipe uses only the whites, so you’ll have three lonely yolks waiting in the fridge. Don’t toss them. They make a lovely lemon curd, a quick custard for fresh berries, or extra-rich scrambled eggs for Saturday breakfast.
My father never wasted anything in the kitchen. He’d say those yolks are tomorrow’s breakfast. He was always right.
Flavor Variations for Ghost Meringue Cookies
The vanilla version is my favorite, but these handle a little playing around:
- Almond extract: Swap the vanilla for 1/2 teaspoon of almond extract. It adds a subtle, nutty warmth that’s lovely.
- Lemon zest: Fold in finely grated zest from a bright California Meyer lemon. That sunny note is perfect for fall.
- A tiny drop of food coloring: Pale pink or soft orange ghosts are a fun twist. The boys insist this is very important information.
Extract swaps change flavor, not texture. So feel free to experiment within the same method.
How to Store Ghost Meringue Cookies
These are the ultimate make-ahead halloween meringue cookies. Once fully cooled, layer them in an airtight container with wax paper between the layers so they don’t break. Keep them at room temperature, and they’ll stay crisp for up to 2 weeks.
Whatever you do, skip the fridge. Refrigerator humidity turns crispy meringue cookies sad and chewy. If that ever happens, pop them back into a 200 degree oven for about 10 minutes, and they crisp right up again. It’s like magic, only better, because there are cookies involved.

How to Serve Ghost Meringue Cookies
These little guys are the life of any Halloween spread. Pile them on a platter for the class party, nestle a few into a bowl of fresh berries, or stand them on top of a frosted Halloween cake. They’re light enough to end a heavy meal without weighing anyone down.
My favorite part? Putting a plate of these spooky party treats out and watching the kids discover the tiny chocolate eyes staring back at them. It never, ever gets old.
Ghost Meringue Cookies FAQ
One Last Thing
When your kids see these ghosts waiting on the Halloween dessert table, you’ll be the hero of the night. It honestly feels like a magic trick. Cloudy egg whites turn into glossy peaks, and a low oven turns those peaks into crisp, adorable little spirits.
If you make your own batch of ghost meringue cookies, I’d love to see the faces you come up with. Come find me on Pinterest and share your ghost creations. You’re about to be the most popular ghost maker on the block.
Source: Learn More About This Dish