
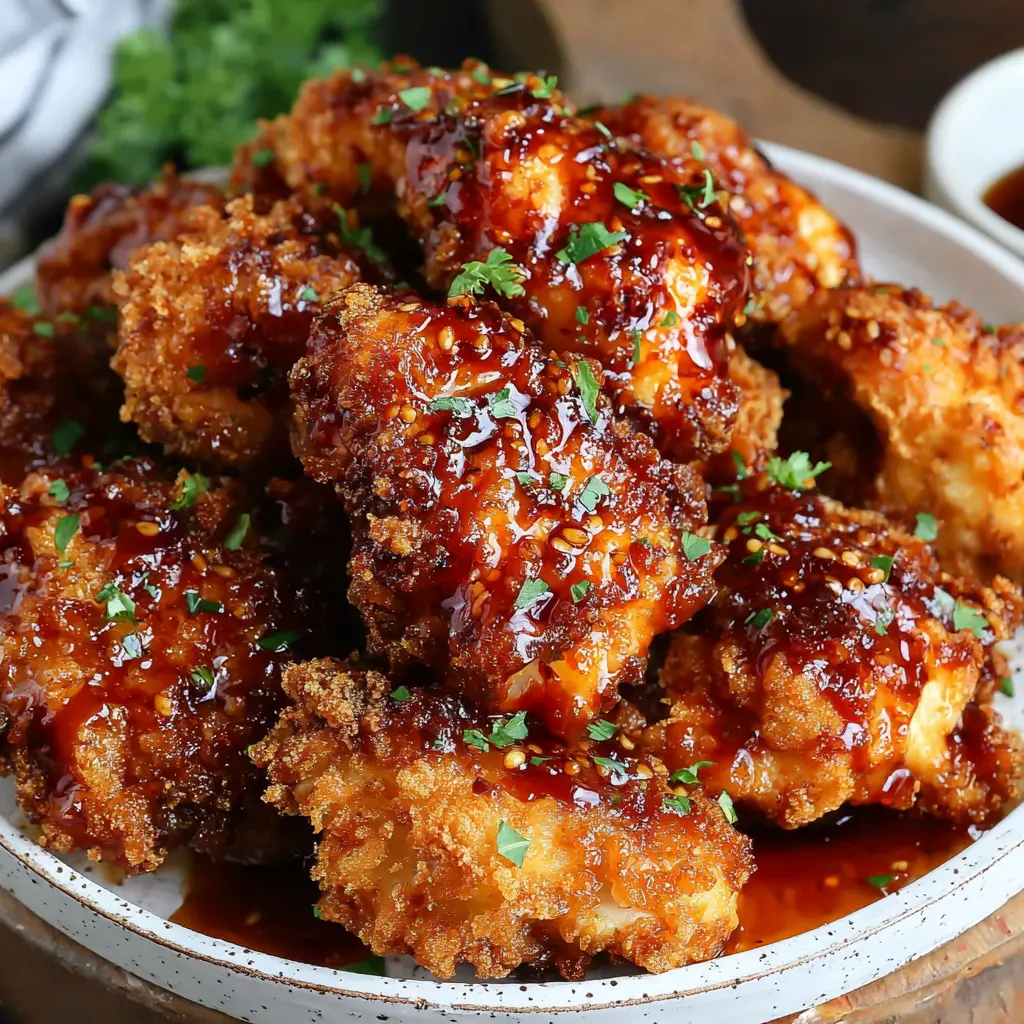
Why This Crispy Baked Hot Honey Chicken Works
I used to think crispy baked chicken was a unicorn. You know, the kind of thing people talk about but nobody actually pulls off. I’d try baking chicken and end up with sad, soggy coating that made me wonder why I didn’t just fry it. But then I figured out the secret. And let me tell you, this crispy baked hot honey chicken is the real deal.
Here’s the thing. The combination of a buttermilk marinade, a crunchy panko-flour coating, and a sticky sweet-spicy hot honey glaze creates something magical. You get that satisfying crunch when you bite into it, followed by the tender juicy chicken inside, and then that lingering sweet heat from the glaze. It’s everything you want from fried chicken without the mess of deep frying.
This recipe has become my go-to for busy weeknights when I want something that feels impressive but doesn’t require standing over a hot stove. My family goes crazy for it, and I’ve even brought it to potlucks where people couldn’t believe it was baked. So if you’re ready to make your oven do the heavy lifting, let’s get into it.
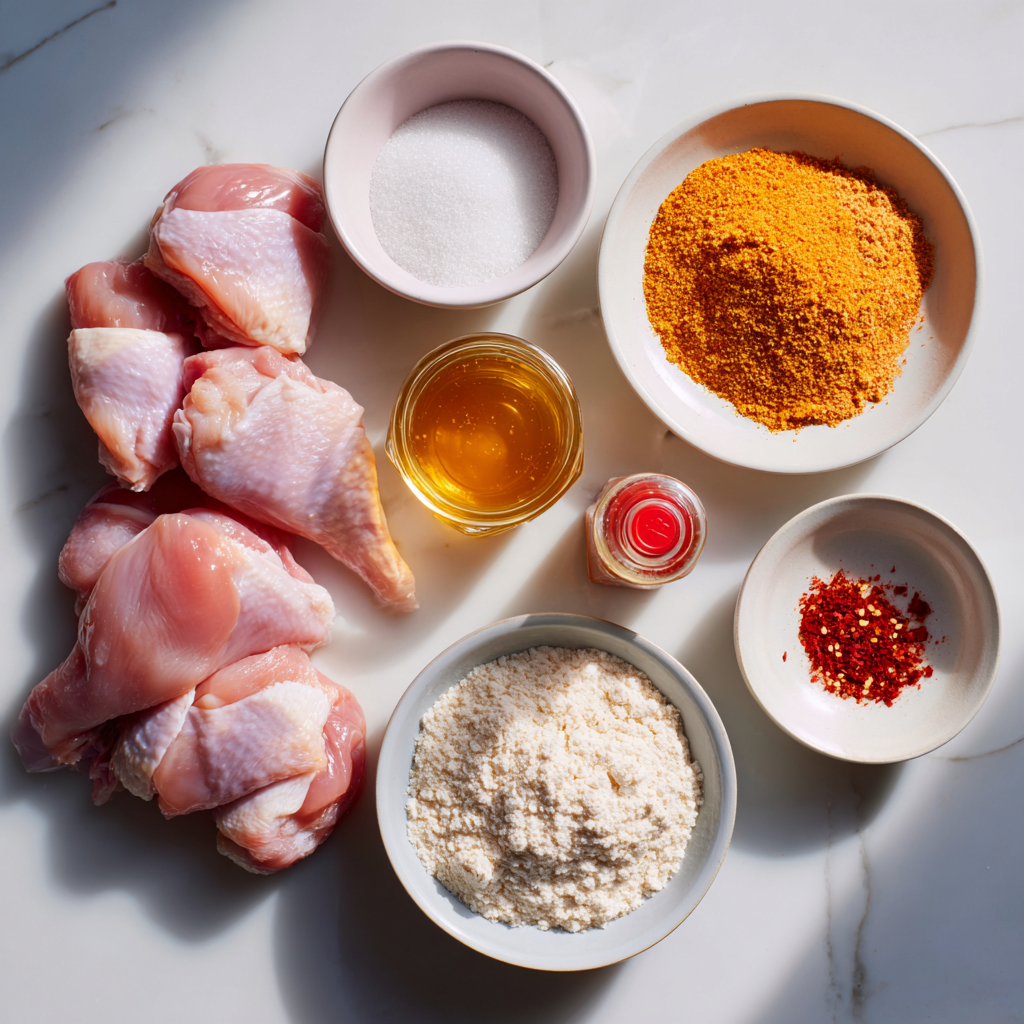
Key Ingredients for the Perfect Crunch
Before we jump into the method, let’s talk about what makes this coating so good. Each ingredient has a job, and understanding that helps you nail it every time.
- Buttermilk: This is your secret weapon for tenderizing the chicken. The acid in buttermilk breaks down proteins, making the meat incredibly juicy. It also helps the coating stick like glue.
- All-purpose flour and panko breadcrumbs: The flour gives structure, while the panko adds that light, airy crunch. Regular breadcrumbs just don’t cut it here. Panko is the key to that shatteringly crisp texture.
- Smoked paprika, garlic powder, onion powder: These spices build flavor into the coating itself. The smoked paprika adds a subtle warmth that pairs perfectly with the hot honey.
- Hot honey sauce: Made with honey, hot sauce, and red pepper flakes. This is where the magic happens. The sweetness balances the heat, and it glazes the chicken without making it soggy because you add it after baking.
One thing I love about this recipe is how forgiving it is. You don’t need to obsess over exact timing or fancy equipment. Just good ingredients and a little patience.
Step-by-Step Instructions
Alright, let’s walk through this together. I’ll break it down into four major stages so you can see the whole picture.
Stage 1: Marinate the Chicken
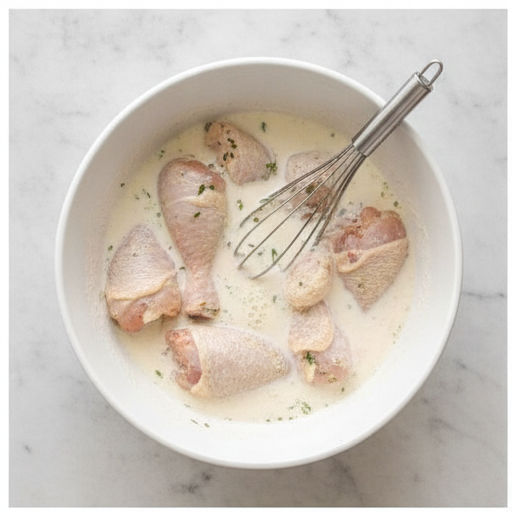
Start by placing your chicken pieces in a large bowl and pouring buttermilk over them. Make sure every piece is coated. Cover the bowl and refrigerate for at least 30 minutes, but if you have time, let it go for up to 4 hours. The longer it sits, the more tender and flavorful the chicken gets.
Here’s a tip I learned the hard way: pat the chicken dry before it goes into the buttermilk. Not after. You want the buttermilk to cling to the surface, not extra moisture from the package. Trust me on this.
Stage 2: Coat the Chicken
While the chicken marinates, preheat your oven to 425°F (220°C). Line a rimmed baking sheet with parchment paper and place a wire rack on top. This is crucial for crispiness. The wire rack allows hot air to circulate all around the chicken, so it cooks evenly and stays crunchy on all sides.
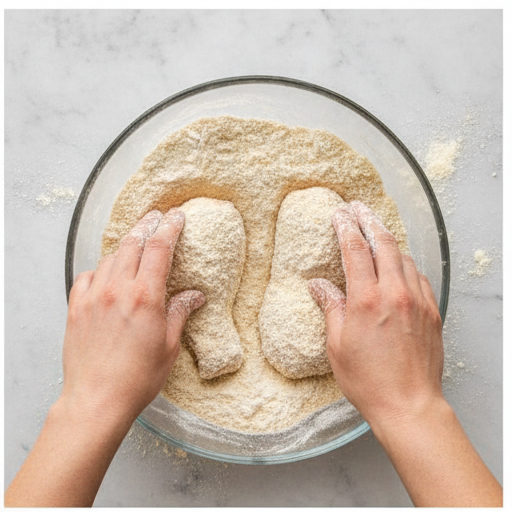
In a shallow dish, whisk together the flour, panko, smoked paprika, garlic powder, onion powder, salt, and pepper. Take each piece of chicken out of the buttermilk, let the excess drip off, then dredge it in the flour mixture. Press gently so the coating adheres well. Don’t be shy here. A good thick coating is what gives you that satisfying crunch.
Stage 3: Bake to Golden Perfection
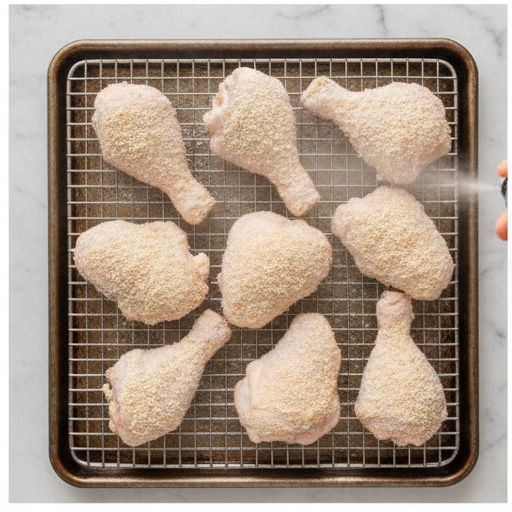
Place the coated chicken pieces on the wire rack, spacing them evenly so they don’t touch. Overcrowding is the number one mistake people make. If the pieces are too close together, they steam instead of bake, and you lose all that crispiness.
Lightly spray or drizzle the chicken with oil. This helps the coating brown and become crunchy. Bake for 35 to 45 minutes, flipping halfway through, until the chicken is golden brown and an instant-read thermometer registers 165°F (74°C) at the thickest part.
The sizzle when you pull the pan out of the oven is honestly one of my favorite sounds. That golden crust, the smell of smoked paprika filling the kitchen. It’s hard to resist eating it right then and there.
Stage 4: Glaze and Serve
While the chicken bakes, make the hot honey sauce. Whisk together the honey, hot sauce, and red pepper flakes in a small bowl. That’s it. You can adjust the heat by adding more or less hot sauce, depending on your tolerance.
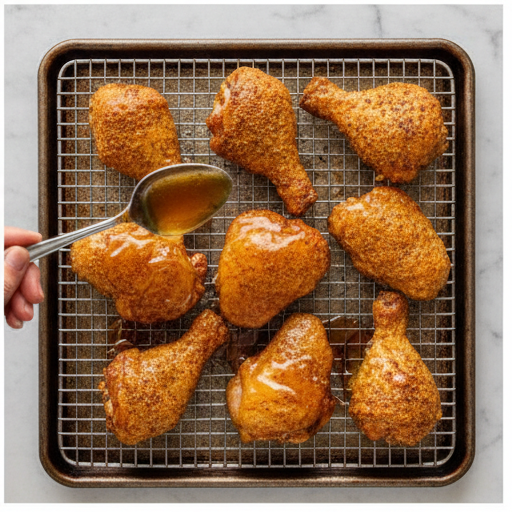
Once the chicken is done, drizzle or brush the hot honey sauce over each piece. Let it rest for 2 to 3 minutes so the glaze sets. This resting time is important because it allows the sauce to cling to the coating without making it soggy.
Serve immediately. The contrast between the crunchy coating and the sticky sweet-spicy glaze is pure perfection.
Tips for Extra Crispy Chicken
I’ve made this recipe more times than I can count, and I’ve learned a few tricks along the way. Here are my top tips for getting that perfect crunch every time.
- Use a wire rack. This is non-negotiable. A wire rack lifts the chicken off the baking sheet so air can circulate underneath. No more soggy bottoms.
- Don’t overcrowd the pan. Give each piece some breathing room. If they’re touching, they’ll steam and the coating won’t crisp up.
- Flip halfway through. This ensures even browning on both sides. Set a timer so you don’t forget.
- Spray with oil. A light mist of cooking spray or a drizzle of olive oil helps the coating brown beautifully. Don’t skip this step.
- Pat the chicken dry before marinating. Extra moisture is the enemy of crispiness. Remove as much as you can before the buttermilk goes on.
- Preheat the oven fully. A hot oven is essential for creating that initial sear on the coating. Make sure it’s at 425°F before the chicken goes in.
One more thing. If you’re using chicken fillets or smaller pieces, reduce the baking time. Check for doneness at 25 minutes and go from there. The internal temperature should always hit 165°F.
Variations to Try
This recipe is super versatile, and I love playing around with different flavors. Here are a few variations that work really well.
- Milder heat: If you’re cooking for kids or spice-sensitive eaters, reduce the hot sauce to 1 tablespoon or use a mild chili honey. You’ll still get that sweet glaze without the kick.
- Extra hot: For those who love heat, add an extra teaspoon of cayenne pepper to the flour mixture or increase the red pepper flakes in the sauce.
- Garlic-forward: Grate 1 or 2 cloves of garlic into the hot honey sauce for a savory depth that pairs beautifully with the sweetness.
- Gluten-free: Use gluten-free all-purpose flour and gluten-free panko breadcrumbs. The texture might be slightly different, but it still works great.
- Air fryer version: Air fry at 400°F for 8 to 10 minutes, flip, add the sauce, then air fry for another 5 to 6 minutes. It’s faster and just as crunchy.
You can also swap the chicken pieces for wings or tenders. Just adjust the cooking time accordingly. Wings might need a few minutes less, while larger leg cuts might need a few more.
How to Store and Reheat Leftovers
If you have leftovers, lucky you. But you need to store them properly to maintain that crunch.
Storage: Place leftover chicken in an airtight container and refrigerate for up to 3 days. Store the sauce separately if you can. This prevents the coating from getting soggy.
Reheating: The microwave is your enemy here. It will turn your crispy chicken into a sad, rubbery mess. Instead, reheat in a 375°F oven for 10 to 12 minutes, or in an air fryer at 375°F for 4 to 7 minutes. This restores the crunch beautifully.
Freezing: You can freeze the cooked chicken without the sauce. Place the pieces in a single layer on a baking sheet and freeze until solid, then transfer to a freezer-safe container. It will keep for up to 2 months. Thaw in the refrigerator overnight before reheating, and glaze fresh.
Frequently Asked Questions
Conclusion
Your oven is about to become your best friend. This crispy baked hot honey chicken is proof that you don’t need a deep fryer to get that satisfying crunch and sticky sweet-spicy glaze. It’s perfect for busy weeknights, family dinners, or even game day gatherings.
I promise, once you nail this method, you’ll never look at baked chicken the same way again. The first time you pull that pan out of the oven and see those golden, crispy pieces glistening with hot honey, you’ll know it was worth every minute.
Go make this! And if you try it, let me know how it turns out. I’d love to hear about your crispy success stories.
For more inspiration, check out this crispy baked hot honey chicken recipe on Pinterest and save it for later!
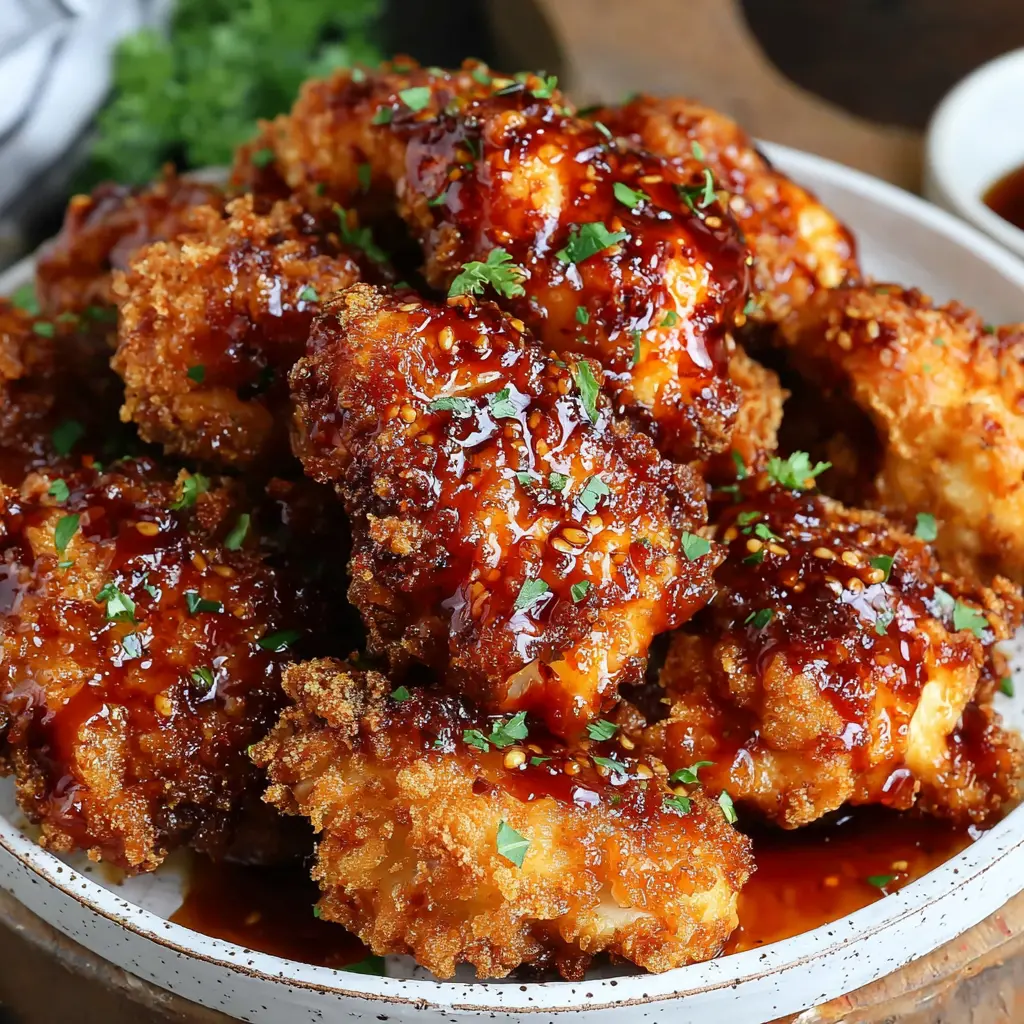
Crispy Baked Hot Honey Chicken (Super Crunchy!)
Ingredients
Method
- Place chicken pieces in a large bowl and pour buttermilk over them. Cover and refrigerate for at least 30 minutes, or up to 4 hours for extra tenderness.
- Preheat your oven to 425°F (220°C). Line a rimmed baking sheet with parchment paper and place a wire rack on top for maximum crispiness.
- In a shallow dish, whisk together flour, panko, smoked paprika, garlic powder, onion powder, salt, and pepper. Remove chicken from buttermilk, letting excess drip off, then dredge each piece in the flour mixture, pressing gently to adhere.
- Place coated chicken pieces on the wire rack, spacing them evenly so they don't touch. Lightly spray or drizzle with oil. Bake for 35-45 minutes, flipping halfway through, until golden brown and an instant-read thermometer registers 165°F (74°C) at the thickest part.
- While chicken bakes, whisk together honey, hot sauce, and red pepper flakes in a small bowl. Set aside.
- Once chicken is done, drizzle or brush the hot honey sauce over each piece. Let rest for 2-3 minutes to allow glaze to set, then serve immediately.
Nutrition
Notes
Tried this recipe?
Let us know how it was!Source: Nutritional Information













3 responses to “How to Make Crispy Baked Hot Honey Chicken at Home”
Looks delicious! I’m curious—could I substitute the buttermilk with a dairy-free alternative like almond milk with a splash of lemon juice? Also, would this work with boneless skinless chicken breasts?
Hi James! Great question—yes, you can absolutely use almond milk with a tablespoon of lemon juice or vinegar as a buttermilk substitute. It works well for tenderizing. Boneless skinless chicken breasts will work too, just reduce the baking time to about 20-25 minutes since they’re leaner. Enjoy!
I made this last night and it was a huge hit with my family! The buttermilk really does make a difference in tenderness. I used chicken thighs and they came out perfectly juicy with a great crunch. The hot honey sauce is addictive—I’m already planning to double it next time. Thanks for such a clear recipe!