
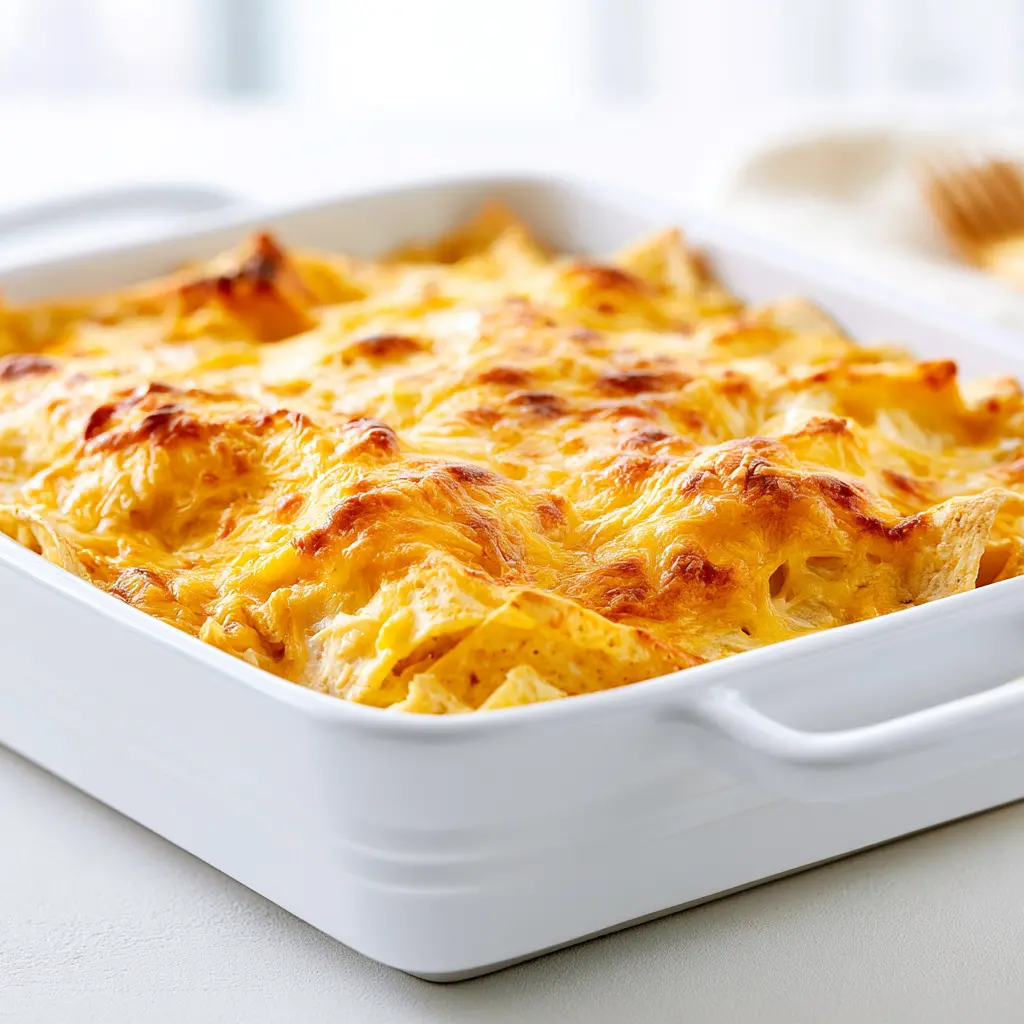
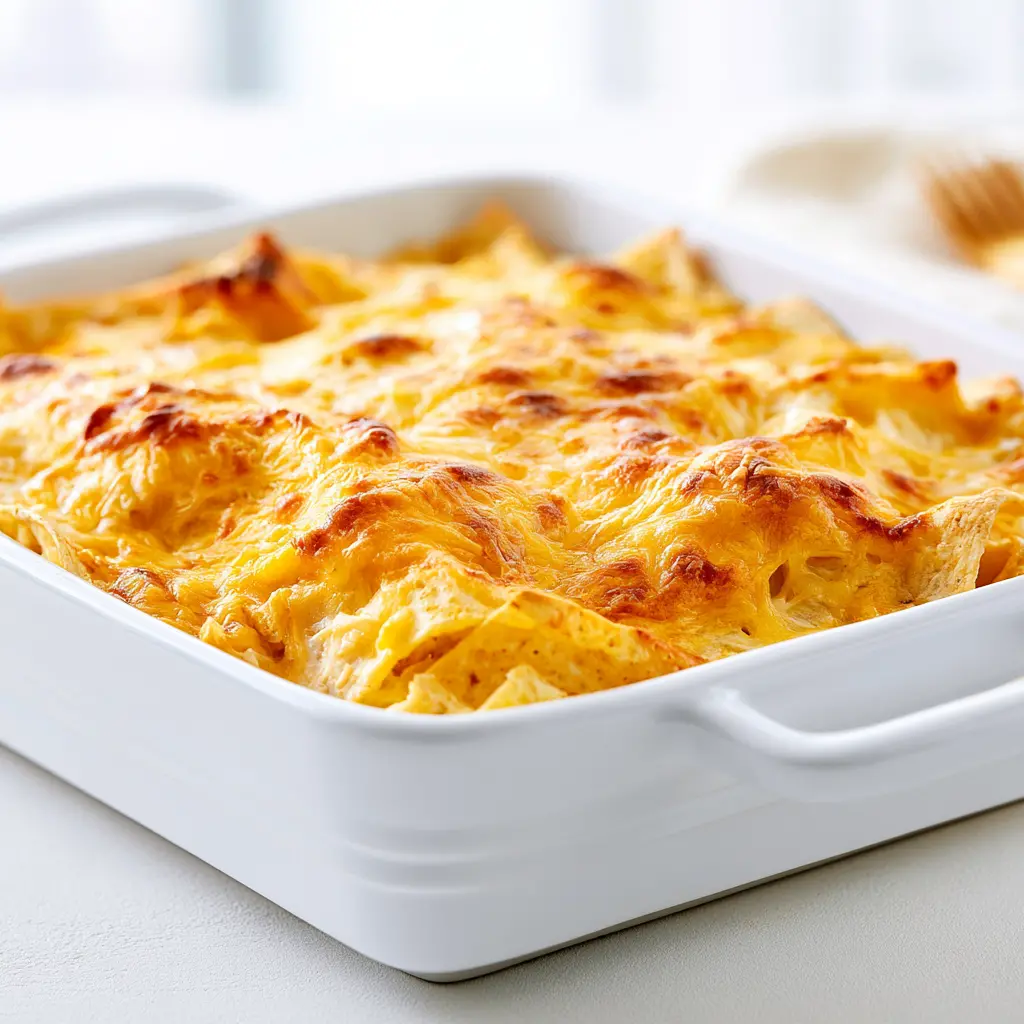
Creamy Chicken Enchilada Casserole with Corn Tortillas and Cheddar
Ingredients
Method
- Cook and shred enough chicken to measure 4 cups, using rotisserie chicken, poached breasts, or any preferred method.
- Heat the oven to 350°F.
- Coat a 9x13-inch baking dish with nonstick cooking spray.
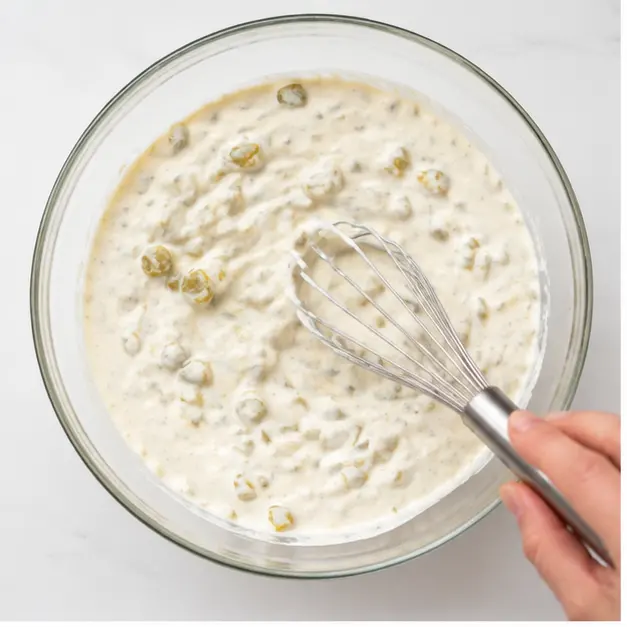
- In a large bowl, stir together the cream of chicken soup, sour cream, milk, diced green chiles, garlic powder, and dried minced onion. Season with black pepper to taste.
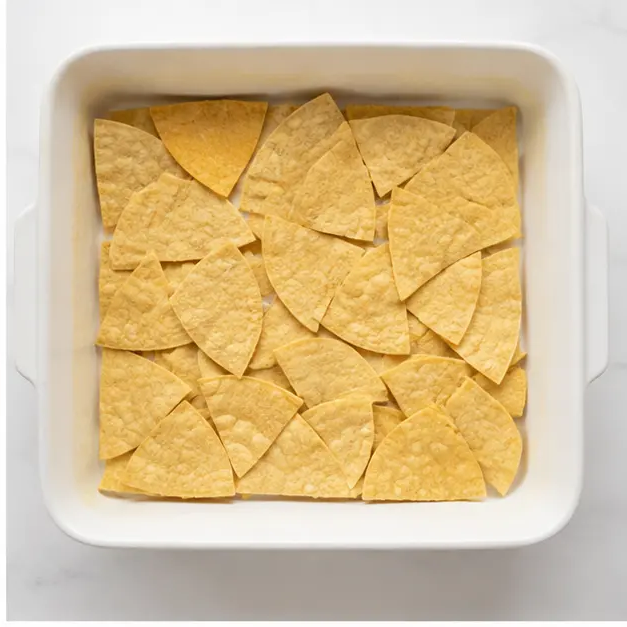
- Stack 6 of the corn tortillas and cut each stack in half twice to make quarters.
- Spread the tortilla pieces evenly over the bottom of the prepared baking dish.
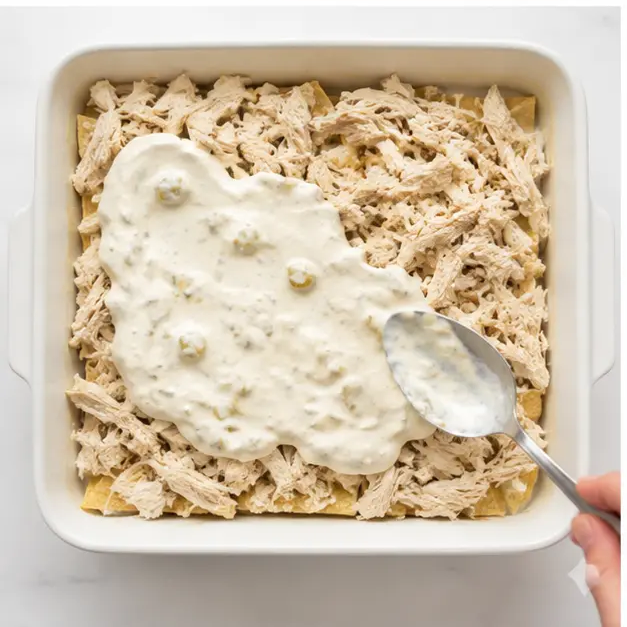
- Scatter half of the shredded chicken (2 cups) over the tortilla layer.
- Pour half of the sour cream mixture over the chicken and spread it with a spoon into an even layer.
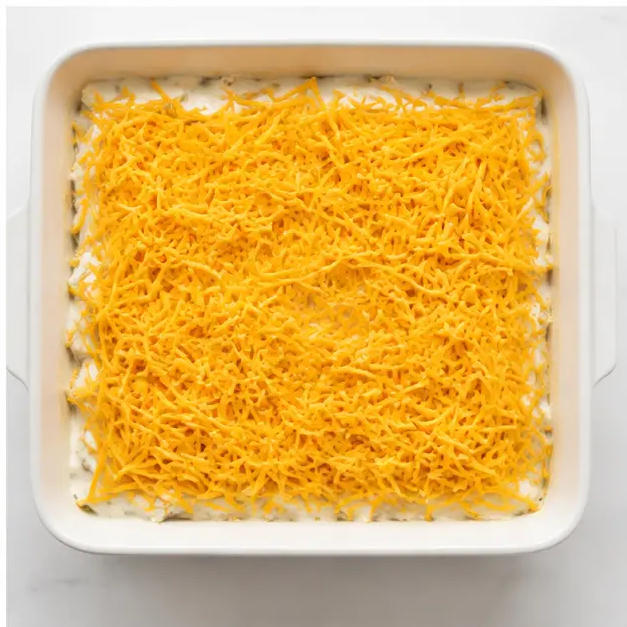
- Sprinkle half of the shredded sharp cheddar cheese over the sauce.
- Cut the remaining 6 tortillas into quarters and arrange them over the cheese.
- Repeat the layering with the remaining chicken, the rest of the sauce, and the remaining cheddar.
- Cover the dish tightly with aluminum foil and bake for 40 minutes, until hot and bubbling.
Nutrition
Notes
Tried this recipe?
Let us know how it was!Why You’ll Love This Chicken Enchilada Casserole
It’s 5pm, the kids are circling the kitchen like tiny hungry sharks, and someone just asked “what’s for dinner?” for the fourth time. I’ve been there. This chicken enchilada casserole is the answer to that exact moment.
Real talk, I used to avoid enchiladas entirely. Rolling those tortillas? I’ve had more than one tear right down the middle, filling everywhere, me standing there wondering why I didn’t just order pizza. Then I learned the lasagna trick: layer everything in a casserole dish and skip the rolling. Same flavor, zero frustration. This easy chicken enchilada casserole is that trick in a baking dish.
This baked chicken enchilada casserole is creamy, cheesy, and saucy in all the right places. It’s perfect for a chaotic weeknight, and with Labor Day weekend here, it’s also the dish to bring to the cookout. Feed eight people, watch it disappear before the potato salad, and take home an empty dish. About 20 minutes of hands-on work, one baking dish, and the whole house smells like dinner.
Ingredients for Chicken Enchilada Casserole
You probably have most of this already, which is half the reason this recipe works so hard for busy people. Here’s the lineup.
- Shredded chicken: Grab a rotisserie chicken and pull the meat off. It’s already seasoned and juicy, no extra work needed.
- Cream of chicken soup: This gives the sauce its body. It’s the quietly brilliant shortcut that makes everything creamy.
- Sour cream and milk: They thin the sauce just enough to spread evenly between those layers.
- Sharp cheddar: I like sharp cheddar because it cuts through the richness. Shred it from a block if you can, it melts so much better.
- Corn tortillas: Cut into quarters, no rolling required. They soak up all that creamy sauce like little sponges.
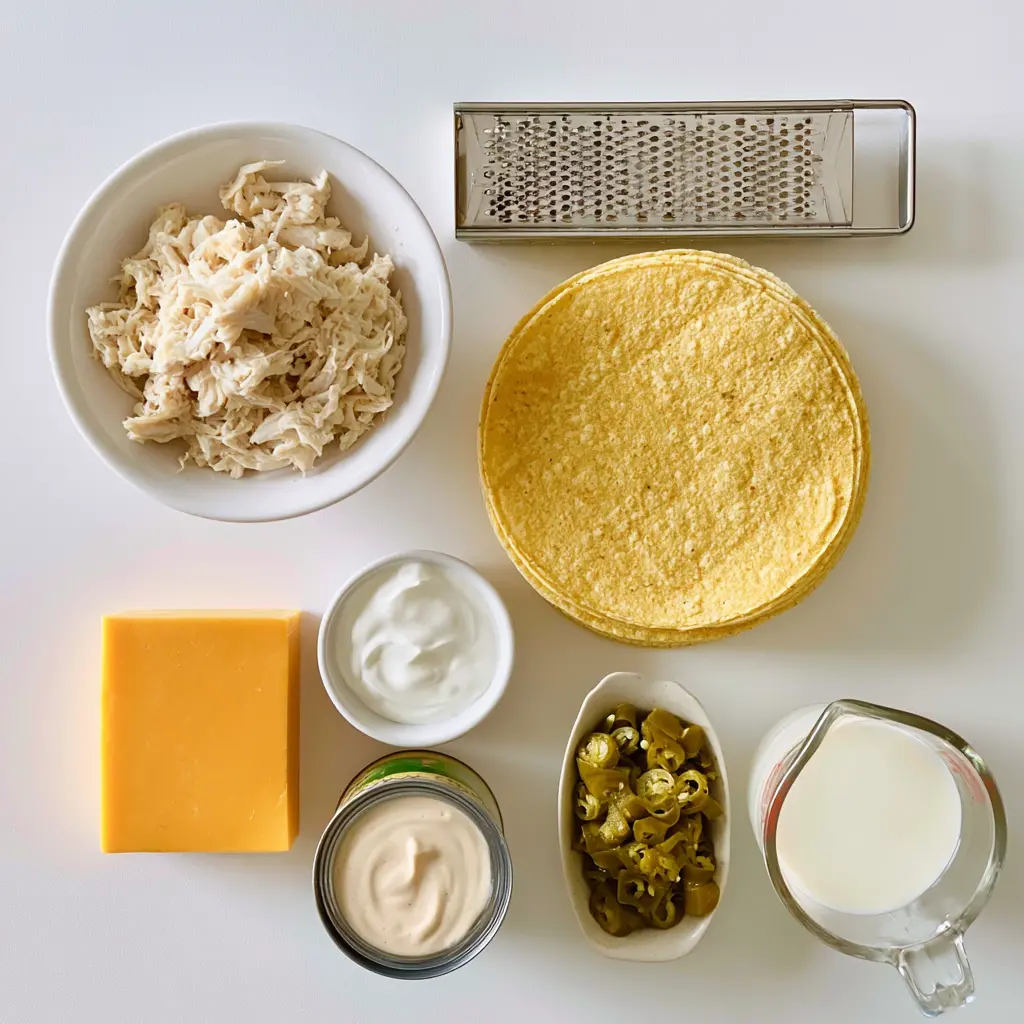
Diced green chiles, garlic powder, dried minced onion, and a few grinds of black pepper round out the savory flavor. Nothing fancy, I promise.
How to Make Chicken Enchilada Casserole
Think of this as lasagna with a Mexican accent. You’re stacking tortillas, chicken, sauce, and cheese, then letting the oven do the heavy lifting. Alright now, here’s how the rhythm goes.
Stage 1: Mix the sauce and prep the chicken. In a large bowl, stir together the cream of chicken soup, sour cream, milk, diced green chiles, garlic powder, and dried minced onion. Season with black pepper to taste. If you’re using rotisserie chicken, this is the moment to pull it into bite-size pieces. The sauce does all the flavor work here. You’re just the architect.
Stage 2: Build the first layer. Cut six of the corn tortillas into quarters and scatter them over the bottom of a greased 9×13-inch dish. Add half the chicken, half the sauce, then half the cheddar. Don’t overthink the spreading. Even is good, perfect is overrated.
Stage 3: Repeat the layers. Cut the remaining tortillas and lay them over the cheese. Repeat with the remaining chicken, the rest of the sauce, and all the remaining cheddar on top. That final blanket of cheese is what gives us the golden top we’re all really here for.
Stage 4: Bake, then rest. Cover the dish tightly with foil and bake at 350°F for 40 minutes, until it’s hot and bubbling at the edges. Let it rest 5 minutes before serving. That short rest is what keeps the layers holding together instead of turning into a saucy pile.
Tips for the Best Chicken Enchilada Casserole
I’ve made this one enough times to know where things can go sideways. Here are the fixes, learned the hard way so you don’t have to.
❌ A soupy, runny casserole. That usually means the sauce layers were too thick. Spread each layer evenly and trust the tortillas to soak it up. They will.
✅ Shred your own cheese. Pre-shredded cheese has anti-caking powder that messes with melting. A block of cheddar and a box grater take two minutes, and the difference is real.
❌ Skipping the rest time. You’re excited, I get it. But cutting in too soon makes the layers slide apart. Five minutes. Set a timer if you must.
✅ Use rotisserie chicken. It’s already seasoned, juicy, and perfect. Cooked-from-scratch chicken works too, but the rotisserie version makes this a 20-minute prep. Summer cookouts leave chickens in everyone’s fridge, and this is the smartest way to use one up.
Variations and Substitutions
This chicken enchilada casserole is forgiving. Real talk, that’s what makes it a keeper. Here are some ways to make it yours. All of these are optional, so don’t stress about any of them.
- Cheese swaps: Monterey Jack, pepper jack, or a Mexican blend all work beautifully in place of sharp cheddar.
- Extra heat: Swap the mild diced chiles for hot green chiles, or add a minced jalapeño to the sauce.
- Add-ins: Black beans, frozen corn, or a light sprinkle of taco seasoning mixed into the chicken turns this into a totally different dinner.
- Sauce personality: Some folks mix in a few spoonfuls of salsa verde or red enchilada sauce. The creamy version is the one I always come back to, though.
- Lighter swap: Plain Greek yogurt works in place of sour cream if that’s what you have on hand.
Corn vs. Flour Tortillas
Corn wins for me, hands down. Corn tortillas soak up the creamy sauce and stay tender without dissolving. Flour tortillas work in a pinch, and some families genuinely prefer them, but they soften more and can make the casserole heavier. If you go flour, that’s fine. It’ll still be delicious.
Whichever you choose, cut them into quarters. That’s what lets the sauce find its way around every piece, which is the whole magic of a layered enchilada casserole.
Make-Ahead and Storage
This make-ahead casserole is a gift to your future self. Assemble it the night before, cover it, and refrigerate. When you’re ready to bake, add about 10 minutes to the cook time and you’re golden. Too hot to cook in the afternoon? Build it in the cool morning, then bake once the kitchen settles down.
Leftovers keep in an airtight container in the fridge for up to 4 days. The tortillas soften the longer it sits, which honestly makes it even more comforting. Reheat a single portion in the microwave, or warm the whole dish in the oven until bubbling again.
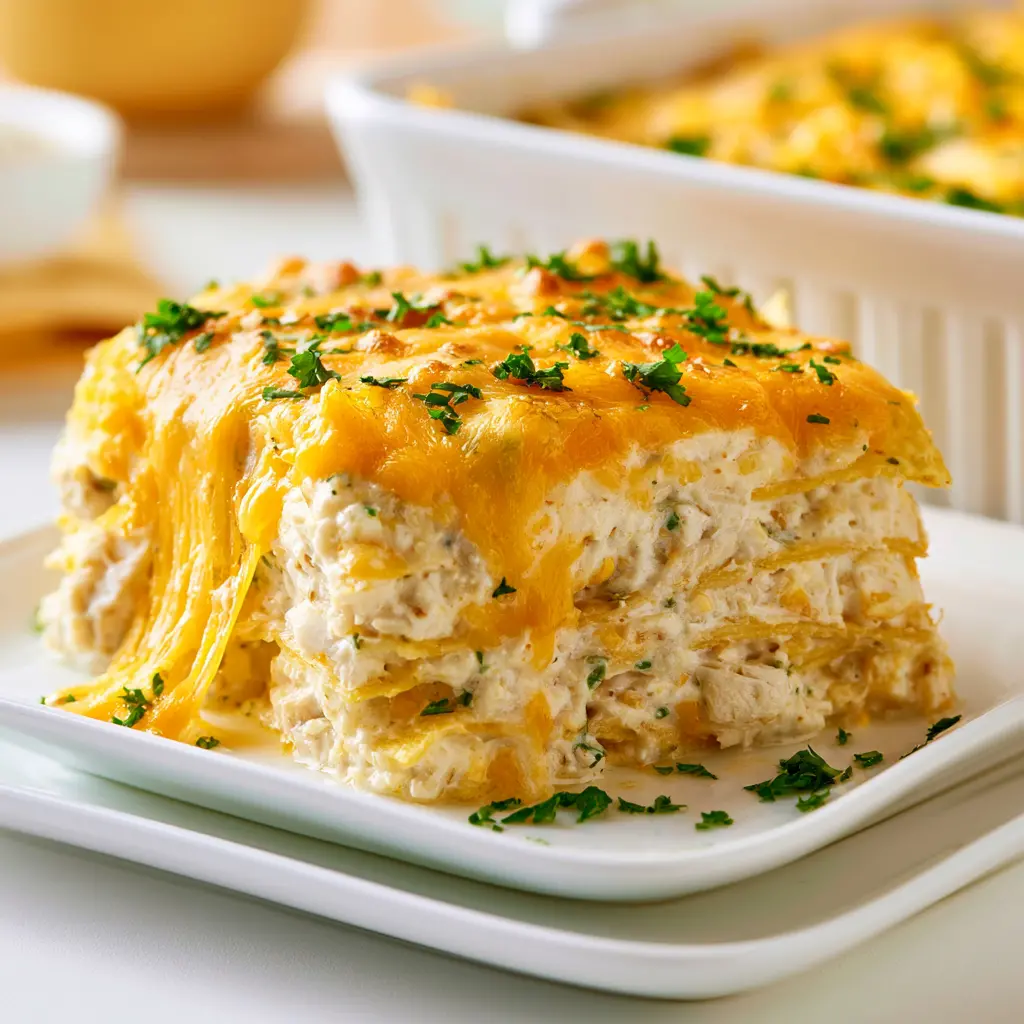
Freezer-friendly? Yes. Assemble the casserole in a freezer-safe dish, wrap it well, and freeze for up to 3 months. Thaw it overnight in the fridge before baking. Fair warning: sour cream can change texture a little after freezing, but nobody at your table will notice or care.
Chicken Enchilada Casserole FAQ
What to Serve with Chicken Enchilada Casserole
The casserole can absolutely hold its own as the whole show. But when I want to stretch it into a real spread, this is how I build the table.
My favorite move is a topping bar. Set out chopped cilantro, diced tomato, sliced green onions, and lime wedges. Add a bowl of guacamole made from ripe California Hass avocados, plus the hottest hot sauce you own for anyone who likes a little pain with their dinner. The contrast between the hot, cheesy casserole and those cold, crunchy toppings is what makes every bite memorable.
For sides, Spanish rice is the classic pairing, though cilantro-lime rice works just as well and comes together in about the same time. Refried beans, black beans, or pinto beans on the side round out the plate without any extra effort. Tortilla chips are non-negotiable in my house, if only for scooping up the cheesy bits that escape the serving spoon.
If you’re bringing this to a potluck or a Labor Day cookout, carry it straight in the baking dish and let people serve themselves. It stays warm for a surprisingly long time, and the leftovers still beat half the other options on that picnic table.
Homemade vs. Store-Bought Enchilada Sauce
Here’s the honest truth about this recipe: it doesn’t use traditional enchilada sauce at all. The creaminess comes from cream of chicken soup and sour cream, which is exactly why it comes together so fast. But if you’re craving a more classic enchilada flavor, you can absolutely bend it in that direction.
Store-bought enchilada sauce is the easiest route. Swap about two cups of red or green enchilada sauce for the cream of chicken soup. You’ll trade some of the creamy richness for that deep, spiced enchilada character. Green enchilada sauce, especially the Hatch chile varieties, has been a longtime reader favorite around here.
Homemade enchilada sauce is a different project entirely. It’s a broth-based sauce thickened with chili powder, garlic, and cumin, and it comes together in about five minutes on the stove. I say this with love: it’s worth making on a lazy Sunday, but this casserole was built for weeknights when opening a can is the right and smart choice.
My favorite middle path keeps the creamy sauce and stirs in a few spoonfuls of salsa verde or red enchilada sauce. You get the best of both worlds, a creamy base with a tangy, spiced kick running through it. Start with a quarter cup and taste as you go. This recipe is forgiving that way.
Expert Notes & Data Insights
This is the section for cooks who want to know why things work. I’ve gathered the kitchen science and a few hard numbers so you can trust the process and adjust with confidence.
Why Corn Tortillas Get It Right
Corn tortillas are naturally more absorbent than flour tortillas because they’re made from masa that hasn’t been enriched with fats the way flour tortillas are. In a covered casserole, they soak up the creamy sauce as it steams, softening into tender, dumpling-like layers while still holding their shape. Flour tortillas contain more gluten and fat, so they don’t absorb the sauce the same way. They soften more and turn heavier, which is why corn wins in this format.
Why Block Cheese Melts Better
Pre-shredded cheese is dusted with cellulose and anti-caking starches to keep it from clumping in the bag. Those same starches interfere with melting, leaving you with a less glossy, less stretchy layer. When you shred a block of cheddar yourself, you get clean, pure cheese that melts into the sauce and stretches the way you want. It’s a two-minute difference that shows up in every single bite.
Why Sour Cream Changes After Freezing
Sour cream is an emulsion, and freezing breaks down that delicate structure. You might notice a slightly grainier sauce after a thaw, but the flavor stays completely intact. Plain Greek yogurt stands up to freezing a little better, so if you’re building a make-ahead casserole for the freezer, it’s a smart swap. But honestly? Once the cheese is melted and bubbling, nobody at your table will notice.
How to Know When It’s Done
The visual cues are your first signal: bubbling edges, a puffed golden top, and the whole kitchen smelling like roasted chicken and melted cheese. If you want absolute certainty, an instant-read thermometer should hit 165°F in the center. That’s where the filling is hot all the way through and the cheese has fully melted. Then the five-minute rest lets the layers set, so your first scoop comes out clean and intact instead of a saucy pile.
The Numbers That Matter
Let’s do the math on this one. You’re looking at about 20 minutes of hands-on prep and 40 minutes in the oven, with zero babysitting required during the bake. The 9×13-inch dish holds six quartered tortillas per layer and serves eight generous portions. And the full blanket of cheddar across the top is what gives you those satisfying cheese pulls.
A standard two-pound rotisserie chicken yields roughly three to four cups of shredded meat, which is enough for both chicken layers with a little left over for the cook. Assembled casserole holds in the fridge for up to 24 hours before baking, and frozen for up to three months. One prep session can literally save your Tuesday.
\nCan I use Greek yogurt instead of sour cream?
\nCan you make chicken enchilada casserole ahead of time?
How long does chicken enchilada casserole last in the fridge?
How do I keep and reheat leftovers?
Could this be converted into a slow cooker recipe?
Can this be frozen before cooking?
Can I use flour tortillas instead of corn?
How do you serve chicken enchilada casserole?
Do I bake enchilada casserole covered or uncovered?
How long do I bake chicken enchilada casserole?
What are common chicken enchilada ingredients?
Can I use Greek yogurt instead of sour cream?

Celeste Barrow
Hi! I'm Celeste Barrow, the Everyday Baking Editor here at Thecookingrecipe. I've spent 17 years crafting simple, forgiving cakes and muffins for busy home bakers just like you. Subscribe to my newsletter for steady, encouraging recipes that always work!
Celeste Barrow is the Everyday Baking Editor at thecookingrecipe.com, where she has spent 17 years developing simple cakes, muffins, and snack bakes for the home kitchen. She grew up in Richmond, Virginia, watching her bus-driver father bake every Sunday using nothing but his hands, a vintage radio, and a feel for the dough. That early lesson shaped her gentle, forgiving style. She believes a snack cake fixes more problems than people like to admit, and she writes for bakers who have flour on th











