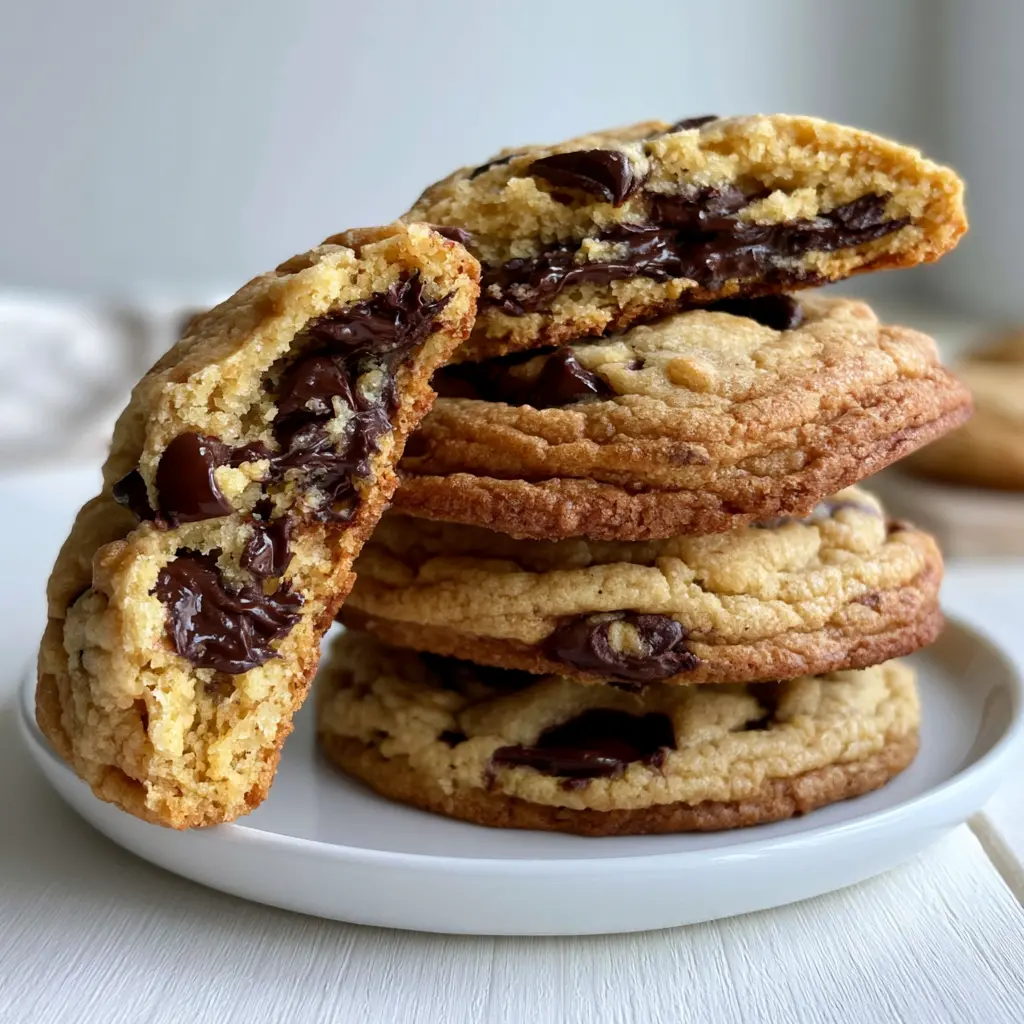
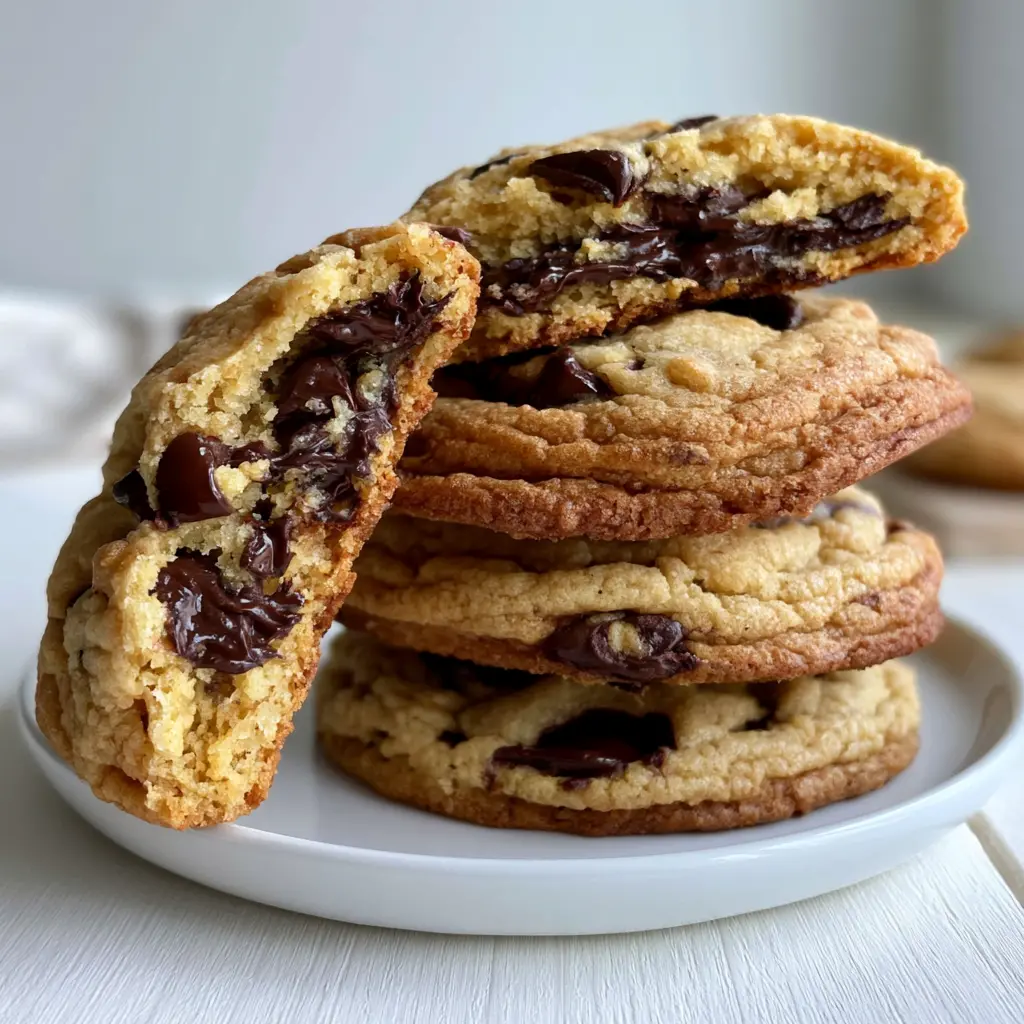
Brown Butter Chocolate Chip Cookies
Ingredients
Method
- Melt the butter in a light colored saucepan over medium heat. Continue cooking, swirling often, until the butter smells nutty and the milk solids at the bottom turn a deep golden brown, about 5 to 7 minutes. Remove from the heat immediately.
- Put the brown sugar and granulated sugar in a large mixing bowl. Pour the warm browned butter over the sugars and whisk until the mixture is smooth and looks like wet sand.
- Let the sugar butter mixture cool for a few minutes. Whisk in the eggs and vanilla extract until the batter is glossy and completely smooth.
- In a separate bowl, whisk together the all-purpose flour, baking soda, and salt. Add the dry mixture to the wet mixture in two or three additions, stirring gently until just combined and no dry streaks remain.
- Fold in the semisweet chocolate chips with a spatula until they are evenly distributed throughout the dough.
- Cover the bowl and refrigerate the dough for at least 30 minutes. This step is optional, but it enhances the flavor and helps the cookies hold their shape.
- Preheat the oven to 350 degrees F. Scoop rounded tablespoons of dough onto parchment paper lined baking sheets, placing them about 2 inches apart. Bake for 10 to 12 minutes, until the edges are golden brown and the centers are just set and slightly soft.
- Let the cookies cool on the baking sheet for about 5 minutes, then transfer them to a wire rack to cool completely. Serve warm or at room temperature.
Nutrition
Notes
Tried this recipe?
Let us know how it was!Why You’ll Love These Brown Butter Chocolate Chip Cookies
I once burned an entire stick of butter trying to impress someone. True story. I was making brown butter chocolate chip cookies for a first date, got distracted by my phone, and ended up staring at a saucepan full of what looked like coffee grounds. The whole kitchen smelled like a campfire that went sideways.
That failure taught me something important though. Browning butter is a tiny window of magic. Catch it right, and you unlock a flavor you can’t get any other way. These brown butter chocolate chip cookies have crispy golden edges, soft chewy centers, and this deep nutty caramel depth that makes people close their eyes when they take a bite.
Here’s why this recipe is worth every second:
- The browned butter adds a toffee-like flavor you simply can’t get from regular melted butter
- Brown sugar plus granulated sugar gives you chewy centers and crisp edges in every batch
- No electric mixer required and no pastry skills needed
- The dough needs just 30 minutes of chilling minimum, so you can bake the same afternoon
I’ve tested this recipe through burnt butter disasters and flat cookie tragedies. This is the version I keep coming back to. The one that gets requested for every bake sale, potluck, and lunchbox in my house.
What Is Brown Butter?
Brown butter is simply butter that’s been cooked until the milk solids toast and turn golden amber. The water evaporates, the proteins caramelize, and suddenly you’ve got this incredible nutty, hazelnut-like aroma filling your kitchen.
Here’s the part that surprises most people. It’s still butter. Just butter that’s been given a little heat and attention. But the flavor transformation is massive. Think of the difference between plain milk and toasted milk powder. Same ingredient, wildly different personality.
What makes brown butter chocolate chip cookies different from regular ones comes down to that caramelized butter. Regular cookies taste sweet and buttery. Browned butter cookies taste like butterscotch, toasted hazelnuts, and vanilla all at once. The milk solids are the secret. When they turn amber, they release that deep toffee flavor that plain butter just doesn’t have.
How to Brown Butter
This is where the magic happens, and honestly, it’s easier than you think. Here’s the method that works every time.
Start with a light-colored saucepan. This matters more than you’d expect. A dark pan makes it nearly impossible to see the milk solids change color, and that color change is your signal. Melt the butter over medium heat and keep swirling it often, every 15 to 20 seconds or so.
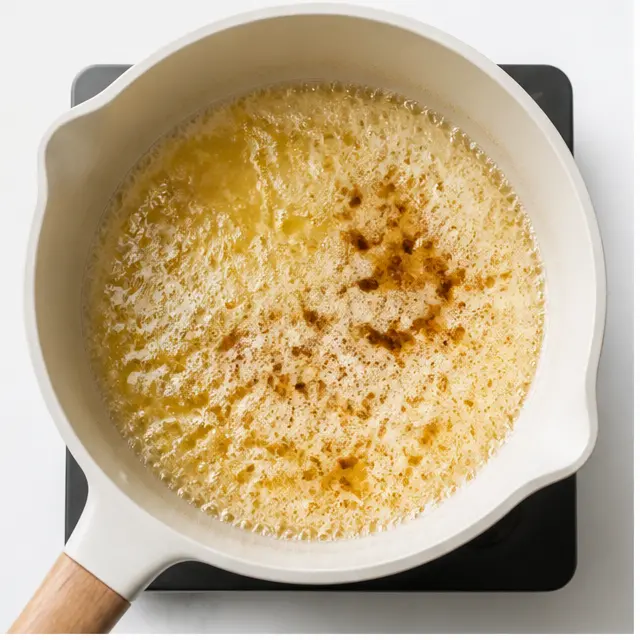
You’ll watch the butter go through stages. First it melts, then it starts foaming, then the foam subsides and you’ll see little golden specks forming at the bottom. That’s the moment. The milk solids are toasting. Keep swirling until the butter smells nutty, like toasted hazelnuts, and the solids turn a deep amber brown. This takes about 5 to 7 minutes. Remove the pan from the heat immediately.
Quick Browned Butter Check
If you see dark brown or black specs floating, you’ve gone too far. Burnt butter tastes bitter and ruins the batch. Start over. It’s a cheap ingredient, and a fresh stick of butter beats a sad cookie every time.
Also, use a light-colored pan and peek in good lighting. I know it sounds fussy, but you’re looking for a specific shade of amber. Think honey mixed with a drop of maple syrup. If the kitchen lights are dim, you’ll miss the window.
Brown Butter & Moisture Loss
Here’s the science part, and I promise it’s quick. When you brown butter, you’re driving off water. A full cup of butter loses about 20% of its volume during browning. That’s a real change, and it affects how the cookie dough comes together.
Because the butter is less watery, the dough is slightly drier than a standard cookie dough. That’s normal, and it’s actually good news for texture. Less water means less gluten development, which means more tender cookies.
When you mix the warm browned butter into the sugars, you’ll notice something satisfying. The mixture turns into what bakers call wet sand. It’s glossy, slightly grainy, and smells incredible. Whisk it well until it’s smooth, then let it cool for a few minutes before adding the eggs and vanilla extract.
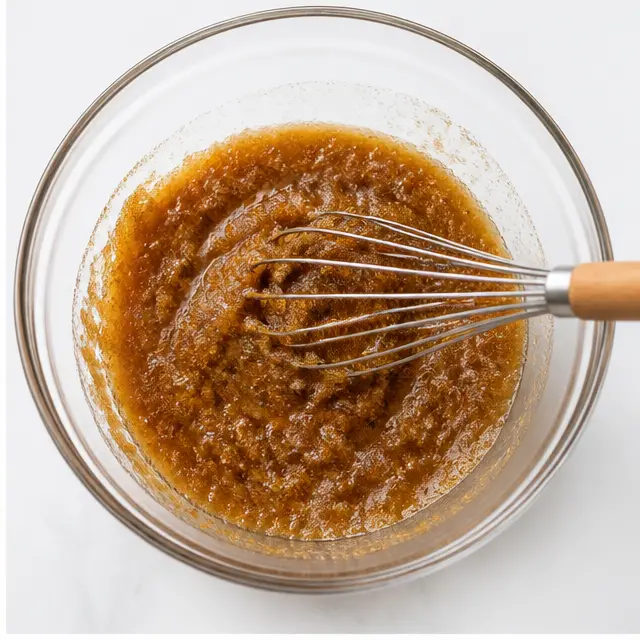
A few things to watch for here. Make sure your eggs are at room temperature so they incorporate smoothly into the warm sugar mixture. And add the dry ingredients in two or three additions, stirring gently until just combined. Overmixing develops gluten, which makes tough cookies. We want tender chewy centers, not bread.
The Butter and Dough Need to Chill
I know, I know. Chilling feels like a roadblock when all you want is warm cookies. But this step does two important things for your brown butter chocolate chip cookies.
First, chilling develops flavor. The flour absorbs the fats, the sugars dissolve into the eggs, and the caramelized butter notes deepen over time. A dough that chills for 24 to 72 hours tastes noticeably more complex than one baked right away. If you can wait, do it.
Second, chilled dough holds its shape in the oven. Warm dough spreads into thin pancakes. Cold dough stays tall and bakes up thick with those beautiful crispy edges and soft centers.
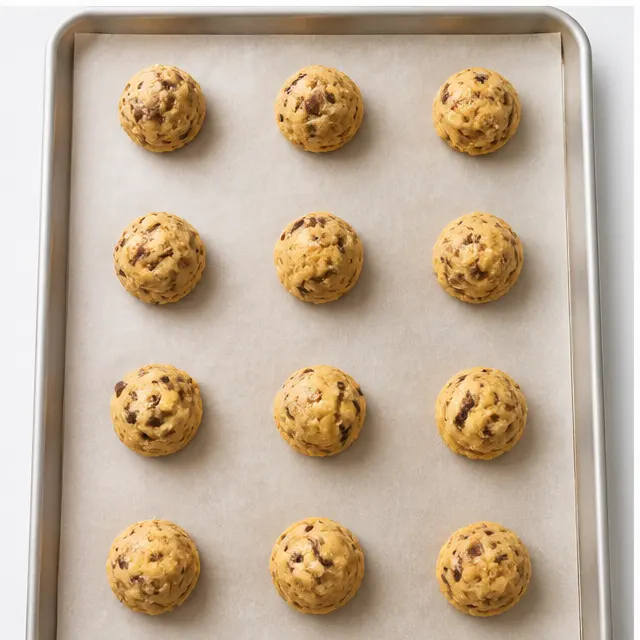
The recipe calls for at least 30 minutes in the fridge, and that’s a fair minimum. Fridge for 30 minutes, freezer for 15 if you’re in a rush. Do what fits your day. But here’s an honest note: the longer the chill, the better the cookie. Seriously, if you’ve got the time, give it the full 72 hours.
And one more thing, since it’s August and hot. If your kitchen is warm, the dough can soften fast while you’re scooping. Keep the mixing bowl in the fridge between batches, and use parchment-lined trays. It makes a huge difference on a hot summer afternoon.
If you absolutely can’t wait, you can skip the chill. Just know the cookies will spread more and bake up thinner. They’ll still be delicious, just with a different texture. I won’t judge.
Brown Butter Chocolate Chip Cookie Ingredients
Every ingredient in this recipe does a specific job. Once you understand the why, you’ll know exactly how to adjust things when you’re out of something or feeling experimental.
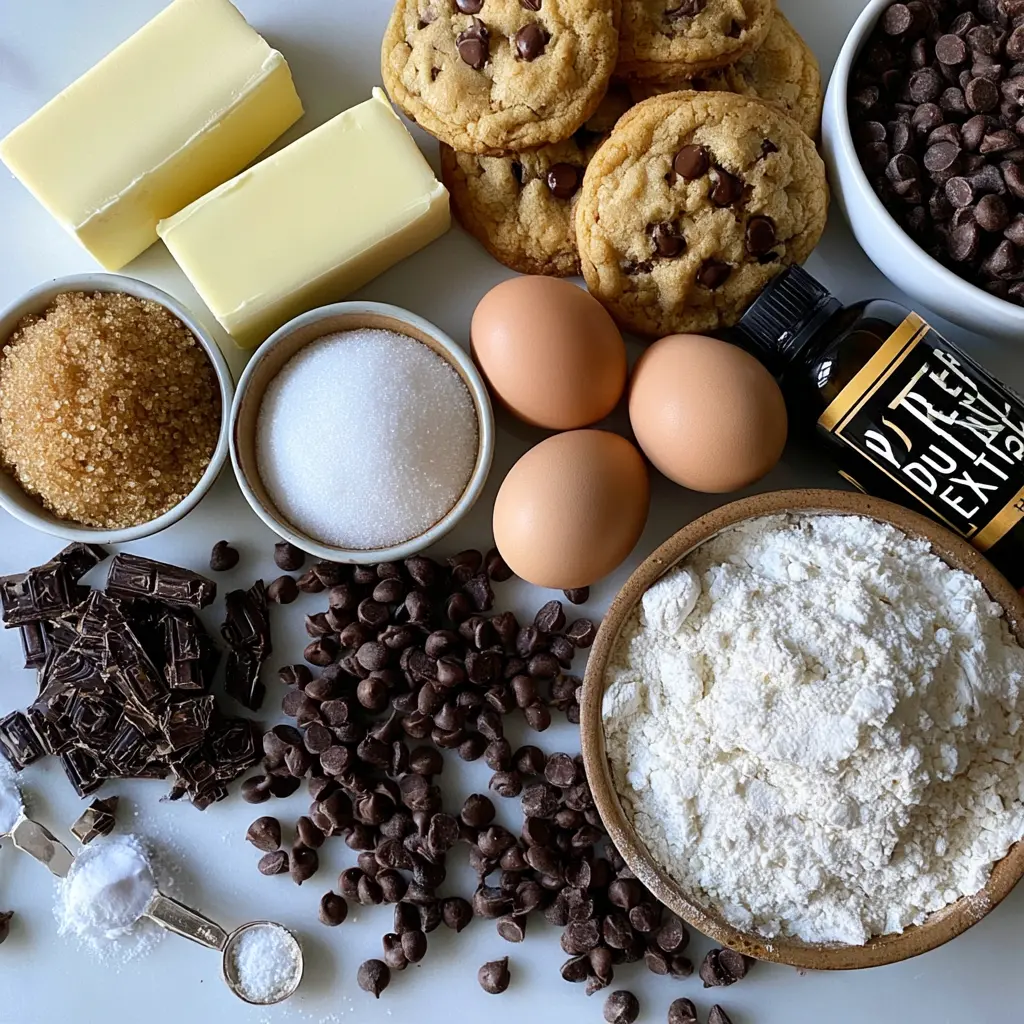
- Unsalted butter: Two sticks. Browning completely transforms the flavor. If you only have salted butter, skip the added salt in the dough.
- Brown sugar: Pack it firmly into the cup. It adds moisture and that deep caramel sweetness that keeps the centers chewy.
- Granulated sugar: This is your crispy edge insurance. It also helps the cookies spread just the right amount.
- Large eggs: Use large, not extra-large. Extra-large eggs add too much liquid and cause spreading. Room temperature is best.
- Pure vanilla extract: The real stuff. Imitation vanilla has its place, but pure vanilla blends beautifully with the caramelized butter notes.
- All-purpose flour: Spoon it into the cup and level it off. Never scoop straight from the bag. Too much flour makes dry cookies.
- Baking soda: Helps you get that balanced spread with a tender interior.
- Fine sea salt: Balances all that sweetness. It’s the backbone of the flavor.
- Semisweet chocolate chips: Two full cups. The classic choice for the right balance between sweet and cocoa. They hold their shape during baking, which gives you those pretty pockets of chocolate in every bite.
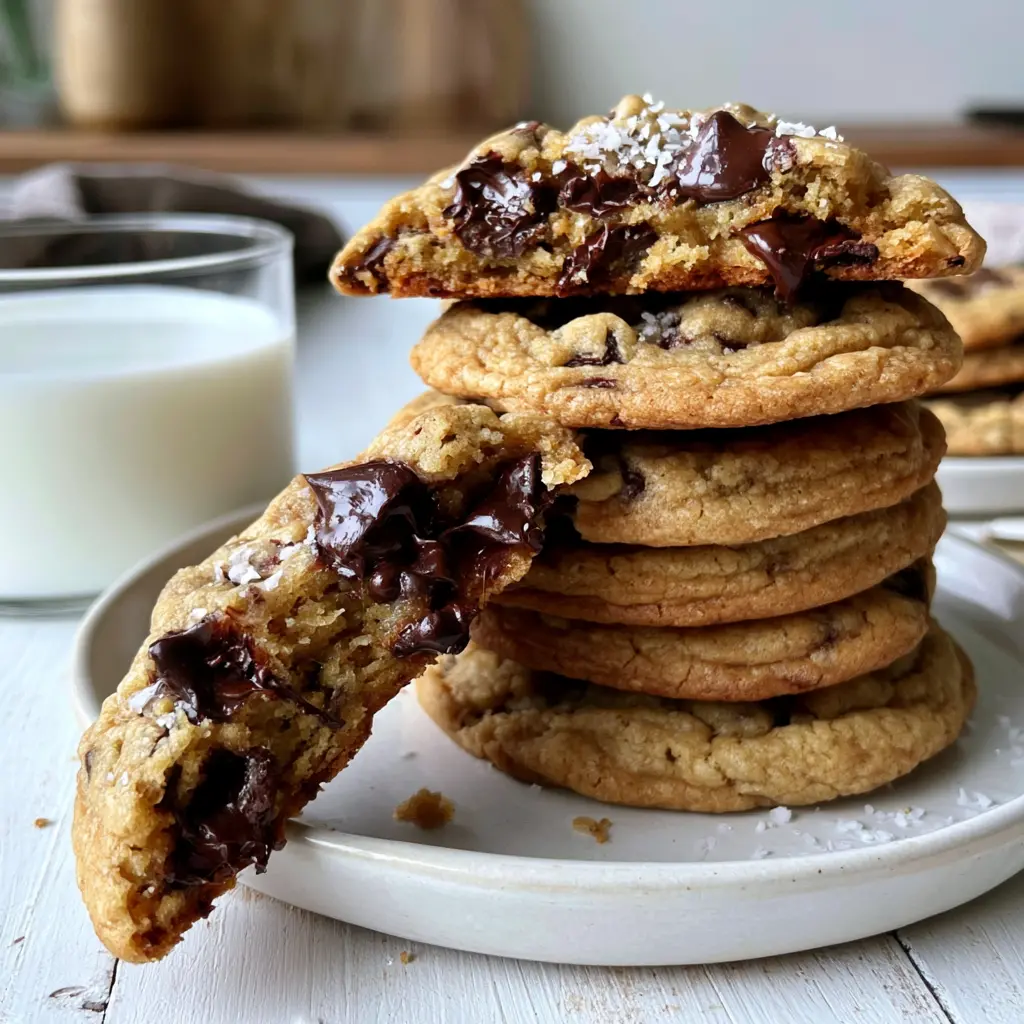
If you want melty puddles of chocolate, swap in chopped chocolate bars instead of chips. That’s an easy optional switch. And if you’re feeling fancy, sprinkle a few sea salt flakes over the dough balls just before baking. Bakery style, right at home.
Baking Tips and Storage for Brown Butter Cookies
When you’re ready to bake, preheat the oven to 350 degrees F. Scoop rounded tablespoons of dough onto parchment-lined baking sheets, spacing them about 2 inches apart. They’ll spread a bit, so give them room to breathe.
Bake for 10 to 12 minutes. Here’s how you know they’re done: the edges should be golden brown and the centers should look just set and slightly soft. They’ll continue setting as they cool on the hot pan, so don’t overbake. Pull them when they look barely done in the middle.
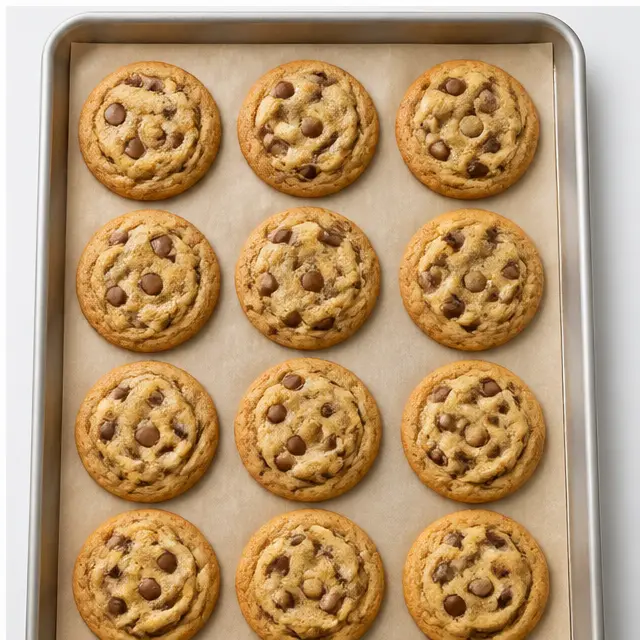
Let them rest on the baking sheet for about 5 minutes, then transfer to a wire rack. If you can resist eating them immediately, they’re even better once fully cooled and the flavors have settled.
Now the troubleshooting, because we’ve all been there:
- Flat, spread-out cookies: Your dough was too warm. Chill it longer, at least 2 hours, and make sure your baking sheets are completely cool before each batch.
- Greasy cookies: The brown butter was too hot when you mixed it in. Let it cool for 5 to 10 minutes after browning.
- Dry, crumbly cookies: Too much flour. Spoon and level your flour next time, or better yet, weigh it with a kitchen scale. One cup of flour weighs 125 grams.
- Burnt butter flavor: You took the browning too far. Remove the butter from the heat as soon as the milk solids turn amber and the aroma turns nutty.
For storage, keep the baked cookies in an airtight container at room temperature for up to 5 days. Pop one in the microwave for 8 to 10 seconds to bring back that fresh-baked feel. Warm, melty chocolate and a chewy center, it’s close enough to the real thing.
These cookies freeze beautifully, which makes them perfect for back-to-school season. Scoop the dough into balls, freeze them solid on a parchment-lined tray, then transfer to a zip-top freezer bag. They’ll keep for up to 3 months. To bake from frozen, just add 2 to 3 minutes to the baking time and go straight from the freezer to the oven.
Honestly, these brown butter chocolate chip cookies have become my signature. They’re the ones my kids request for lunchboxes, the ones I bring to every end-of-summer barbecue, and the ones that always disappear first. When you nail that nutty, caramelized butter flavor and get the texture just right, you’ll understand why I keep coming back to this recipe.
If you’re ready to make them, save this brown butter chocolate chip cookie recipe on Pinterest so you can find it again. I’ve got a whole board of favorites, and this one sits at the top. Trust me, you’ll be making these on repeat.
Brown Butter Chocolate Chip Cookies FAQ
Source: Learn More About This Dish