
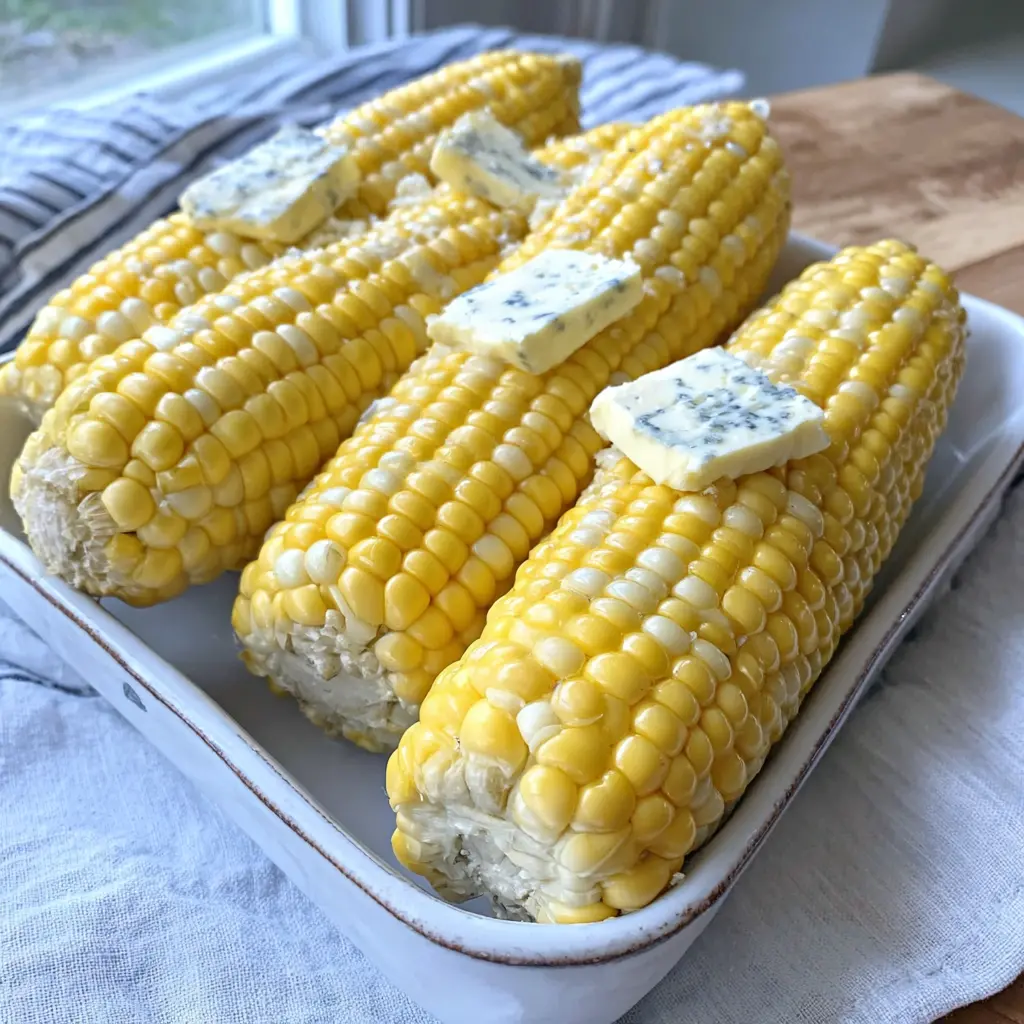
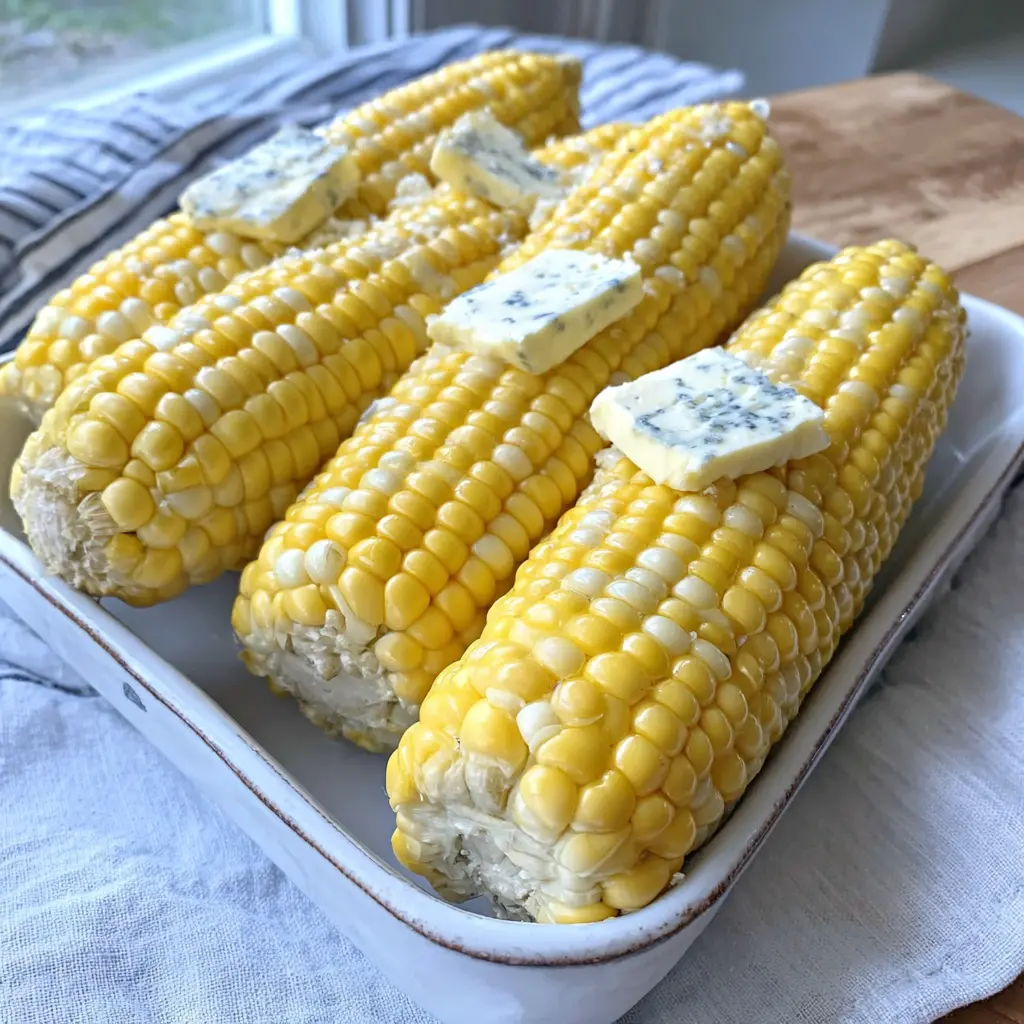
Perfectly Boiled Corn on the Cob
Ingredients
Method
- Fill a large pot about three-quarters full with water and place it on the stove over high heat.
- Bring the water to a rolling boil. If using sugar and lemon juice, stir them into the water as it heats. Once boiling, carefully add the corn ears.
- Turn off the heat, cover the pot with a tight-fitting lid, and let the corn sit in the hot water for 11 to 12 minutes.
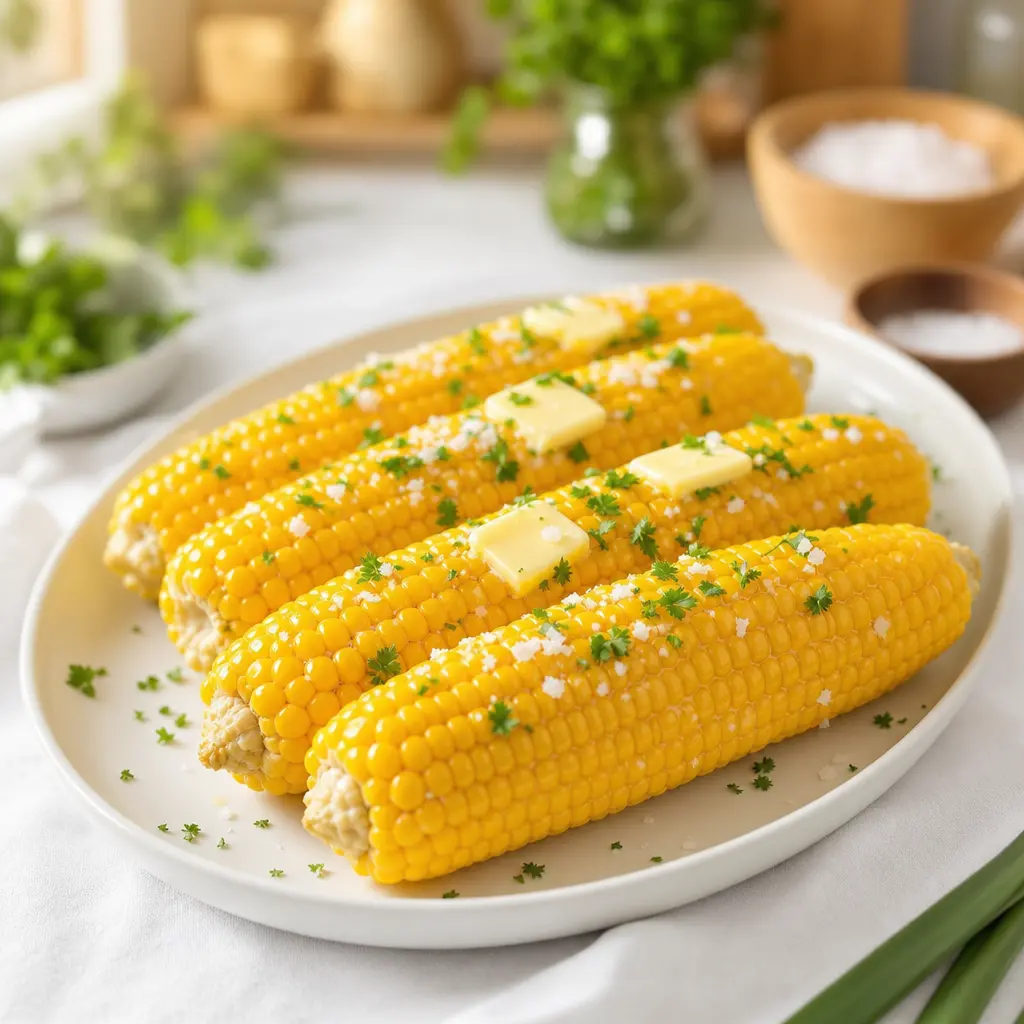
- Remove the corn with tongs, drain briefly, and serve hot with butter and salt to taste. Enjoy!
Nutrition
Notes
Tried this recipe?
Let us know how it was!Why This Recipe Works
You know that feeling when corn season hits and you just want it perfect, fast? I’ve been there more times than I can count. Standing over a pot of boiling water, watching the clock, praying I don’t turn those beautiful ears into sad, chewy hockey pucks.
Here’s the thing about boiled corn on the cob. Most people think you just drop it in and wait. But there’s a method to the madness. A little trick that makes all the difference.
This recipe uses a no-boil method. Sounds crazy, right? You bring the water to a rolling boil, add the corn, then turn off the heat. Let it sit for 11 to 12 minutes. That’s it. No vigorous boiling that toughens the kernels. No guessing games.
The secret weapon? A tablespoon of sugar and a squeeze of Meyer lemon in the water. The sugar enhances the natural sweetness of the corn without making it cloying. The lemon brightens everything up. It’s the quick corn trick that changes everything.
I know, I know. You’re thinking “just boil it” – but trust me on this one. The result is tender, sweet, restaurant-quality corn without any of the stress.
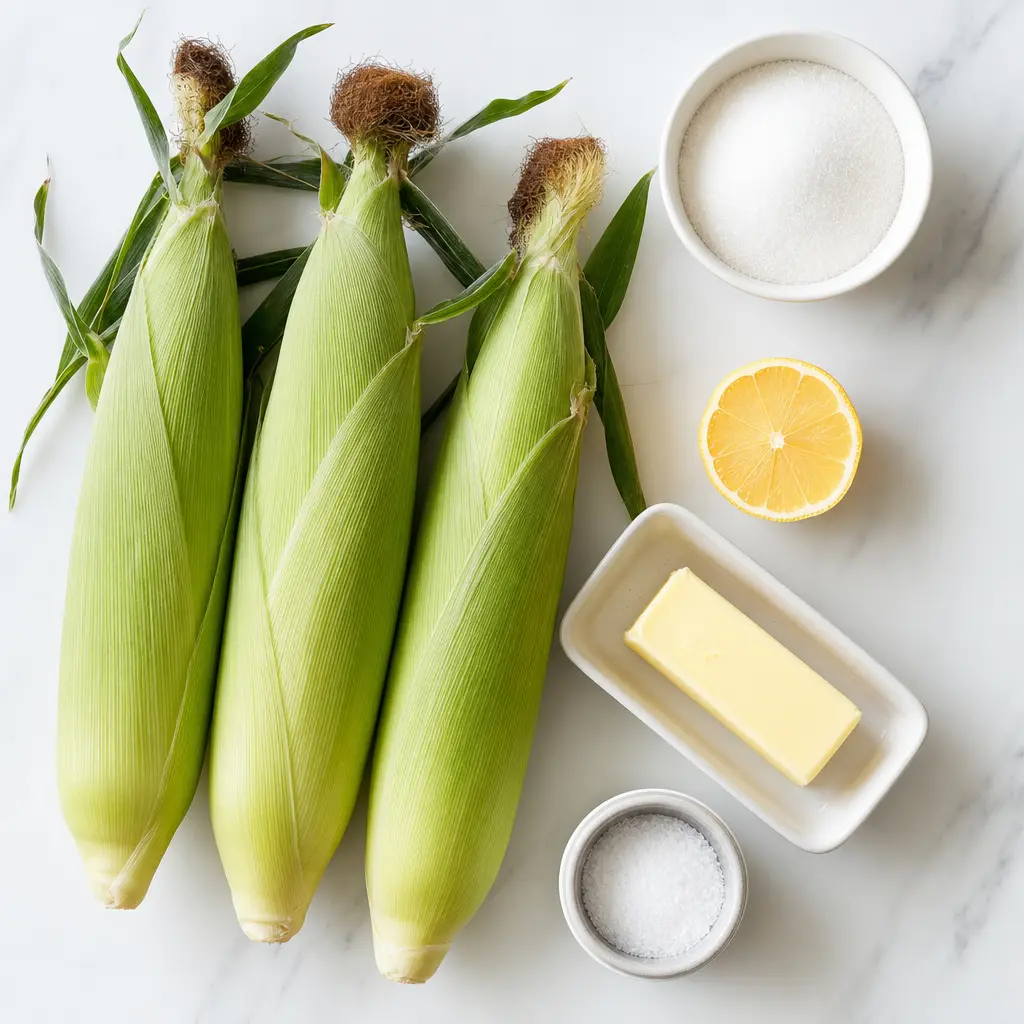
Key Ingredients
This recipe is beautifully simple. You probably have most of this in your kitchen right now.
- Fresh corn on the cob: Look for ears with bright green husks and moist silks. The kernels should feel plump when you gently squeeze through the husk. For this recipe, you’ll want 4 ears, husked and silks removed.
- Sugar (optional): Just one tablespoon. It’s optional, but I never skip it. It amplifies the corn’s natural sweetness without making it taste artificial. Think of it as a flavor enhancer, not a sweetener.
- Meyer lemon juice (optional): About 2 tablespoons from one Meyer lemon. The acidity balances the sweetness and adds a subtle brightness. If you can’t find Meyer lemons, regular lemon juice works fine.
That’s literally it. No milk, no butter in the water (though we’ll slather it on after). No complicated spice blends. Just corn, water, and two optional but game-changing additions.
How to Boil Corn on the Cob
Alright, let’s get down to business. Here’s the step-by-step for perfect boiled corn on the cob.
Stage 1: Get the water ready. Fill a large pot about three-quarters full with water. You want enough water to fully submerge the corn ears without crowding them. Place the pot on the stove over high heat. This is where patience comes in – waiting for water to boil feels like watching paint dry, but it’s worth it.
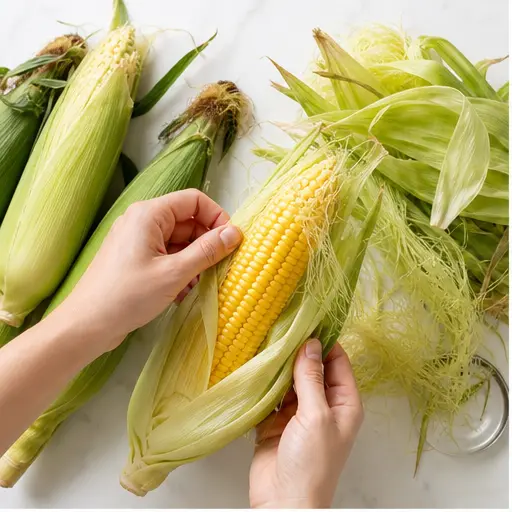
Stage 2: Bring it to a rolling boil. As the water heats up, stir in the sugar and lemon juice if you’re using them. Watch for that vigorous, rolling boil – big bubbles breaking the surface, not just little ones. Once it’s there, carefully add the corn ears using tongs. Don’t just drop them in unless you want a scalding splash.
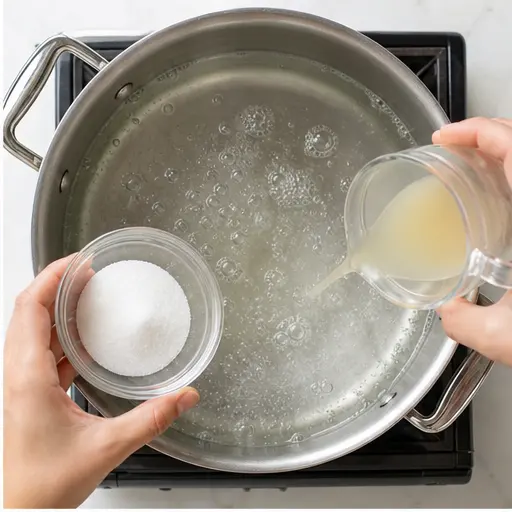
Stage 3: Turn off the heat and cover. This is the magic moment. Turn off the heat completely. Cover the pot with a tight-fitting lid. Let the corn sit in the hot water for 11 to 12 minutes. Don’t walk away! Seriously, set a timer. 4 minutes can change everything.
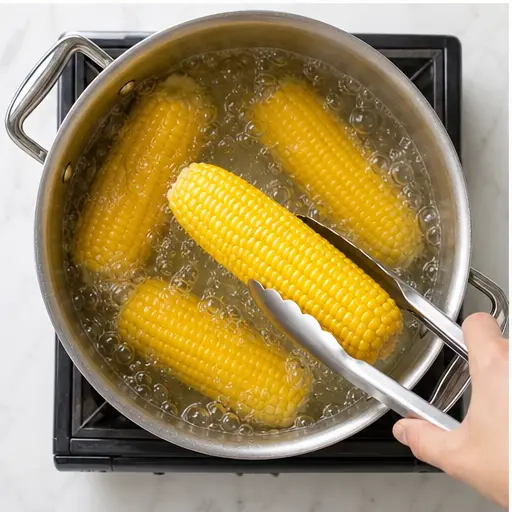
Stage 4: Remove and serve. After 11-12 minutes, use tongs to lift the corn out of the water. Let it drain briefly over the pot. Serve immediately with butter and salt to taste. Feel free to snatch one early – that’s how you learn. But honestly, 11 minutes is the sweet spot.
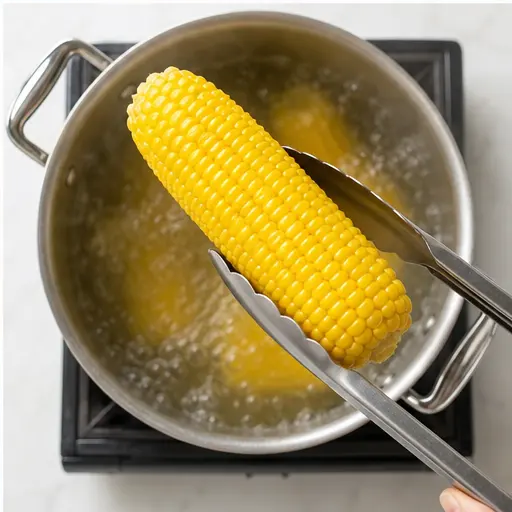
Tips for Perfect Boiled Corn
After years of trial and error (and more than a few chewy batches), here’s what I’ve learned.
- Don’t overcook it. This is the number one mistake. 20 minutes is way too long. You’ll end up with tough, rubbery kernels. Stick to 11-12 minutes.
- Use a timer. I can’t stress this enough. Set it and don’t wander off. Corn waits for no one.
- Don’t salt the water. Salt can actually toughen the kernels. Save the salt for after cooking.
- Keep it warm. If you’re not serving right away, leave the corn in the covered pot for up to 30 minutes. It stays perfectly warm without overcooking.
- Taste test. Every batch of corn is a little different. If you’re unsure, pull one out at 10 minutes and take a bite. You’ll know exactly when it’s done.
The Quick Corn Trick
The Sugar Hack: Adding a tablespoon of sugar to the boiling water is the secret to the sweetest, most flavorful corn. It doesn’t make the corn sugary – it just enhances what’s already there. Pair it with a squeeze of Meyer lemon for brightness, and you’ve got a foolproof combo.
Recipe Variations
Once you’ve mastered the basic boiled corn on the cob, feel free to play around. Here are some ideas, all optional of course.
- Spicy butter: Mix softened butter with a pinch of cayenne or smoked paprika. Spread on hot corn for a kick.
- Mexican-style elote: Brush the cooked corn with adobo sauce and top with crumbled Cotija cheese. Squeeze a lime wedge over the top.
- Herb-infused: Add a bay leaf or a sprig of thyme to the boiling water for subtle earthy notes.
- Compound butter: Blend butter with fresh herbs like cilantro, basil, or chives. Let it set, then spread on warm corn.
These are just starting points. The beauty of corn is that it’s a blank canvas. Go wild.
Serving Suggestions
Boiled corn on the cob is the ultimate summer side dish. It pairs beautifully with just about anything.
- Grilled meats: Burgers, steaks, chicken, or BBQ ribs. Corn is a natural companion.
- Potato salad or coleslaw: Classic picnic sides that complement the sweetness of the corn.
- Cold salads: A fresh tomato and cucumber salad or a creamy pasta salad works great.
- Soup nights: Corn on the cob alongside a bowl of chili or tomato soup is surprisingly good.
- Cut off the cob: Use the kernels in salads, dips, or soups. Leftover corn is fantastic in a corn and black bean salsa.
Don’t forget the butter and salt. And maybe some extra napkins. Things are about to get messy.
Storage and Leftovers
Got leftover corn? Lucky you. Here’s how to handle it.
Refrigerate: Store leftover corn in an airtight container or wrapped tightly in foil. It’ll keep in the fridge for up to 3 days.
Freeze: Cut the kernels off the cob and store them in freezer-safe bags for up to 2 months. Perfect for soups and chilis later.
Reheat: The best way is to drop the corn back into boiling water for 2 minutes. You can also microwave it for 1 minute, or reheat in a nonstick skillet over medium heat. Just don’t overcook it again.
Pro tip: If you freeze whole ears, blanch them first. But honestly, cutting the kernels off before freezing is way more convenient.
Frequently Asked Questions
Final Thoughts
Look, I get it. Corn on the cob seems so simple that it feels silly to overthink it. But the difference between good corn and great corn is just a few minutes and one little trick. The sugar hack, the no-boil method, the Meyer lemon – these small things add up to something special.
So go ahead, slather with butter and enjoy! And if you want more ideas, I’ve got plenty over on my Pinterest board where I share all my favorite summer recipes.
Source: Health & Nutrition Research













3 responses to “5 Secrets for the Best Boiled Corn on the Cob”
I’ve been boiling corn the old way for years and always ended up with chewy kernels. This no-boil method is genius! The sugar trick really works too. My whole family loved it. Thanks for sharing!
I tried this method last night and it was a game changer! The corn came out perfectly tender and sweet. I used the sugar but skipped the lemon since I didn’t have any on hand. Do you think adding the lemon makes a big difference in flavor?
Thanks, Sarah! The lemon adds a subtle brightness that really elevates the corn, but it’s totally optional. If you have a lemon next time, give it a try—you might be surprised!