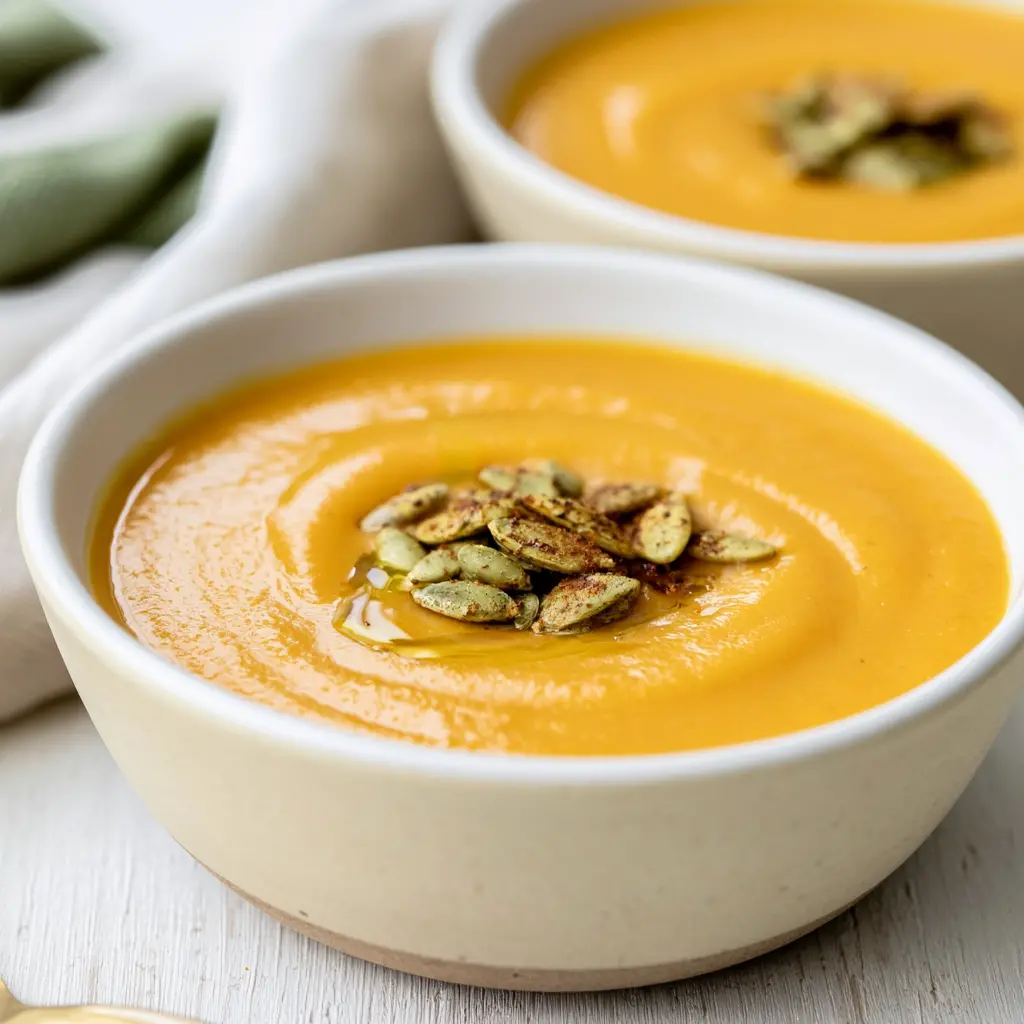
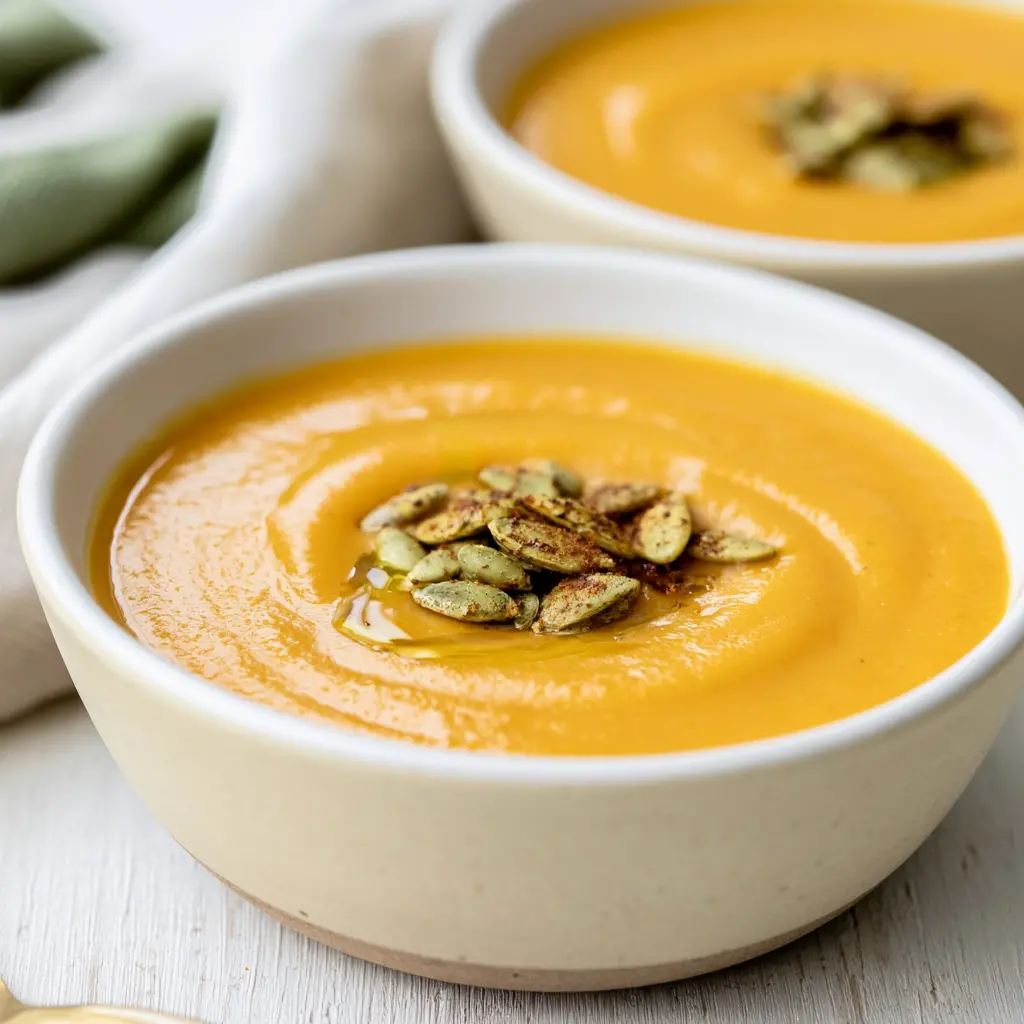
Cozy Roasted Butternut Squash Apple Soup
Ingredients
Method
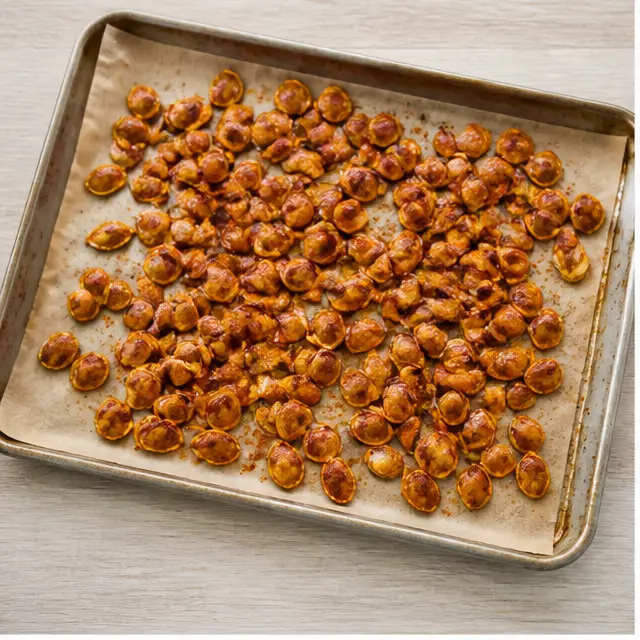
- Preheat your oven to 350°F. Mix the pumpkin seeds, brown sugar, kosher salt, paprika, and olive oil in a small bowl, then spread them on a baking sheet and roast for 10 minutes, stirring at the halfway mark. Set aside.
- Raise the oven temperature to 425°F and line a large rimmed baking sheet with parchment paper.
- On the prepared baking sheet, toss the cubed butternut squash, apple, and chopped onion with the olive oil, kosher salt, black pepper, and garlic powder until everything is evenly coated.
- Roast the squash mixture for 35 to 40 minutes, flipping the pieces once at the 20-minute mark, until the squash is fork-tender and lightly browned in spots.
- Transfer the roasted vegetables to a large pot and pour in 3 1/2 cups of chicken broth. Bring the soup to a simmer over medium-high heat, then reduce the heat to low and simmer gently for 15 minutes.
- Remove the pot from the heat and puree the soup with an immersion blender until smooth, or carefully blend it in batches in a standing blender, filling no more than halfway and holding the lid with a towel.
- Taste the pureed soup and adjust the seasoning with more salt and pepper if needed. If you prefer a thinner consistency, stir in the remaining 1 cup of chicken broth.
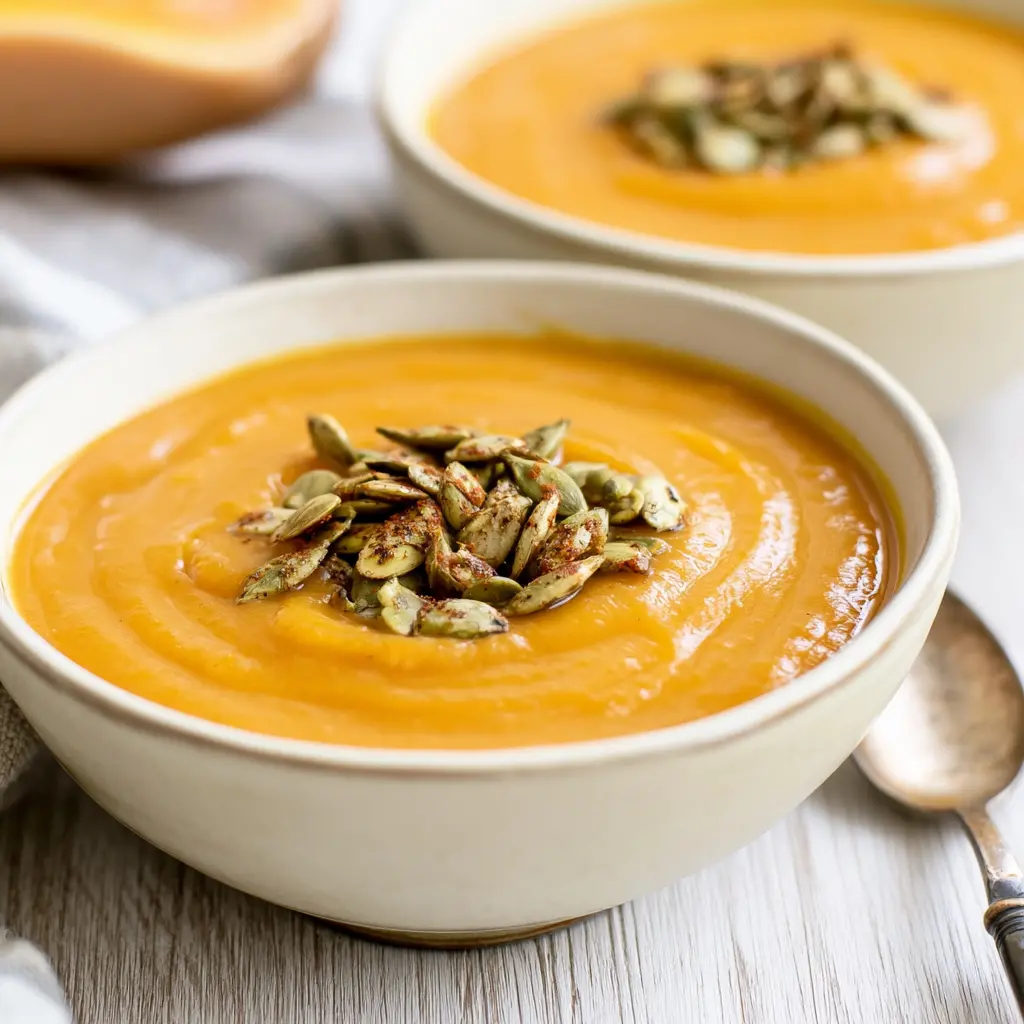
- Warm the soup over low heat for about 5 minutes, then ladle it into bowls with the reserved pumpkin seed topping scattered on top.
Nutrition
Notes
Tried this recipe?
Let us know how it was!Why This Recipe Works
It’s August in Los Angeles, and I’m standing over the stove in a tank top with the AC cranked, roasting butternut squash. Unhinged? Maybe. But when the craving for fall hits, you stop fighting it.
This roasted butternut squash apple soup is the recipe that ended my sad, watery soup era. My first attempt was boiled squash, broth, and hope. It tasted exactly like that: nothing. The fix wasn’t a secret ingredient. It was roasting.
High heat caramelizes the sugars in the squash. Caramel equals flavor. Done.
The apple does the quiet heavy lifting. A Granny Smith brings tartness that keeps things from going one-note sweet, and after 40 minutes in the oven it softens into something almost jammy. Sweet, savory, a little bright. That balance is the whole point.
Bonus: this creamy butternut squash apple soup is naturally dairy-free and gluten-free, and it makes your kitchen smell like a fall candle commercial.
About the Veggies
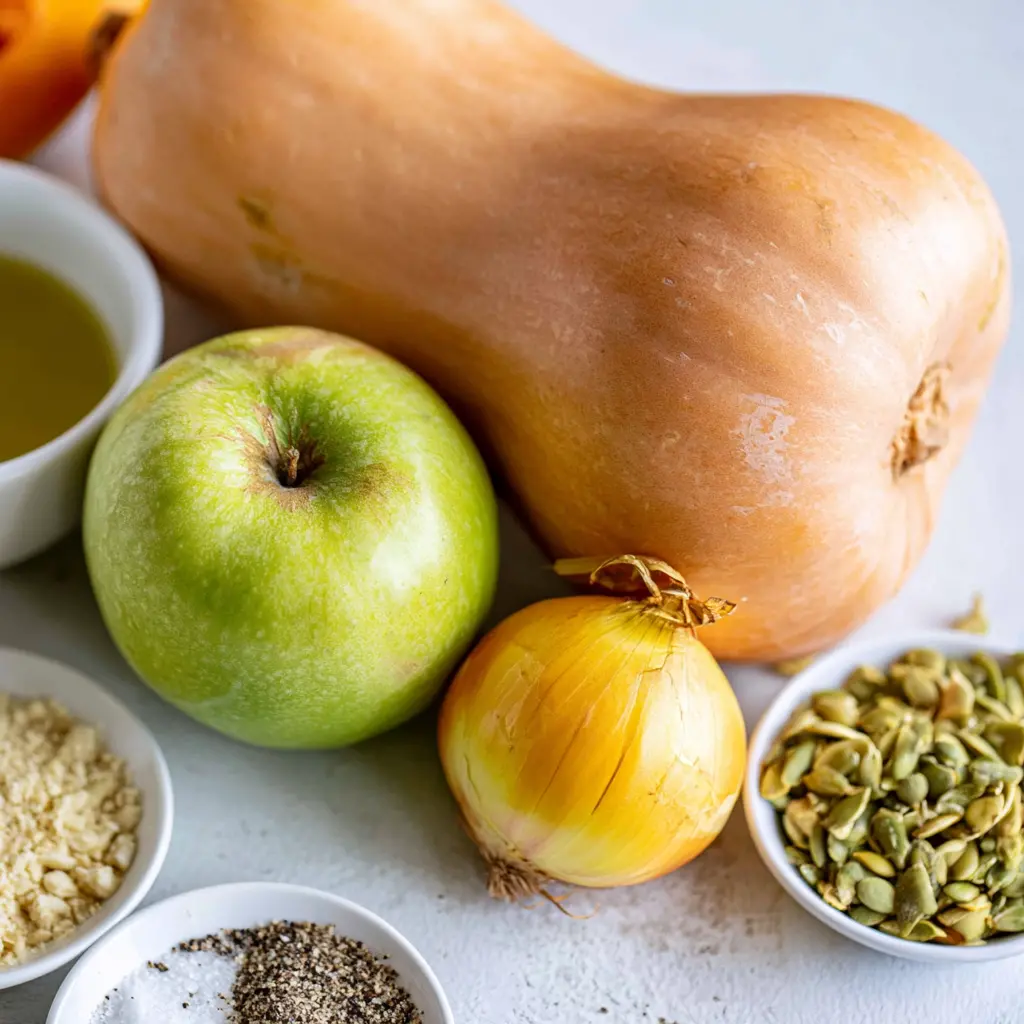
Every great roasted butternut squash apple soup starts with the right produce, and you only need four things.
- Butternut squash (2 1/2 to 3 pounds): choose one with a long neck and small bulb. The neck is all flesh, which means fewer seeds and less waste. When is butternut squash in season? Roughly September through December, and the flavor peaks in fall and winter.
- Granny Smith apple: crisp, tart, and sturdy enough to hold up in the oven. Honeycrisp apples for soup work if you want it sweeter, but you’ll lose some of that bright contrast.
- Yellow onion: a small one, chopped. It roasts into something mellow and almost sweet.
- Olive oil, garlic powder, salt, and pepper: the simplicity is the point.
Now, the peeling. I know that’s the intimidating part. Three ways around it:
- Microwave the whole squash for 2 minutes to soften the skin, then peel with a vegetable peeler. Works shockingly well.
- Skip the peeling entirely: halve the squash, roast it, then scoop out the flesh.
- Buy pre-cut cubes at the market. Zero judgment. Fresh-roasted whole squash has better flavor, but pre-cut is better than skipping the recipe.
How to Make Roasted Butternut Squash Apple Soup
Mastering how to roast butternut squash is honestly 80% of this recipe, and it’s the part most people rush. It happens in four easy stages.
Stage 1: Make the topping first
Preheat the oven to 350°F. Toss the pumpkin seeds with brown sugar, salt, paprika, and olive oil, then roast for 10 minutes, stirring at the halfway point. They come out sweet, a little smoky, and dangerously snackable. Set them aside and try not to eat the whole batch before soup time.
Stage 2: Roast the vegetables
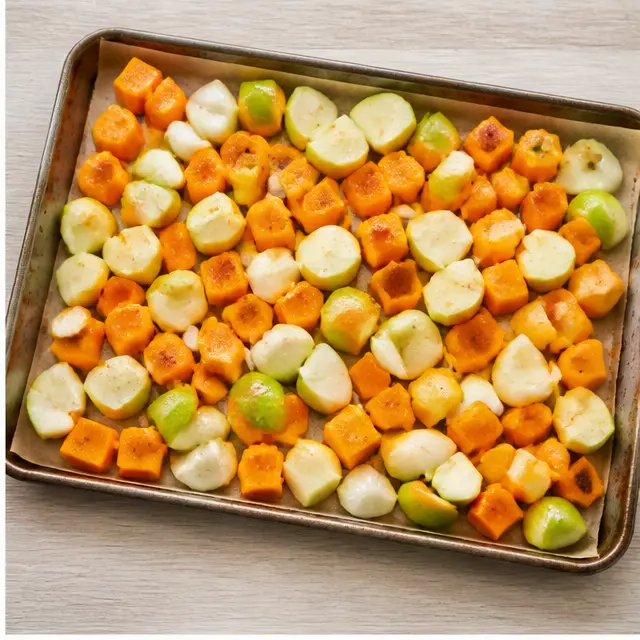
Turn the oven up to 425°F. On a parchment-lined sheet pan, toss the cubed squash, apple, and onion with olive oil, salt, pepper, and garlic powder. Spread everything into a single layer. Crowding the pan means the vegetables steam instead of caramelize, and steaming is the express lane back to bland soup. Roast for 35 to 40 minutes, flipping once at the 20-minute mark, until fork-tender and browned in spots.
Stage 3: Simmer with broth
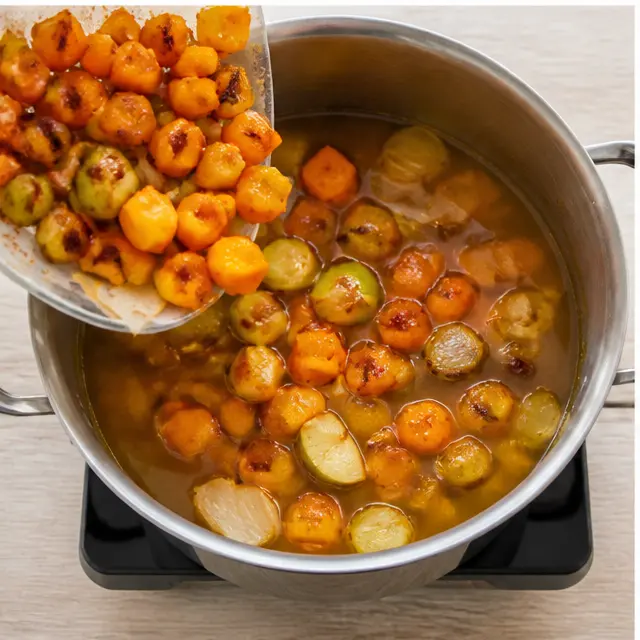
Transfer everything to a large pot and pour in 3 1/2 cups of chicken broth. Bring it to a simmer over medium-high heat, then drop it to low and let it go for 15 minutes. This is when the flavors get friendly, and the kitchen officially starts smelling like October.
Stage 4: Blend until silky
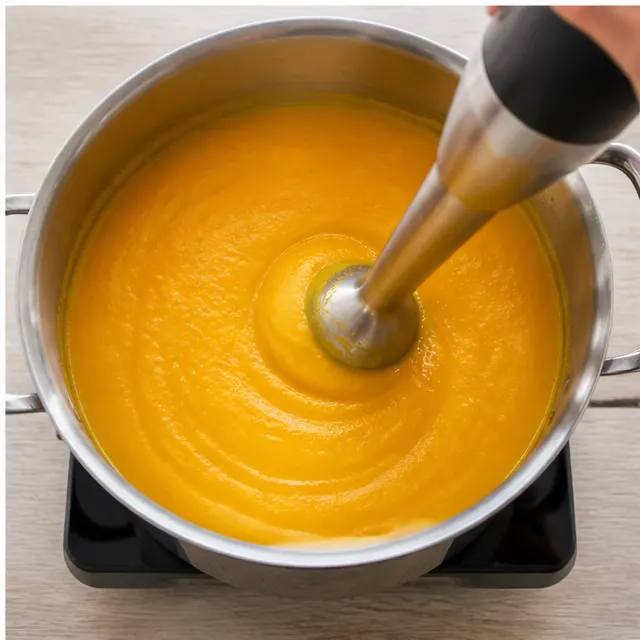
Take the pot off the heat and puree until smooth. An immersion blender makes this a two-minute job. If you’re using a standing blender, here’s the friend-to-friend PSA: blend in batches, fill the jar no more than halfway, and hold the lid down with a towel. Start on low, then ramp up. Hot soup splatters like nothing else, and you deserve to keep your hands burn-free.
Tips for the Best Soup
A few things I’ve learned from making this on repeat:
- Season in layers. Taste the roasted squash right off the pan. A pinch of extra kosher salt at that moment brightens the whole pot later.
- Use low-sodium broth if you can. It gives you control, and you can always add more salt at the end.
- The liquid is flexible. 3 1/2 cups makes a thick, velvety soup. Add the last cup for a lighter version. Both are good, just different.
- Don’t skip the topping. That crunch is the difference between nice soup and “can I get this recipe?”
- Blend for a full minute. The silky smooth soup texture comes from a thorough puree, not a quick buzz.
Immersion Blender Safety, Real Quick
Keep it submerged. Immersion blenders splatter the second the blade breaks the surface. Keep the head fully in the soup, use slow up-and-down strokes, and switch it off before lifting it out. Your stovetop and your shirt will thank you.
Follow these, and your roasted butternut squash apple soup will turn out silky every single time.
Recipe Variations
This roasted butternut squash apple soup is endlessly adaptable, and most swaps are one-for-one.
- Vegetarian: swap the chicken broth for vegetable broth. That’s it. Either one works in the vegetable stock vs broth debate.
- Creamier: stir in a splash of coconut milk at the end. It’s optional, but it adds richness without dairy.
- Spicy: add a pinch of red chili flakes to the pumpkin seed topping or a small pinch of cayenne to the pot.
- Gingery: grate in about a tablespoon of fresh ginger before blending for a bright, zippy twist.
- Warm spice: if you’re a cinnamon-and-nutmeg person, add a quarter teaspoon of either along with the garlic powder.
- Acorn squash substitute: works in a pinch, though the flavor is milder and the color turns more golden.
- Summer twist: this soup is genuinely great chilled, with a drizzle of olive oil and cracked black pepper. Sounds odd. Tastes like a secret.
Serving Suggestions
The pumpkin seed topping isn’t optional in my house. It’s the sweet-spiced crunch that makes each spoonful feel complete. This creamy butternut squash apple soup also pairs well with:
- Crusty sourdough or a grilled cheese for dipping
- A simple green salad for a light dinner
- Small cups as a dinner party starter
- A drizzle of Greek yogurt or crumbled goat cheese, if you want a little tang (optional)
It’s the ultimate weeknight dinner soup: cozy, nourishing, and ready when you are. And if Thanksgiving is already on your mind, this makes a gorgeous first course while the turkey rests. For a dinner party, this roasted butternut squash apple soup in little cups is a stunning opener.
Storage & Reheating
This is a meal-prep soup, through and through. Here’s the routine:
- Fridge: store in an airtight container for up to 4 days.
- Freezer: freeze for up to 3 months. Use a freezer-safe container and leave a little room at the top.
- Cool completely before refrigerating or freezing. Hot soup in the fridge warms everything else up.
- Reheat gently on the stovetop over medium-low heat, stirring now and then.
- Too thick after thawing? Stir in a splash of broth or water.
Batch-cook this roasted butternut squash apple soup on Sunday, freeze half, and you’ve got an instant dinner for the busiest weeks. The pumpkin seed topping keeps in an airtight container at room temperature for up to 3 days, so you can prep that ahead too.
Frequently Asked Questions
Here are the questions I hear most about this roasted butternut squash apple soup.
Troubleshooting Cheat Sheet
Even great recipes go sideways sometimes. Here’s the quick-reference guide I wish every soup recipe included.
| Problem | Why It Happens | The Fix |
|---|---|---|
| Soup tastes flat | Underseasoned, or the vegetables didn’t roast long enough | Season in layers. Taste the squash right off the pan and add a pinch of salt there. If the finished soup still falls flat, a squeeze of lemon juice works wonders. |
| Soup is watery | Too much broth, or the vegetables steamed instead of roasted | Simmer uncovered for 10 to 15 minutes, or blend in extra roasted squash. The color should deepen as it reduces. |
| Squash didn’t caramelize | Crowded pan, low oven temp, or too much stirring | Single layer, 425°F, one flip only. Use a second sheet pan if you have to. |
| Soup tastes bitter | Stressed squash or over-roasted edges | If it’s the squash, there’s no fixing it start fresh. If it’s just slightly scorched, a splash of coconut milk and a pinch of maple syrup can soften it. |
| Texture is grainy | Not blended long enough | Blend for a full minute. Still grainy? Pass the soup through a fine-mesh strainer. It takes two minutes and the result is absurdly smooth. |
| Soup is too thick | Not really a problem, honestly | Stir in warm broth or water, a quarter cup at a time, until it reaches your ideal consistency. |
The Science of the Soup
Here’s the part that makes this roasted butternut squash apple soup work on a molecular level.
Roasting is the secret weapon. When butternut squash hits high, dry heat, the Maillard reaction kicks in. Amino acids and sugars recombine into hundreds of new flavor compounds, and the natural sugars caramelize into that deep, nutty sweetness no boiling method can copy. Steam can’t do this. Water can’t do this. Only dry heat.
The apple pulls double duty. Its malic acid cuts through the squash’s sweetness like a bright note in a song, and as it roasts, its pectin breaks down into natural softness that helps this creamy butternut squash apple soup blend silky without a drop of cream.
And blending? That’s not just mixing it’s mechanical breakdown. A full minute in the blender ruptures the cell walls in the squash and apple, releasing starches that naturally thicken the soup. That’s why the texture goes from chunky to velvet without any added thickener.
Expert Notes & Data Insights
After making this soup more times than I can count, and watching what actually works across dozens of kitchen trials, a few patterns hold up.
Roasting is non-negotiable. Every iteration of roasted butternut squash apple soup that tasted like something used dry heat first. The versions that skipped it? Baby food, and not the good kind. If you take nothing else from this article, take that.
3 1/2 cups of broth is the sweet spot. I tested thinner versions. They were fine. Nobody ever described them as velvet. At 3 1/2 cups, the texture lands exactly between rich and sippable. If you want it lighter, add the last cup just know what you’re trading.
The topping is what people remember. The soup holds its own, but time and again, that crunchy pumpkin seed mixture is what triggers the text: “can I get this recipe?” Texture contrast is just as important as depth of flavor. Don’t skip it.
Storage math is simple: 4 days in the fridge, 3 months in the freezer. Beyond that, the apple flavor fades and the squash turns watery. Label your containers and trust the timeline.
The biggest mistake is the same one, every time: crowding the pan. It’s the most common error, and also the easiest to fix just use a second sheet pan. Space equals browning, browning equals flavor.
The data and my taste buds finally agree: keep it simple, roast hard, and never skip the crunch.