
Why You’ll Love This Salty Canadian Iced Latte
Okay, I have to admit something. I’ve been absolutely obsessed with the salty Canadian iced latte ever since it started popping up all over my feed. You know the one. The golden foam on top, the way the maple syrup swirls through the milk like a sunrise. I couldn’t stop thinking about it.
So I did what any reasonable person would do. I went to a café and paid seven dollars for one. Seven. Dollars. And don’t get me wrong, it was delicious. But as I stood there watching them make it in about thirty seconds, I had that moment. You know the one. The “I can absolutely make this at home” moment.
Spoiler alert: I was right. And you can too. This salty Canadian iced latte takes five minutes, costs under two dollars per serving, and honestly tastes better than most coffee shop versions I’ve tried. No fancy equipment required. No barista skills needed.
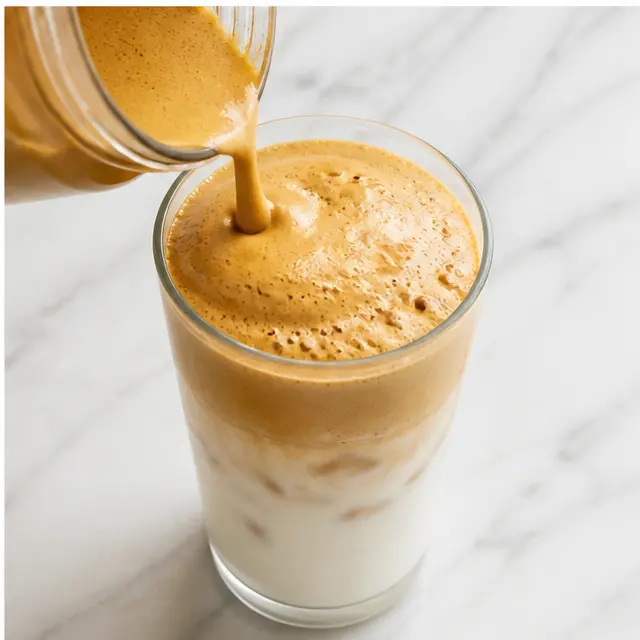
The magic is in the maple butter foam. It’s rich, it’s creamy, and it has this incredible sweet-salty thing going on that makes you close your eyes on the first sip. It tastes like a pancake breakfast in a glass, which is exactly what the internet fell in love with.
And sure, you could wait in the drive-thru line for one. Or not.
Iced Latte Video
I made a quick video walkthrough so you can see exactly how the maple butter foam comes together. It’s genuinely one of those things that looks way more impressive than it is. The whole process happens in about a minute.
The key moment is when the hot espresso melts the butter and everything gets frothed into that thick, silky foam. Once you see it happen once, you’ll never forget it. It’s like a little science experiment you get to drink afterward.
Essential Ingredients
Here’s the thing about this recipe. It only needs six ingredients, and you probably already have most of them in your kitchen. That’s the whole point. No exotic stuff, no special syrups, no weird additives. Just real ingredients doing real things.
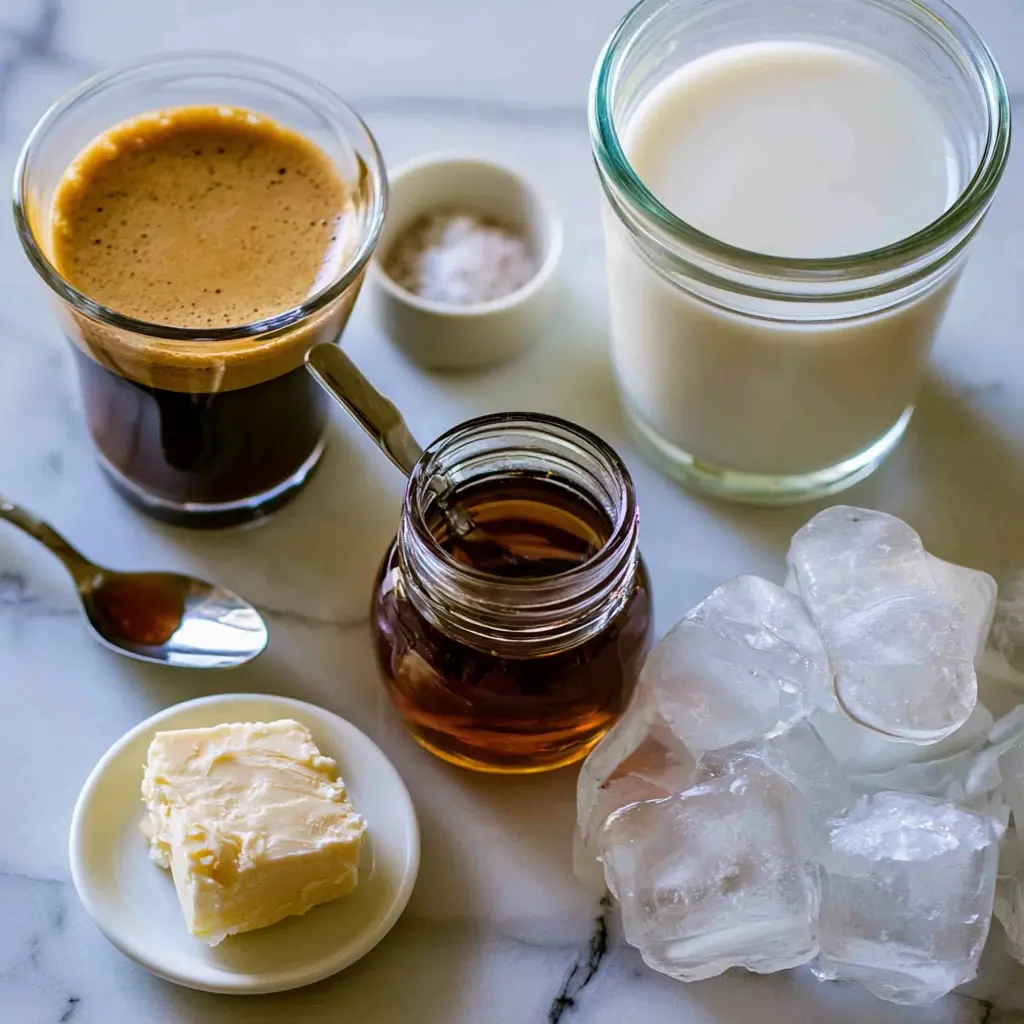
- Freshly brewed hot espresso (2 fl oz): This is your base. It needs to be hot enough to melt the butter, which is non-negotiable.
- Pure maple syrup (1 1/2 tsp): Not pancake syrup. Real maple syrup. It makes all the difference in depth of flavor.
- Butter (1 1/2 tsp): This creates the luxurious foam. Unsalted butter works, but salted adds a little extra to the salty profile.
- Fine salt (1 pinch): The star of the show. It balances the sweetness and makes everything taste more like itself.
- Cold milk (3 to 4 fl oz): Whole milk or 2% gives the creamiest texture. It’s the cold contrast to the hot foam.
- Ice cubes (as needed): Plenty of ice keeps the drink cold and the layers distinct.
The ratio matters here. This isn’t a “dump everything in and hope” situation. It’s precise. A little too much salt and you’re drinking a pretzel. I learned that the hard way, trust me.
How to Make a Salty Canadian Iced Latte
Alright, here’s the part you’ve been waiting for. I’m going to walk you through the whole process, including the mistakes I made on my first attempt so you don’t have to repeat them. You’ll never believe how easy this is. Like, genuinely, it feels like it should be harder.
Important note: The espresso needs to be hot when you froth it. That’s what melts the butter and creates the foam. If you let it cool down, you’ll end up with a sad, separated mess. Keep that in mind.
Step 1: Fill the Glass with Ice and Milk
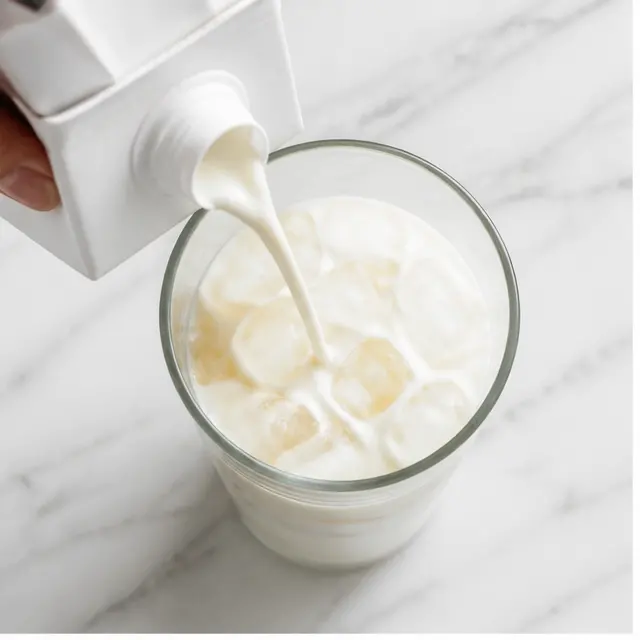
Load a tall glass with ice cubes until it’s about three-quarters full. Then pour the cold milk right over the top. Set it aside while you work on the espresso mixture. That’s it. This cold base is what keeps the drink icy and creamy while you’re frothing away.
Don’t skimp on the ice here. The more ice you have, the better the layers will hold, and the longer your drink stays cold while you finish the foam.
Step 2: Froth Espresso, Maple, Butter, and Salt
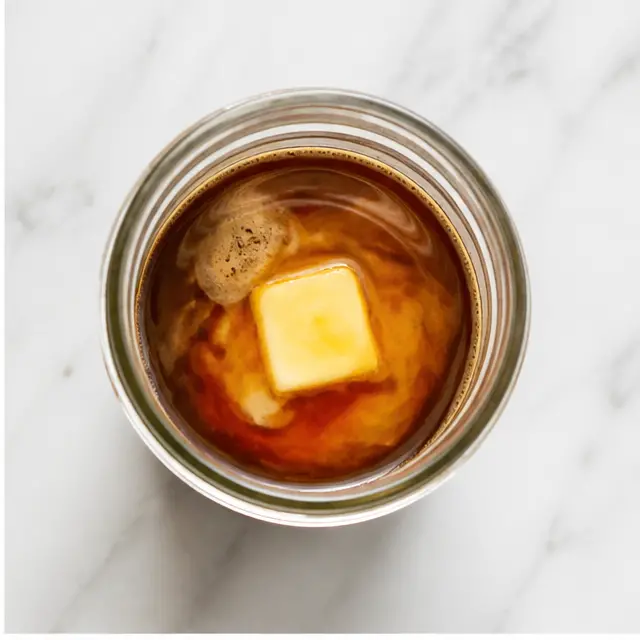
Here’s where the magic happens. In a separate measuring cup or deep jar, combine the hot espresso, maple syrup, butter, and a pinch of salt. Make sure the espresso is hot enough to melt the butter completely. This is the step where most people mess up too. They let the espresso sit too long and the butter never fully incorporates.
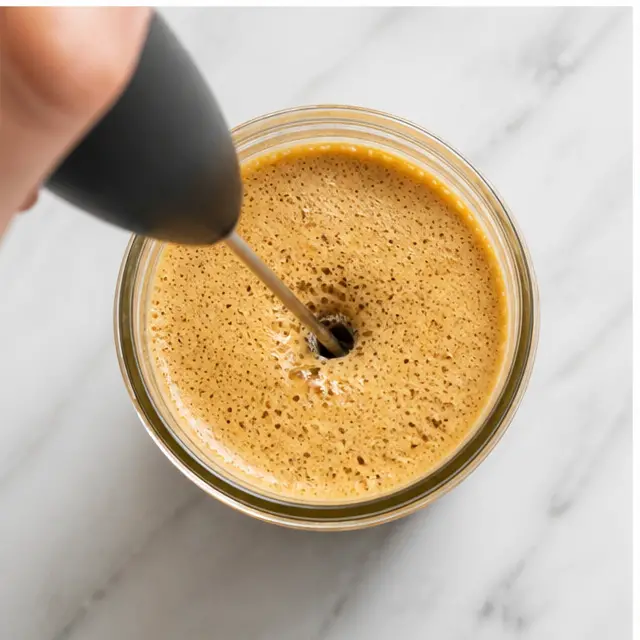
Now, grab a handheld frother or immersion blender and blitz it right away. You want the butter to fully emulsify into the espresso, creating a thick, creamy foam on top. This is what makes this a salty Canadian iced latte and not just another maple iced coffee. It’s the pancake breakfast effect.
Pro tip: A deep, narrow jar works best here. It keeps the foam contained and prevents splashing everywhere. Trust me on this one.
Step 3: Pour Over the Milk and Serve
Slowly pour the frothed espresso mixture over the cold milk and ice. You’ll see it settle on top and slowly start to merge with the milk. Give it a gentle stir to distribute the maple butter flavor evenly. Then serve it right away, with or without a straw.
This is not a drink you make ahead. The foam will separate, the ice will melt, and you’ll end up with something sad. Serve it immediately. That’s the only way to get the full experience of the frothy maple salt latte.
Step 4: The First Sip
Take a moment before you drink it. See that golden foam on top? That’s the maple butter. Give it a little stir from the bottom so the sweetness and salt are evenly mixed. Then take a sip.
The first thing you’ll taste is the sweet maple, then the cold creaminess of the milk, and finally that salty finish that makes you go “oh, that’s different” in the best way possible. It’s a sweet and salty coffee drink that hits all the right notes.
Variations and Substitutions
One of the best things about this salty Canadian iced latte recipe is how easy it is to adapt. Whether you’re dairy-free, out of espresso, or just feeling adventurous, there’s a version for you. Here are my favorite ways to switch it up.
Dairy-Free Option
You can absolutely make this a dairy-free maple sea salt latte without sacrificing the creaminess. Swap the regular butter for dairy-free butter sticks. And here’s a pro tip: dairy-free butters vary in saltiness, so taste and adjust the salt accordingly. Use barista-style oat milk or soy milk for that extra thick, creamy texture. The oat milk froths beautifully and holds the foam really well.
No Espresso Machine?
This was a game-changer for me. If you don’t have an espresso machine, mix instant espresso powder with 2 fl oz of hot water according to the package directions. It works perfectly. Nobody’s judging, and honestly, you’ll get 90% of the way there with zero hassle. If you want to go the cold brew route, you can use cold brewed coffee or strong drip coffee, about a quarter to half a cup.
- For a warm version: brew espresso with maple syrup and salt, steam your milk, pour it over, and top with a pinch of salt.
- Use 2% lactose-free milk if regular milk isn’t your thing.
- Double the recipe and use a larger tall container if you’re serving two.
Natasha’s Pro Tip for Serving
This is the advice I wish someone had given me before my first attempt. Keep the milk ice cold and use plenty of ice. The contrast between the hot, frothed espresso mixture and the cold milk is what makes this drink so special. You get that warm, creamy foam on top and a frosty, refreshing base underneath. It’s the best of both worlds.
Serve Immediately
The golden rule: serve this drink right away. The frothy butter will separate if it sits, and the ice will melt and water it down. It’s a 5-minute drink from start to finish, and it’s best enjoyed that way.
And stir from the bottom before sipping so the maple butter flavor is evenly distributed. Trust me, the first sip is way better when you do this.

Common Mistakes and How to Fix Them
Let’s be real for a second. I’ve made this drink a lot, and I’ve messed it up plenty. These are the most common issues you’ll run into, and exactly how to fix them.
- ❌ Too much salt. The drink tastes like a soft pretzel. ✅ Use a pinch, not a dash. You can always add more.
- ❌ Letting the drink sit. The butter separates and the ice melts. ✅ Serve immediately. This drink doesn’t wait.
- ❌ Using spreadable dairy-free butter. It won’t emulsify properly. ✅ Use stick-style dairy-free butter.
- ❌ Using low-quality maple syrup. The flavor falls flat. ✅ Use real, high-grade pure maple syrup for that lush, fragrant flavor.
- ❌ Foam not forming. Espresso wasn’t hot enough. ✅ Make sure the espresso is freshly brewed and hot before frothing.
Storage and Make-Ahead Tips
Honest answer? This is a drink that’s meant to be enjoyed right away. It doesn’t store well, and I wouldn’t recommend trying to make it ahead. The magic is in the fresh froth and the contrast between hot and cold.
However, if you’re throwing a brunch and want to serve this to a crowd, you can prepare a big batch of the espresso, maple, butter, and salt mixture in advance. Keep it warm in a thermos, then froth each serving right before pouring over the milk and ice. It’s a great trick for entertaining.
Frequently Asked Questions

Salty Canadian Iced Latte with Maple Butter Foam
Ingredients
Method
- Load a tall glass with ice cubes until it is about three-quarters full, then pour the cold milk over the ice and set it aside.
- In a separate measuring cup or deep jar, combine the hot espresso, maple syrup, butter, and a pinch of salt, making sure the espresso is hot enough to melt the butter.
- Froth the espresso mixture right away with a handheld frother or immersion blender until the butter is fully blended and the top forms a thick, creamy foam.
- Slowly pour the frothed coffee over the milk and ice, give it a gentle stir, and serve right away with or without a straw.
Nutrition
Notes
Tried this recipe?
Let us know how it was!Final Thoughts on This Viral Salty Canadian Iced Latte
This drink went viral for a reason. It’s the perfect summer coffee drink. It’s sweet, it’s salty, it’s creamy, and it’s refreshing. It’s the kind of thing that turns a regular morning into a little event.
And honestly? Making it at home makes it even better. Not just because it costs a fraction of the café price, but because you did it yourself. There’s a little bit of pride in that foam.
If you make this salty Canadian iced latte, I’d love to hear how it turns out. Tag me, send me a message, tell me if you nailed the foam on your first try. And if you’re obsessed with homemade iced everything, I have a feeling we’re going to get along great.
Want more coffee inspiration? Follow me on Pinterest for the latest recipes and ideas.
Source: Learn More About This Dish