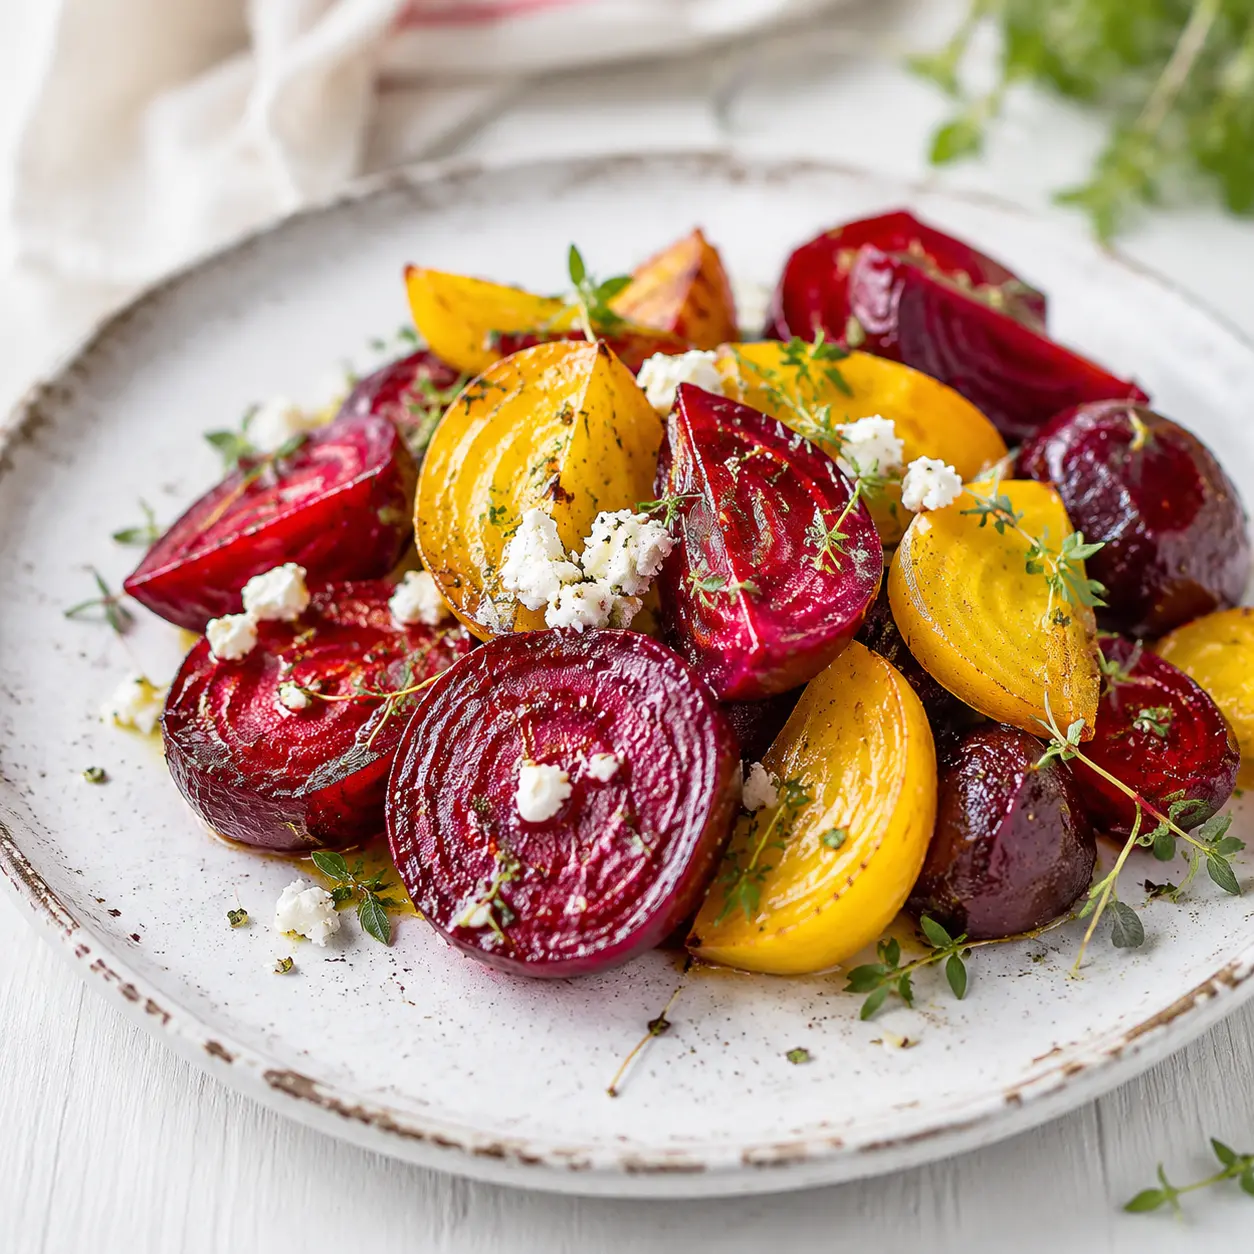
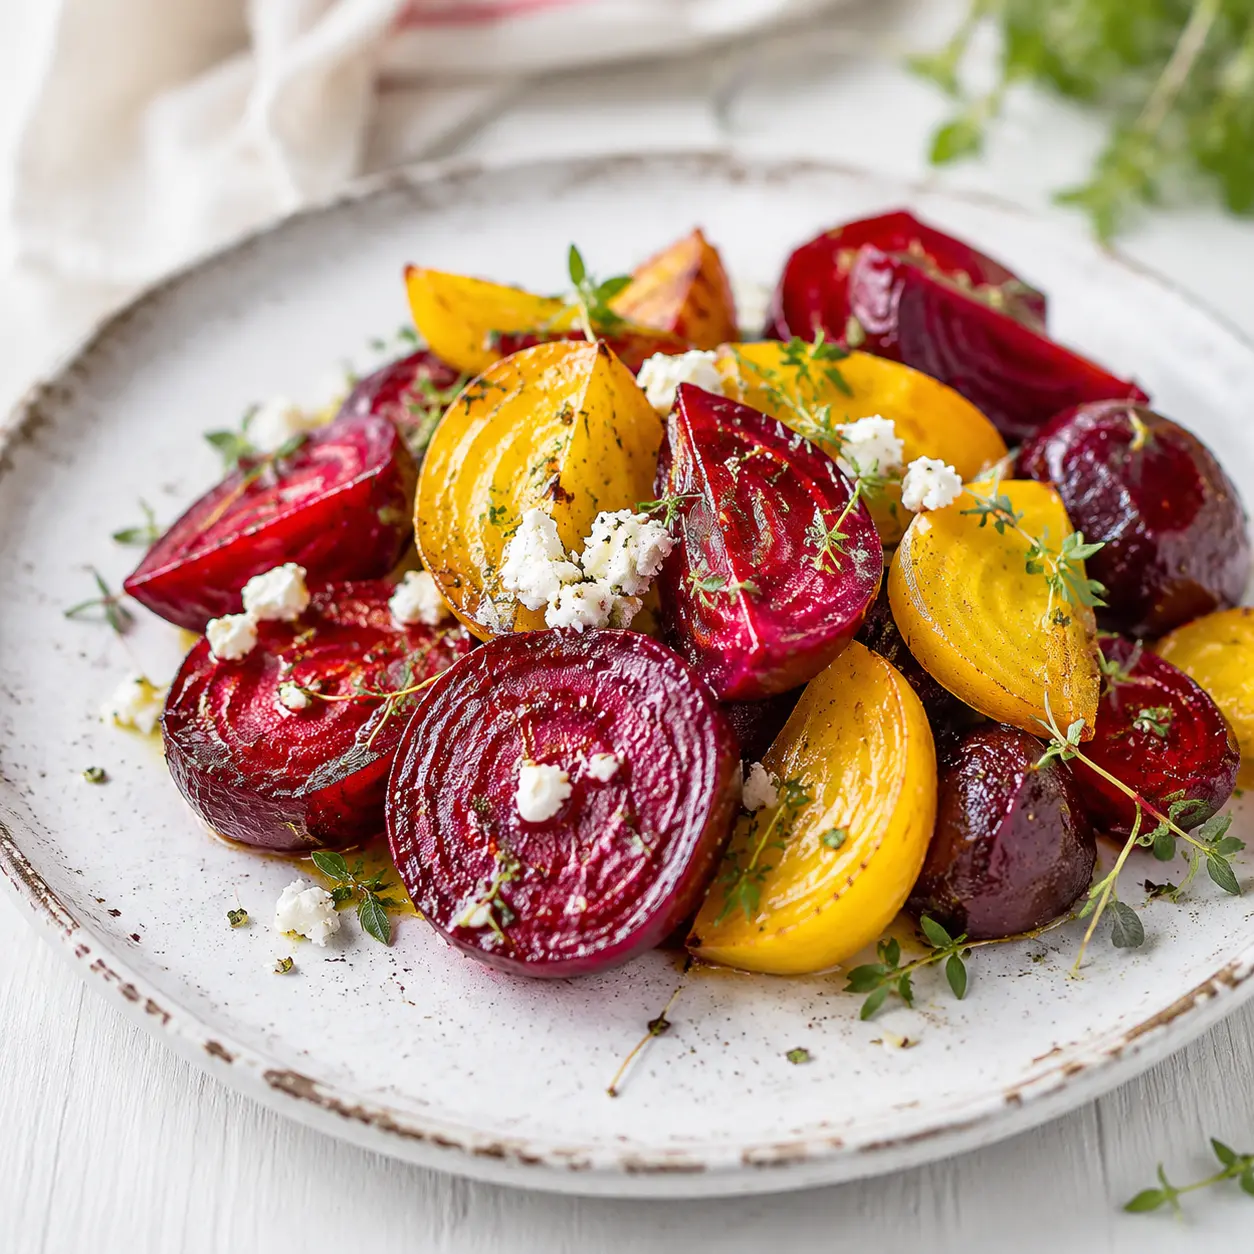
Simple Roasted Beets with California Olive Oil
Ingredients
Method
- Preheat the oven to 400°F.
- Place each beet on its own sheet of foil. Drizzle generously with olive oil and season with salt and pepper. Wrap the beets tightly in the foil and arrange them on a rimmed baking sheet. Roast for 35 to 60 minutes, or until a fork slides easily through the center. The exact time depends on the size and freshness of the beets.
- Remove the beets from the oven and let them rest in the foil until cool enough to handle. Once cool, slip the skins off with your fingers, using cool running water to help them release easily.
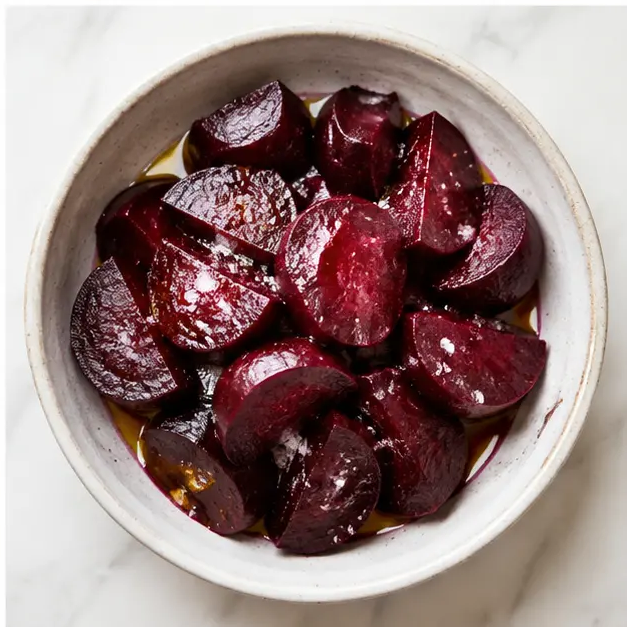
- Slice or cut the beets as desired. Lightly drizzle with fresh olive oil, season to taste with additional salt and pepper, toss gently, and serve.
Nutrition
Notes
Tried this recipe?
Let us know how it was!Why You’ll Love This Recipe
Okay, real talk. The first time I tried to roast beets, I absolutely botched it. They came out rock-hard, the kitchen looked like a crime scene, and I stood there with a knife, wondering if I’d ever win at vegetables. It was not my finest hour.
But then I figured out the secret, and honestly, it’s way easier than you think. These oven roasted beets come out jammy, buttery, and sweet with a hint of caramel. The edges get this beautiful, crisp texture while the centers turn so tender that a paring knife slides in like, well, butter.
This is one of those healthy vegetable recipes that actually feels like a treat. The ingredient list is stupidly simple, the method is foolproof, and it’s the perfect easy vegetarian side dish for everything from a weeknight dinner to a holiday table.
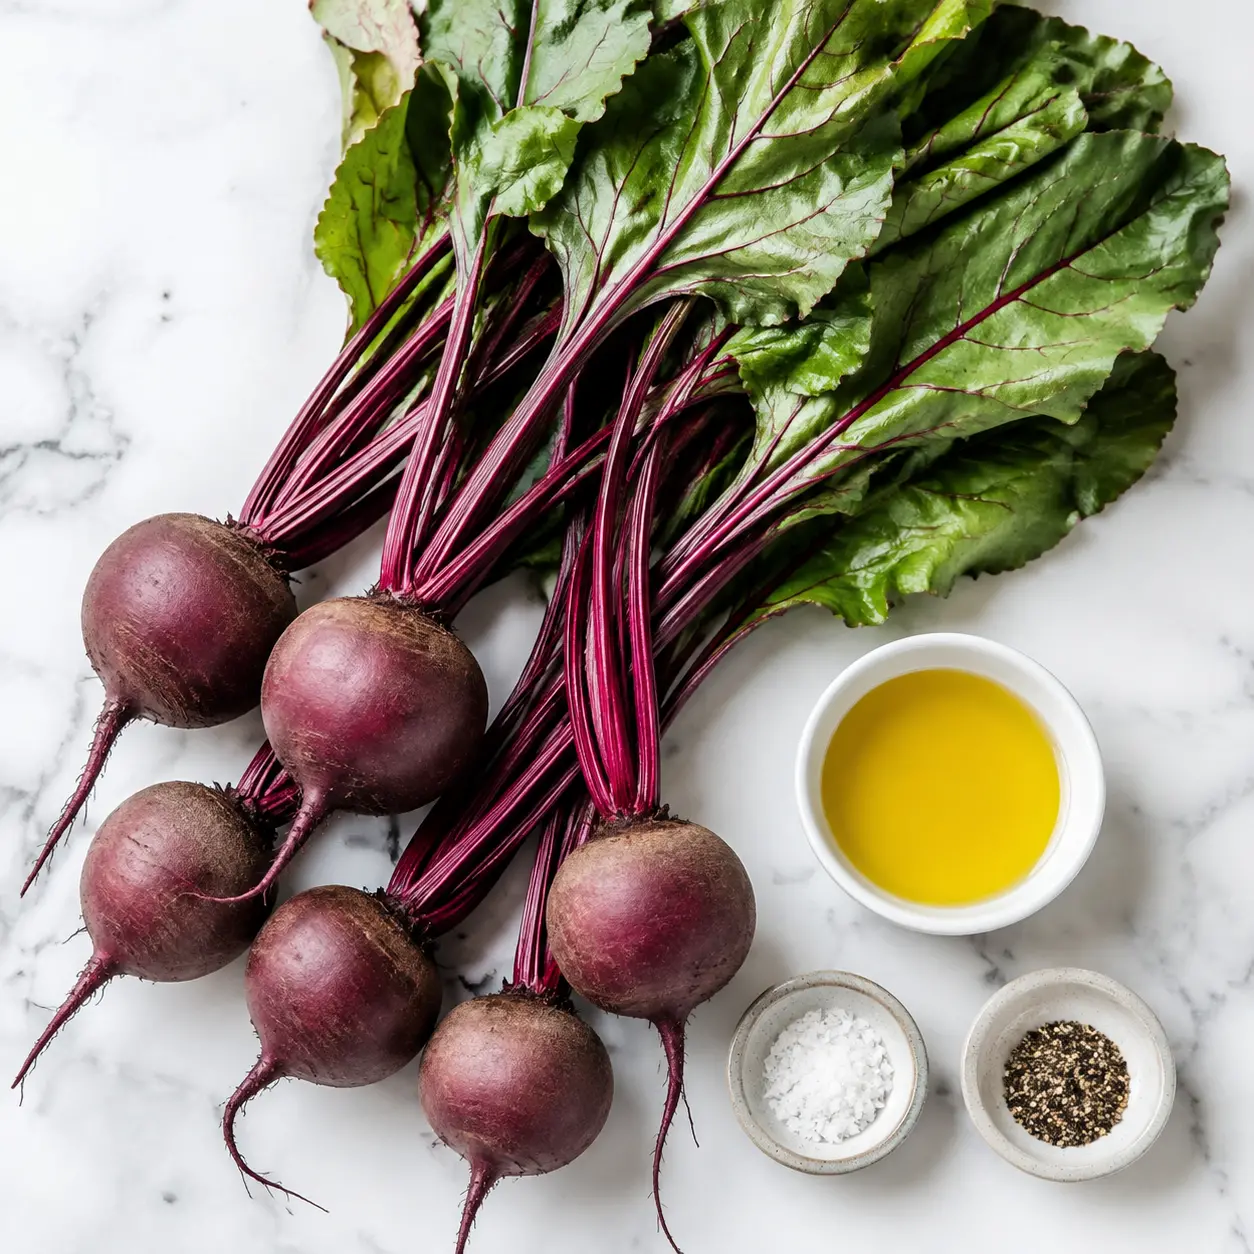
What Most Recipes Don’t Tell You
Here’s the thing nobody says out loud. When you wrap beets in foil, you’re not just keeping your oven clean. You’re creating a little steamy environment that gently cooks the beets from the inside out. That trapped steam is what makes the skins practically slip off on their own. It’s like magic, but better, because it involves olive oil.
And about the stain situation. Because yes, there will be staining. Your hands will look like you’ve been handling evidence. Here’s my trick: rub a little oil on your hands before you start peeling, and keep white vinegar nearby. It cuts through the beet juice stains like a dream. You’re welcome.
This method for how to roast beets is all about working with the vegetable, not against it. No fancy equipment, no stress. Just a sheet pan, some foil, and a little patience.
How to Roast Beets: A Foolproof Method
So here’s the deal with roasting. You want that deep, sweet, caramelized flavor, and the best way to get there is by letting the beets do their own thing in a cozy foil packet. Let’s break it down into four simple stages. No guesswork, I promise.
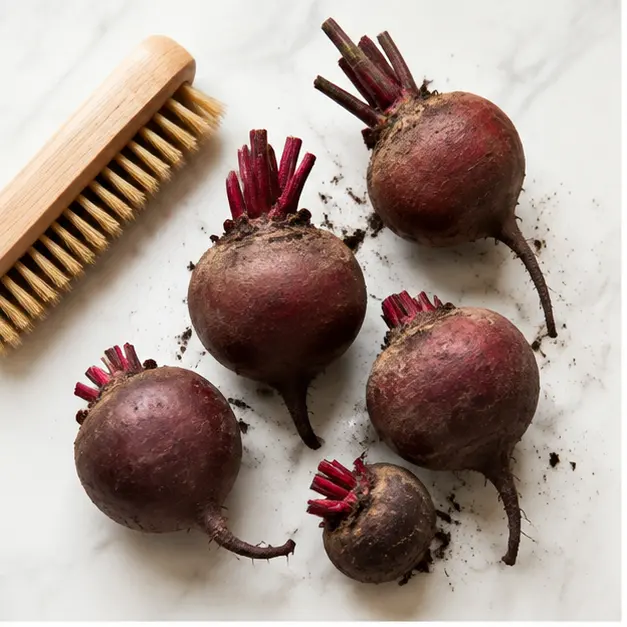
Stage 1: Prep Your Beets. Give them a good scrub under running water. They grew in the dirt, after all. Trim off the leafy tops and the little root tail, but don’t go crazy peeling them. The skin is doing a job right now, holding in moisture and flavor. Just dry them off and you’re ready.
Stage 2: Wrap and Roast. Place each beet on its own sheet of foil. This is key, so they cook evenly. Drizzle generously with that golden California olive oil, season with flaky sea salt and pepper, and wrap them up tight like little presents. Pop them on a rimmed baking sheet and into a 400°F oven. This is the perfect roasted beets temperature for tender, sweet results.
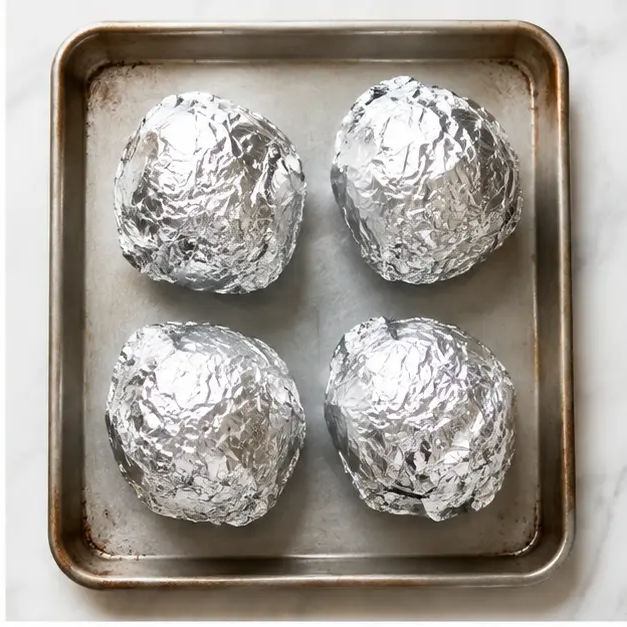
Stage 3: The Fork Test. Here’s where you trust your instincts, not just the timer. After about 35 minutes, start checking. The time can range from 35 to 60 minutes depending on the size and freshness of your beets. You’re looking for a fork to slide into the center with almost no resistance. That’s your visual doneness cue.
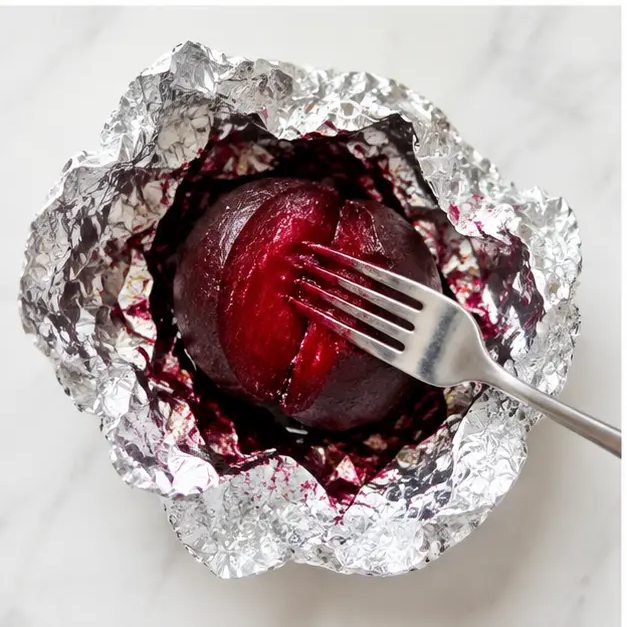
Stage 4: Peel and Finish. Let the beets rest in their foil until they’re cool enough to handle. Then, just slip the skins off with your fingers. Holding them under cool running water makes it even easier. The skins will practically fall away. Slice them up, give them one last drizzle of fresh olive oil, a pinch more salt, and serve.
Tips for Perfect Roasted Beets
Over the years, I’ve learned a few things that make this process even smoother. These little tips are the difference between good foil wrapped beets and phenomenal ones.
- Size matters: Smaller beets cook faster. Start checking around the 35-minute mark and pull any that feel tender while the bigger ones keep going.
- Don’t over-oil: You want a generous drizzle, but you don’t want them swimming. Too much oil can make them soggy instead of caramelized.
- Season in stages: Season lightly before roasting, then adjust the salt after they’re finished. The flavor concentrates as they cook.
- Embrace the mess: Beet juice stains, but it washes off with a little patience. Or just wear kitchen gloves if you’re fancy.
- Save the greens: If your beets came with their leaves, don’t toss them! They’re delicious sautéed with garlic and olive oil.
And if you’re wondering about peeling before or after roasting? Always after. It’s so much easier to peel beets after roasting because the skin loosens during cooking. It’s a total game-changer for your beet preparation tips.
Flavor Variations for Roasted Beets
The base recipe is pretty perfect as is, just olive oil, salt, and pepper. But sometimes you want to mix it up. These are all optional add-ons, so feel free to pick your own adventure.
- Bright and tangy: Add a splash of sherry vinegar or lemon juice at the end for a little brightness.
- Herby: Toss the sliced beets with some fresh thyme or rosemary before serving.
- Salad style: Serve them chilled over arugula with crumbled goat cheese and toasted almonds for a balsamic roasted beets vibe.
- Sweet twist: A light drizzle of honey while they’re still warm gives them a gorgeous honey glazed finish.
- Golden option: Try golden beets instead of red for a milder, sweeter flavor and no staining whatsoever.
These make great roasted beets with feta, too. Just crumble some feta on top right before serving.
How to Serve Roasted Beets
This is where things get fun. These beets are so versatile. You can serve them warm, straight from the oven, which is my personal favorite. The caramelized edges are just incredible.
They’re equally delicious at room temperature, which makes them perfect for summer salads or potlucks. And honestly, chilled roasted beets on a protein bowl with roasted beets and some grains? Chef’s kiss.
The sweet, earthy flavor pairs beautifully with creamy things like goat cheese or feta, crunchy things like toasted walnuts or pistachios, and bright things like citrus or a squeeze of lemon. They’re a great addition to any healthy vegetable recipes rotation.
How to Store Roasted Beets
This is the ultimate make-ahead roasted beets situation. I love roasting a big batch on Sunday and using them all week.
Store your leftovers in an airtight container in the refrigerator for up to 5 days. They’re perfect roasted beets for meal prep. You can keep them whole, sliced, or diced, whatever works for your week.
To reheat, just pop them in the microwave for a minute or two. Or, if you’re adding them to a salad, you can eat them cold straight from the fridge. They’re delicious either way. This is also important for your roasted beet storage game. They’ll stay nice and tender the whole time.
My Favorite Way to Enjoy Them
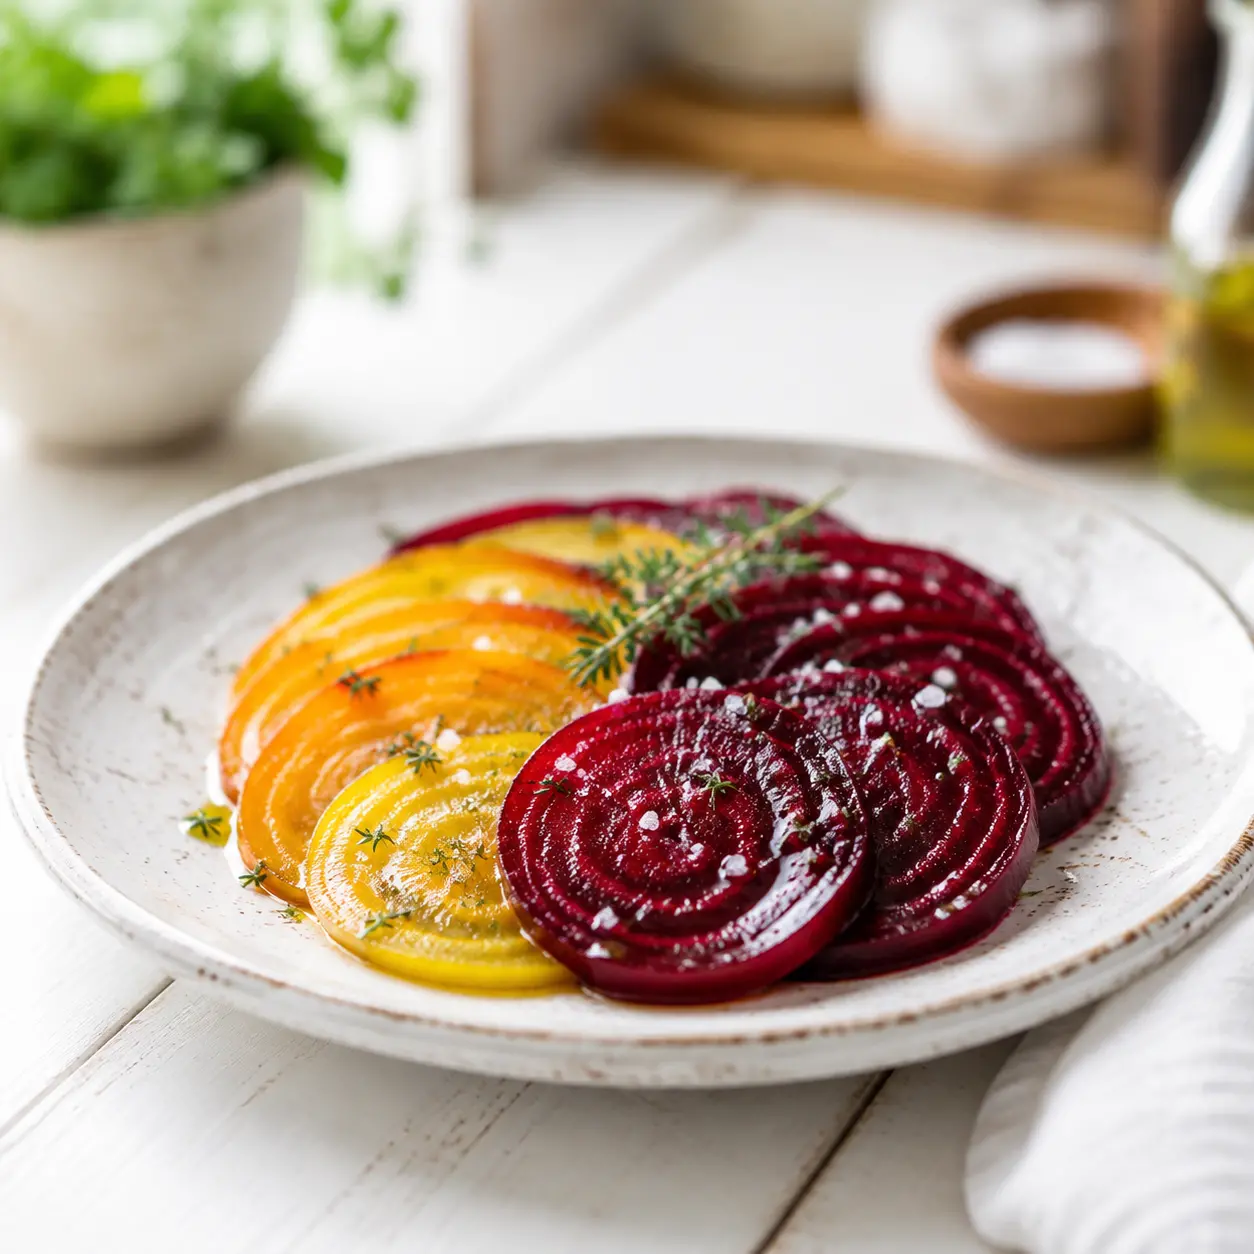
I’m a simple girl. I love these beets sliced thick and tossed with a little extra olive oil, a pinch of flaky salt, and maybe some fresh dill. Served warm next to a piece of grilled fish or folded into a salad with some citrus segments.
Roasted Beets FAQ
More Favorite Beet Recipes
Once you master this simple method for how to roast beets, you’re going to want to put them on everything. They’re that good. I’ve got a few more ideas to keep your rotation fresh, all based on this same foolproof technique.
If you love this easy roasted beets recipe, you’ll definitely want to explore more cooked beet recipes. And hey, if you’re feeling social, come say hi on Pinterest and share your beautiful creations. I love seeing what you make.
These oven roasted beets are more than just a side dish. They’re a little moment of sweet, earthy, caramelized joy. They’re the vegetable that converts beet-haters. They’re the bright pop of color on your dinner plate. And with this easy method, they’re something you’ll actually look forward to making.
Source: Learn More About This Dish