
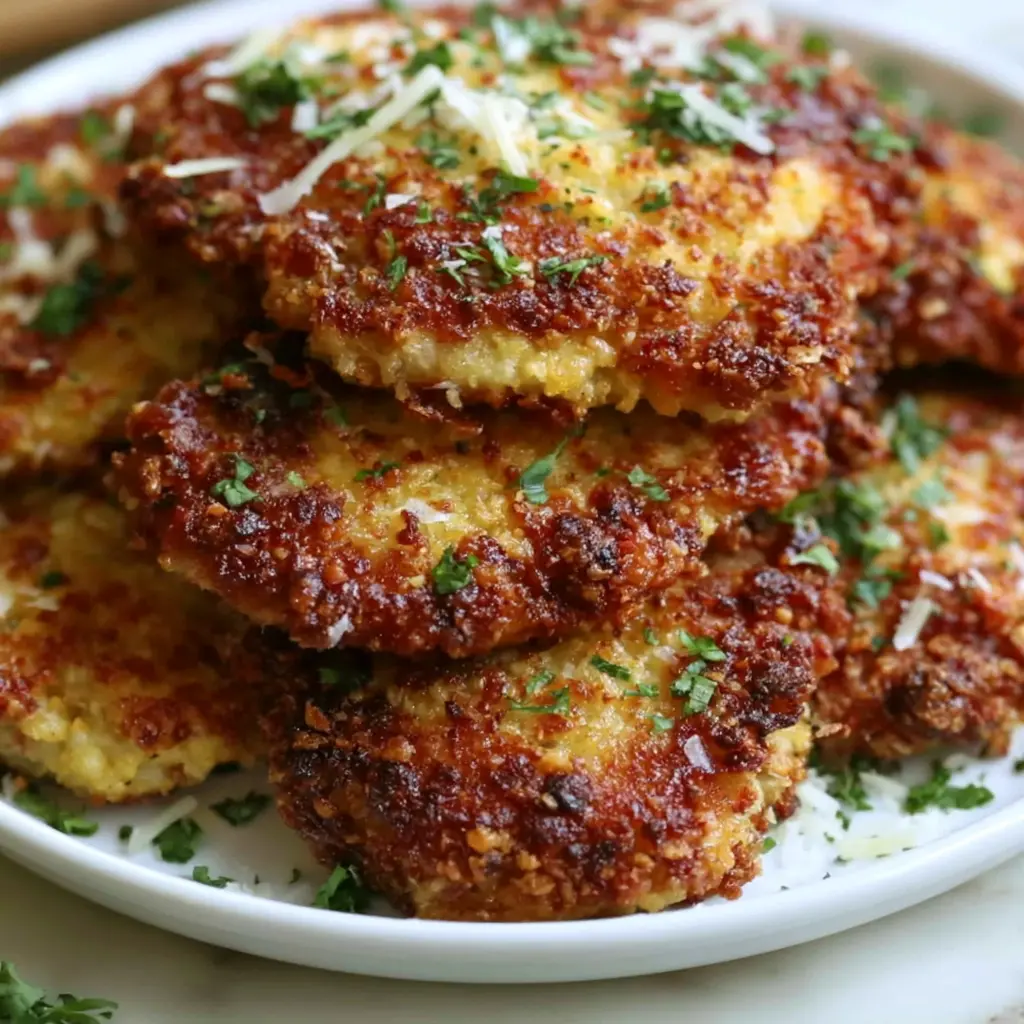
Why You’ll Love This Crusted Chicken Romano
Okay, confession time. I love Cheesecake Factory chicken romano, but I’m done paying $25 for it and getting lukewarm food after a 45-minute wait. So I took matters into my own kitchen and cracked the copycat code.
This recipe gives you that same golden, craggy crust with a punch of Pecorino Romano and Parmesan, wrapped around juicy chicken. It comes together in about 25 minutes flat. That’s faster than the drive to the restaurant, honestly.
My first attempt was a disaster. The crust slid right off the cutlets like a bad toupee, and the chicken was dry and sad. Turns out I was making two rookie mistakes. I didn’t pound the chicken thin enough, and my oil wasn’t hot enough. Fix those two things, and everything changes. That first bite, the crack of the golden crust, the salty cheese hitting your tongue, pure magic.
Plus, it’s August in LA. It’s over 90 degrees out there and the last thing I want is to fight traffic for a table. Keep the AC on, get the skillet hot, and dinner’s ready before you could even get seated. This has become my go-to quick weeknight chicken dinner.
Ingredients for Cheesecake Factory Chicken Romano
The beauty of this cheesecake factory chicken dish is the simplicity. A handful of pantry staples, two good cheeses, and fresh chicken. That’s the whole list. You probably already have most of it sitting in your kitchen right now.
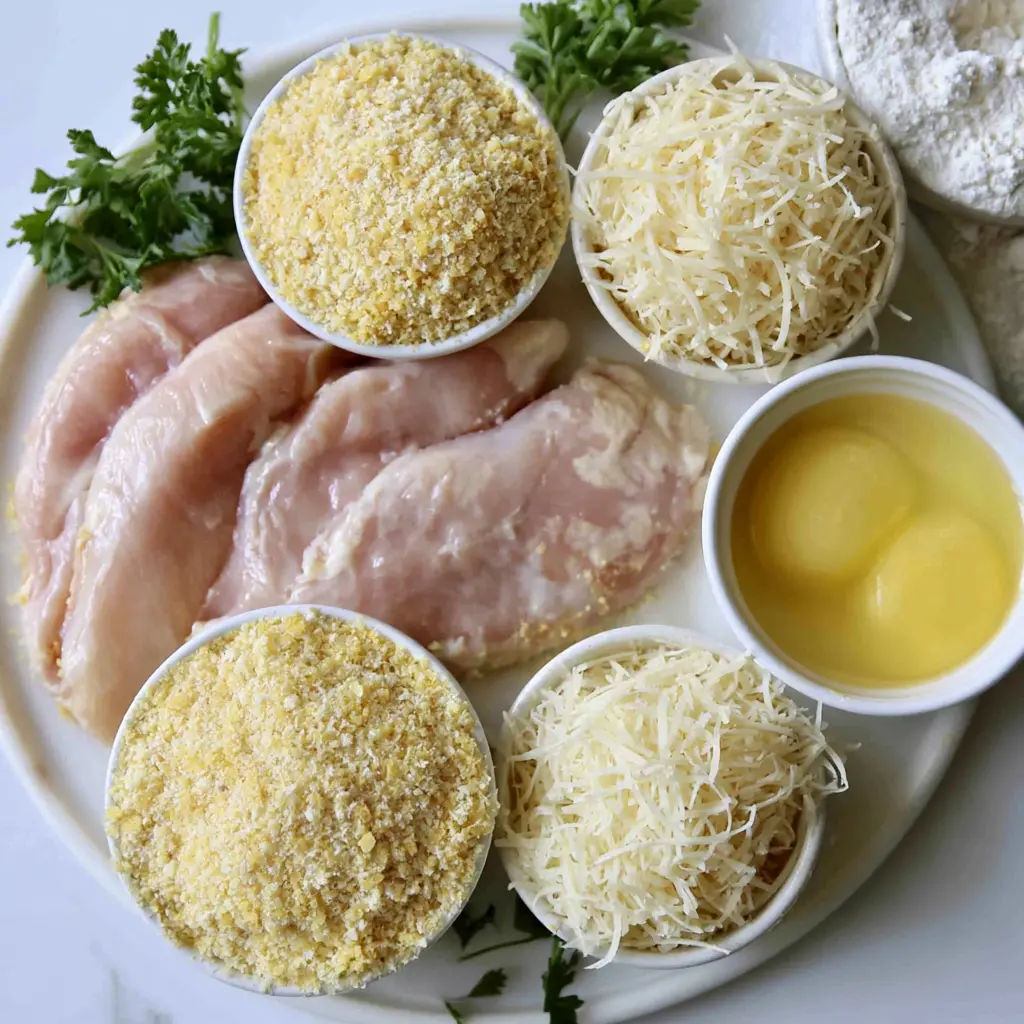
The crust is the star here. Panko breadcrumbs give it that light, shattery crunch, while finely shredded Parmesan and Pecorino Romano bring the salty, nutty depth. Simple, but it works. No weird ingredients, no trips to a specialty store.
Kitchen Tools You’ll Need
- A large skillet, stainless steel or cast iron. A deeper one helps with oil splatter.
- A meat mallet or rolling pin to pound the chicken, plus some plastic wrap.
- Three shallow bowls for the dredging station.
- A wire rack so the breaded cutlets can rest before frying.
- A meat thermometer, because guessing doneness is overrated.
Ingredient Notes & Substitutions
Pecorino Romano vs. Parmesan. They get lumped together, but they’re different cheeses. Pecorino Romano is sharper and saltier, made from sheep’s milk. Parmesan is nuttier and more mellow. This recipe uses both, and together they create that layered, italian restaurant style chicken flavor. If you only have one, go with the Pecorino Romano. It does the heavy lifting.
Grate your own cheese. I know, it’s annoying. But pre-shredded cheese has anti-caking agents that mess with how it melts and clings to the panko. A block of cheese and a box grater takes two minutes. Trust me on this one.
Panko, not regular breadcrumbs. Panko is lighter, flakier, and fries up crispier. Regular breadcrumbs give you a denser, almost sandy crust. For that signature crunch, panko is non-negotiable.
Oil matters too. Use a neutral oil with a high smoke point, like vegetable, canola, or avocado oil. Butter and olive oil will burn before your chicken is done, and nobody wants that.
How to Make Cheesecake Factory Chicken Romano
This copycat cheesecake factory recipe follows a classic breading method, flour, egg, panko, with a few important details that make the difference between good and great.
Prep the Chicken Cutlets
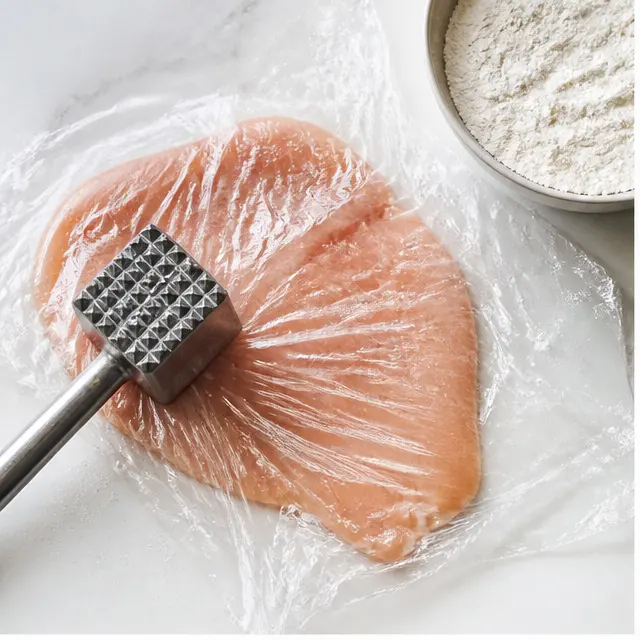
Slice each chicken breast in half horizontally so you get four thinner cutlets. Then place them between plastic wrap and pound with the smooth side of a meat mallet until they’re an even 1/4 inch thick. An even thickness means the chicken cooks through at exactly the same rate the crust browns. No dry centers, no burnt edges.
Pat the cutlets dry with paper towels and season both sides lightly with salt and black pepper. Room temperature chicken is also your friend here. Cold chicken straight from the fridge drops your oil temperature and cooks unevenly.
Set Up the Breading Station
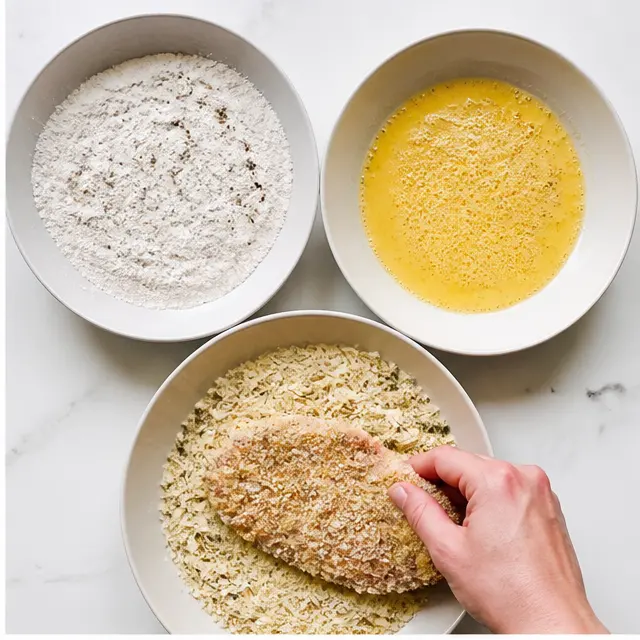
This is where the magic happens, and it’s all about the order. Bowl one, flour whisked with dried oregano, garlic powder, salt, and black pepper. Bowl two, beaten eggs. Bowl three, panko mixed with the finely shredded Parmesan and Pecorino Romano.
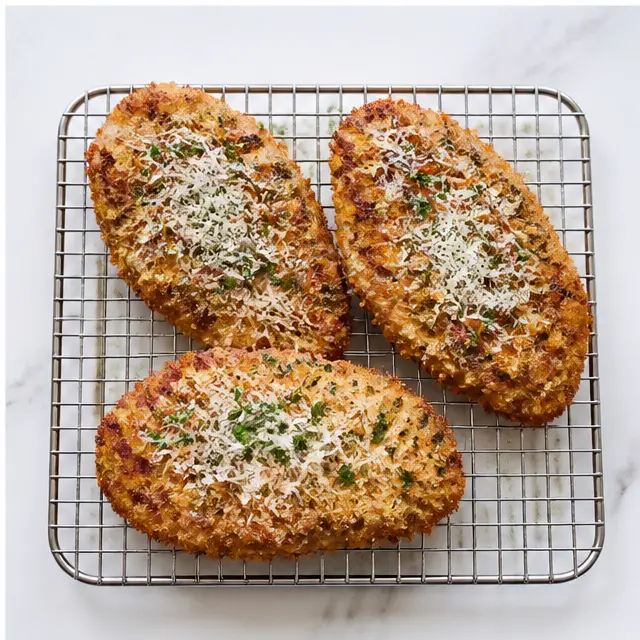
Flour first helps the egg stick. Egg second helps the panko-cheese mixture cling. Dredge each cutlet in the flour, shake off the excess, dip it in the egg, then press firmly into the panko blend until it’s fully coated. Place the breaded cutlets on a wire rack while you finish the others. That resting time lets the coating set, which means less of it falling off in the pan.
Fry Until Golden Brown
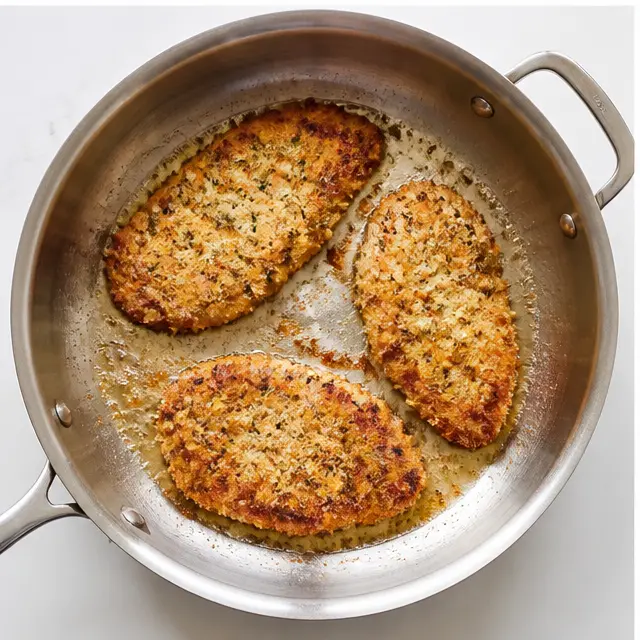
Heat about 1/3 cup of vegetable oil in your skillet over medium heat. You’re waiting for the shimmer, that gentle ripple on the surface of the oil. When it shimmers, you’re ready. Slide the cutlets in and listen. That immediate, lively sizzle is exactly what you want. If it’s quiet and lazy, the oil isn’t hot enough.
Fry 3 to 4 minutes per side, flipping once, until both sides are golden brown and the internal temperature hits 165°F. Work in batches, don’t overcrowd. It’s tempting to fit them all in at once, but that drops the oil temperature and steams the crust. Don’t do it. Tent the cooked cutlets loosely with foil while the rest of the batches finish.
Make It Quicker & Easier
Short on time? I’ve got you.
- Buy pre-pounded cutlets. Many supermarkets sell chicken already sliced thin. Or just ask the butcher. Problem solved.
- Set up your dredging station first. Before the chicken even comes out of the fridge. It sounds obvious, but it saves so much stress.
- Bread ahead of time. You can bread the cutlets and refrigerate them on a wire rack for up to 24 hours. Then dinner is just a quick fry away when you need it.
Chef’s Tips for Extra-Crispy Results
I’ve made this parmesan crusted chicken more times than I can count. Here are the mistakes I’ve personally made so you can skip straight to the good part.
- ❌ Overcrowding the pan. It drops the oil temperature and steams the crust into sogginess. ✅ Fry in batches. Always.
- ❌ Cold oil. If the oil isn’t shimmering, the breading absorbs oil instead of crisping. ✅ Wait for the shimmer.
- ❌ Pre-shredded cheese. Those anti-caking agents prevent the cheese from melting into the panko. ✅ Grate your own. It matters.
- ❌ Butter or olive oil for frying. Low smoke points mean burnt oil and off flavors. ✅ Neutral oil only.
- ❌ Thick chicken breasts. The outside burns before the middle cooks. ✅ Pound to 1/4 inch.
- ❌ Skipping the salt on the chicken. The crust is salty, but the meat needs love too. ✅ Season before breading.
And here’s the thing, this recipe is forgiving. Visual cues, time ranges, you don’t need to be a scientist about it. If the coating browns too quickly, lower the heat a touch and let the chicken catch up. You’ll feel it out.
Easy Variations & Serving Ideas
This cheesecake factory chicken romano recipe is a fantastic base for so many dinners. Here’s how to switch it up depending on your mood.
- Gluten-free: Use gluten-free panko and swap the all-purpose flour for almond flour. Honestly, you barely notice the difference.
- Fresh and bright: A squeeze of lemon and some chopped parsley over the hot cutlets. Simple, fresh, perfect for summer.
- Pasta night: The restaurant serves this over linguine with a creamy sauce. At home, toss your pasta with a store-bought four cheese sauce and some fresh basil. Easy win.
- Sandwich mode: Leftover cutlets on a crusty roll with marinara. It’s basically a chicken parm sandwich and it’s amazing.
- Salad topper: Slice the cutlets thin and pile them over a big green salad. Lighter, but still satisfying.
If you’re feeling ambitious, a creamy garlic sauce for chicken made with heavy cream and extra Romano is a natural pairing. It’s not part of this base recipe, but I won’t judge you for making it. And at around 510 calories per serving with 49 grams of protein, this one keeps you full without wrecking your day.
Storage & Reheating Instructions
Leftovers are a real thing here, assuming you don’t devour all four cutlets immediately. I usually don’t have leftovers, but when I do, here’s the plan.
Let the cutlets cool completely before refrigerating. Store them in an airtight container for up to 3 days. The crust will soften a little, but don’t panic, we can fix that.
Skip the microwave. Seriously. It turns that beautiful golden brown chicken crust into a sad, soggy mess. Instead, reheat in a 375°F oven for 10 to 15 minutes. A toaster oven works great too, about 400°F for 10 minutes. The goal is to re-crisp the crust while keeping the chicken juicy inside.
You can also freeze the breaded raw cutlets for up to a month. Wrap each one individually, freeze on a baking sheet, then transfer to a freezer bag. Thaw overnight in the fridge and fry as usual. The crust might lose a tiny bit of crispness, but it’s still seriously good.
Final Thoughts on This Copycat
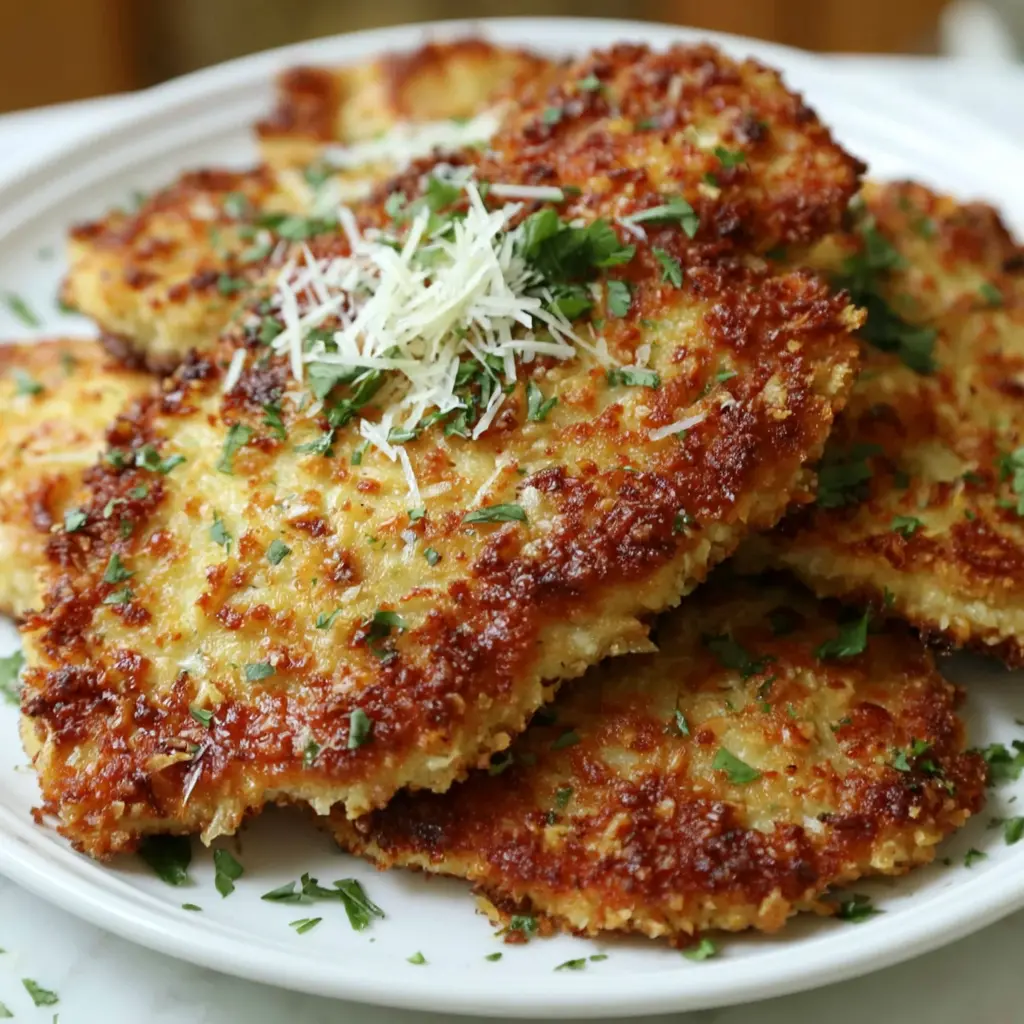
Look, I’m not saying you’ll never step foot in a Cheesecake Factory again. But once you make this at home, you’ll probably think twice about the wait, the crowds, and that price tag. This is one of those homemade restaurant recipes that feels like a secret. You made something incredible in your own kitchen, and it cost a fraction of what the restaurant charges.
this at home, I hope it becomes your go-to too. There’s something so satisfying about pulling those golden cutlets out of the skillet and knowing you made the whole thing for a fraction of the price, in your own kitchen, without a single wait. If you give it a try, come back and tell me how it turned out. I read every comment, and honestly, the feedback from you all is what keeps me testing these copycat recipes until they’re just right.Frequently Asked Questions
Why did my breading fall off?
This is the most common issue, and trust me, I’ve been there. It usually comes down to three things: the chicken wasn’t dry before you started, the oil wasn’t hot enough, or you skipped the resting step. Pat the cutlets completely dry with paper towels before dredging. Wait until the oil shimmers before adding the chicken. And let the breaded cutlets rest on a wire rack for 5 to 10 minutes before frying so the coating has time to set. Nail those three things and the crust will stay put.
Can I bake or air-fry these instead?
You can, but I’ll be honest with you: nothing beats pan-frying for that shattery, craggy crust. If you want to skip the oil, bake the breaded cutlets on a wire rack over a baking sheet at 400°F for 18 to 20 minutes, flipping halfway. In an air fryer, cook at 375°F for 10 to 12 minutes, flipping once and spraying the tops lightly with oil so they brown. Both work, but the crust comes out more crackly than deep-fried crispy. Still seriously good, just a different texture.
What sauce does the Cheesecake Factory serve with it?
The restaurant pairs this chicken with linguine in a creamy four-cheese sauce. My quick homemade version: melt 2 tablespoons of butter in a skillet over medium heat, add 2 minced garlic cloves for about 30 seconds, then pour in a cup of heavy cream. Let it simmer for 3 to 4 minutes, whisk in a 1/2 cup each of finely grated Parmesan and Pecorino Romano, and season with salt and pepper. Toss with cooked pasta, lay your chicken right on top, and you’ve got the full restaurant experience at home. Takes about 10 minutes total.
Can I use chicken thighs instead of breasts?
Absolutely, if you prefer dark meat. Butterfly them and pound to that same even 1/4-inch thickness so they cook uniformly. Thighs have a little more fat, which keeps them juicy, but they also need a touch more time in the pan. Trust your thermometer over the clock and pull them at 165°F.
Is Pecorino Romano required, or can I use all Parmesan?
If you can find Pecorino Romano, use it. That sharp, salty, almost funky flavor is what makes this taste like the restaurant version. Parmesan alone will still be good, but it’s mellower and the crust won’t have that same kick. The ideal move is half and half, which is exactly what this recipe calls for. And please, grate both from a block. The pre-shredded bags have those anti-caking agents and they just don’t behave the same way.
Can I prepare the breaded chicken ahead of time?
Yes, and this is different from storing cooked leftovers. You can bread the raw cutlets, arrange them in a single layer on a wire rack over a baking sheet, and refrigerate them loosely covered for up to 24 hours. Fry them straight from the fridge when you’re ready, just add a minute or so to the cook time. You can also freeze breaded raw cutlets for up to a month. Thaw overnight in the fridge, then fry as usual. Weeknight dinner, solved.
Expert Notes & Data Insights
I’m a chronic over-tester, so after seven batches of this copycat in my own kitchen, here are the data points that actually matter. These are the notes I wish someone had handed me before my first sad, crust-less attempt.
- The panko-to-cheese ratio matters. I tested 1:1, 2:1, and a cheese-only version. The cheese-only crust turned into a greasy, chewy mess in the pan. The 1:1 ratio was good but a little heavy. The 2:1 ratio, panko to cheese, gave me that craggy golden crust with just enough salty Romano flavor. That’s the ratio this recipe uses.
- Oil temperature is everything. When the oil shimmers, you’re right around 350°F. Below that, the breading drinks up the oil and turns heavy and greasy. Above 375°F, the crust browns before the chicken cooks through. If you want to be precise, a fry thermometer takes all the guesswork out of the equation.
- 165°F is your finish line. I’ve said it before and I’ll say it again, a meat thermometer is non-negotiable. For 1/4-inch cutlets, that’s about 3 to 4 minutes per side at medium heat. Thin chicken cooks way faster than you expect.
- Finely grated cheese outperforms everything. Fine shreds melt into the panko and create that craggy, shattery texture. Coarse shreds fall off in the oil and burn. The fine side of a box grater is the move. Every time.
- Resting isn’t optional. In my side-by-side tests, cutlets that rested for 10 minutes after breading lost visibly less crust in the pan than the ones I fried immediately. Ten minutes. That’s the whole difference between a clean crust and a pan full of loose breading.
- Caloric reality check: One serving runs about 510 calories with 49 grams of protein. It’s a hearty dinner, but it’s also one of the higher-protein weeknight meals I make on repeat, and it actually keeps you full.
And here’s my favorite finding: this entire recipe takes about 25 minutes start to finish, versus the 45-minute wait for a table at my local Cheesecake Factory in LA. You do the math. I’ll take my own kitchen, my air conditioning, and a crust that actually stays on the chicken.













5 responses to “How to Make Cheesecake Factory Chicken Romano at Home”
Can I use chicken thighs instead of breasts? Would the cooking time change? Also, do I really need pecorino romano or can I sub with extra parmesan?
Great question! Thighs will work but they’re thicker, so pound them to 1/4 inch and adjust cooking time by a couple of minutes. Pecorino has a sharper, saltier kick, but you can definitely use all parmesan in a pinch—just add a pinch of salt to compensate!
Made this last night and it was incredible! That crust stayed on perfectly. I pounded the chicken thin like you said and used a thermometer for the oil. Better than the restaurant!
So easy and so good! Added a little lemon zest to the breading. Will make again. Thanks for the tips about the oil.
Loved the flavor but my crust got a bit dark. I think my oil was a little too hot. Next time I’ll lower the heat. Still delicious though!