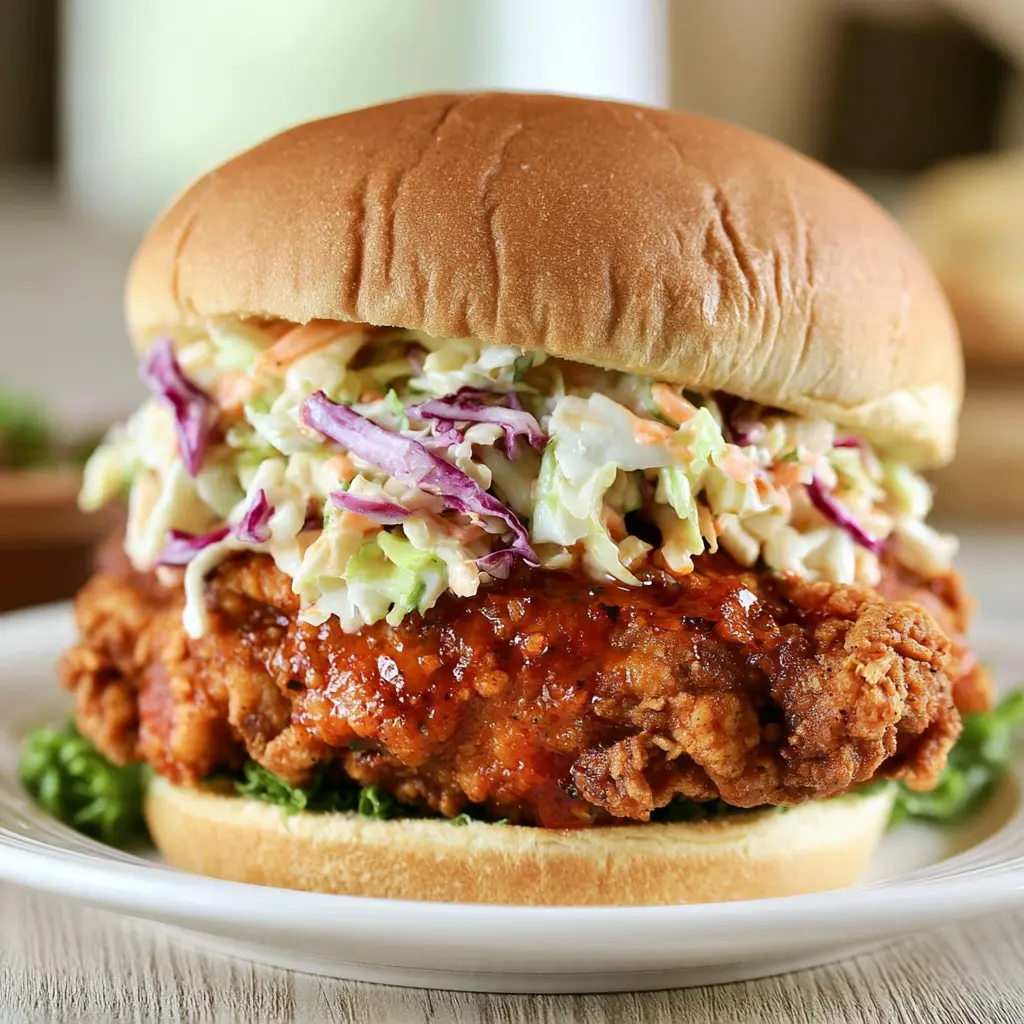
Why This Nashville Hot Chicken Sandwich Works
I still remember the first time Nashville hot chicken made my eyes water and my ears happy-sweat. There I was, hunched over a paper tray in a tiny joint, napkins everywhere, and the first bite just rewired something in my brain. The crust cracked like glass, the juice ran down my wrist, and that cayenne warmth built slow in the back of my throat. Not a burn. A glow.
That’s the feeling this Nashville hot chicken sandwich recipe is built to recreate in your own kitchen. And honestly? It’s more doable than you think. So let’s build the ultimate Nashville hot chicken sandwich at home.
There’s a reason this sandwich went from regional cult classic to national obsession. It’s not just heat. It’s the contrast: shattering crust, tender juicy chicken, and that sweet-smoky-cayenne glaze that lingers long after the last bite.
Here’s the secret that makes it Nashville hot: the oil goes on after frying, not in it. Brush the cayenne pepper paste over the hot crust and watch it transform.
Prince’s Hot Chicken started this whole cult in Nashville back in the 1930s, and every spot since, from Hattie B’s to your local pop-up, owes its existence to that same move. What makes this Nashville hot chicken sandwich work isn’t one trick. It’s a stack of them.
- A double dredge coating that stays thick and craggy even under a heavy glaze
- A whole milk and egg soak that keeps the meat tender and juicy
- A tangy slaw with chopped dill pickles to cut through the heat
- Brown sugar in the glaze to balance every spoonful of cayenne
Ingredients and Substitutions
One of the best things about this Nashville hot chicken sandwich is the short grocery list. No wandering twelve aisles for obscure ingredients. Just chicken, pantry spices, and a few fresh things for the slaw.
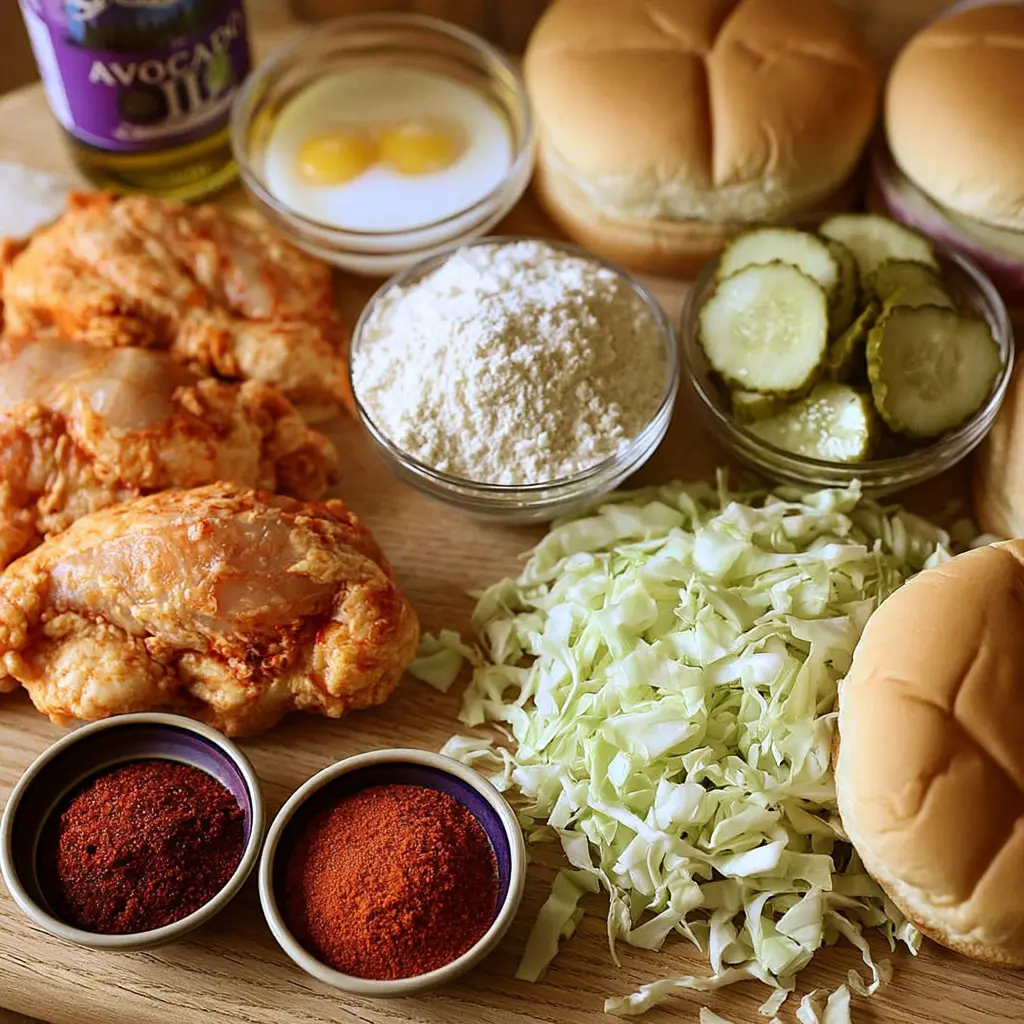
Here’s what you’ll be working with:
- Boneless, skinless chicken breasts, about 6 oz each. Pound them to even thickness for a more uniform fry.
- Whole milk and eggs for the wet soak that keeps the meat tender.
- All-purpose flour, or a 1:1 gluten-free blend.
- Avocado oil, divided. 1 1/2 cups for frying, 1/2 cup for the hot oil glaze. Coconut oil works too.
- Cayenne, light brown sugar, paprika, and garlic powder for that signature red coating.
- Shredded cabbage, dill pickles, apple cider vinegar, whole grain mustard, and mayo for the slaw.
- Hamburger buns to hold it all together.
A few swaps that actually work: any vinegar-based hot sauce, like Frank’s or Louisiana, will do the job. And the gluten-free route works great here. Swap in a 1:1 GF flour blend and GF buns, and the frying method stays exactly the same.
I’m a big fan of grabbing a bag of prepared coleslaw mix from Ralphs or Trader Joe’s when I’m short on time. Just as good, half the chopping.
How To Brine and Dredge the Chicken
This is where the crispy magic starts. The technique is a classic double dredge, and it’s the reason your crust ends up with all those craggy nooks and crannies that catch every drop of the hot oil glaze.
Start by patting the chicken dry and rubbing it with kosher salt and black pepper. That’s your quick dry brine. The salt draws out moisture, and that moisture carries the seasoning back into the meat. Let it rest while you prep the coating.
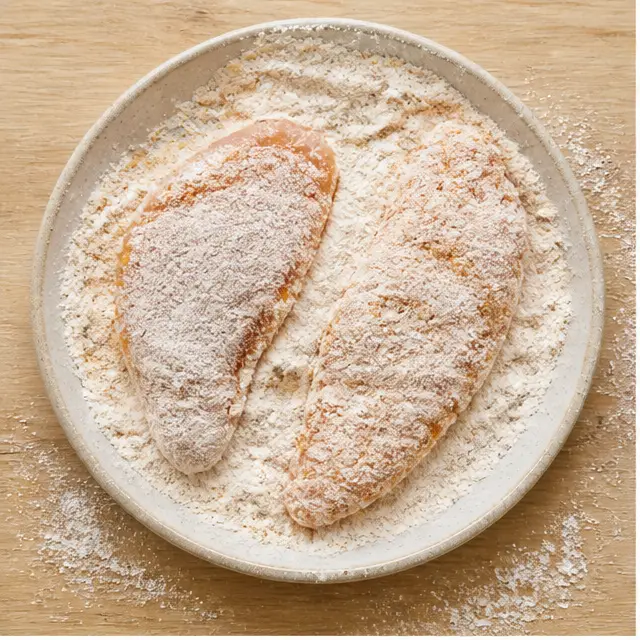
Whisk the whole milk, eggs, and a tablespoon of hot sauce in one shallow dish. In another, combine the flour with salt. Then the fun part: working one piece at a time, dredge in the flour, dip into the egg mixture, then back into the flour for the final coat.
That second pass is where the crust gets its personality. It builds that thick, shaggy texture, the kind that shatters when you bite and holds up under the wet glaze. A little tip: fluff the flour with your fingers and create small crumbles before dredging. More surface area, more crispy bits.
And please, fry soon after breading. Letting it sit turns the coating soggy, and we’re not doing that today.
How To Fry the Chicken Until Crispy
If you own a thermometer, you are 90% of the way there. Honestly. The biggest mistake home cooks make with any spicy fried chicken sandwich is guessing the oil temperature. Don’t guess. Measure. A thermometer is the difference between a great Nashville hot chicken sandwich and a sad, soggy one.
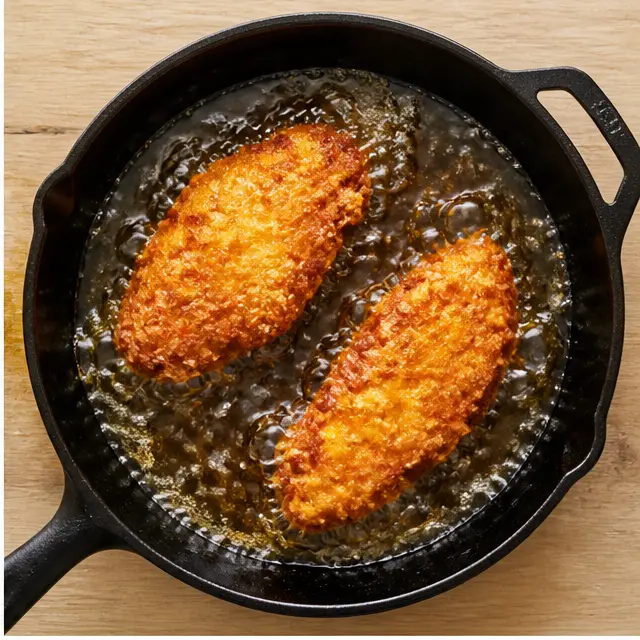
Heat 1 1/2 cups of avocado oil in a large skillet, cast iron or any heavy-bottomed pan, over medium-high heat until it shimmers. You’re aiming for a deep frying oil temperature around 350°F. Too low and the crust soaks up oil like a sponge. Too high and the coating burns before the chicken cooks through.
Add the chicken in batches. Don’t crowd the pan. Fry until deep golden and cooked through, about 7 to 10 minutes per side. The crust should be a rich amber brown. The meat should feel firm but juicy. Transfer each piece to a wire rack set over a baking sheet so excess oil drips away.
What Is the Best Oil for Fried Chicken?
Avocado oil is the winner here, and not by accident. It has a high smoke point around 500°F, a neutral flavor, and it gives a clean, shatteringly crisp crust. Coconut oil works too if that’s what’s in your pantry. Just don’t use a delicate low-smoke-point oil for this. Save the olive oil for the slaw dressing.
How To Make the Fiery Hot Sauce Glaze
Now for the moment you’ve been waiting for. This is the step that turns regular fried chicken into a true Nashville hot chicken recipe, and it’s the soul of every great Nashville hot chicken sandwich.
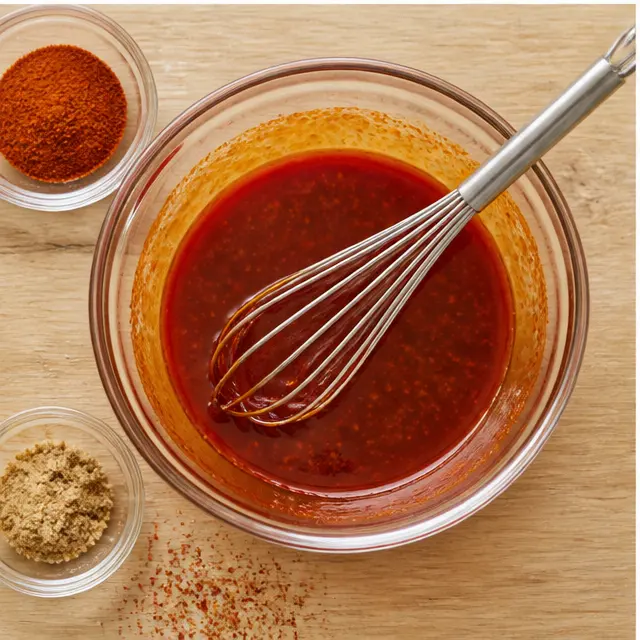
In a small bowl, whisk the remaining 1/2 cup of avocado oil with the cayenne, light brown sugar, paprika, garlic powder, salt, black pepper, and one last tablespoon of hot sauce. Stir until it’s smooth, like a thin reddish paste. The brown sugar isn’t optional. It rounds out the sharp edge of the cayenne so the heat builds instead of blasting.
Then, while the chicken is still hot off the fryer, brush that mixture generously over both sides of each piece. Every inch of crust. Don’t be shy. The residual heat opens up the coating, the glaze sinks into every crevice, and the chicken turns that glossy, blistered red that cayenne fried chicken is famous for.
My first batch looked like a crime scene. An absolute mess. Still got demolished in five minutes. Trust the process.
How To Assemble the Sandwich with Tangy Slaw
The slaw is your cooling counterpoint, the thing that makes this sandwich balanced instead of just hot. In a large bowl, toss the finely shredded cabbage with the chopped dill pickles. In a small bowl, whisk the olive oil, apple cider vinegar, whole grain mustard, mayo, salt, and pepper. Pour it over the cabbage mixture and stir to combine.
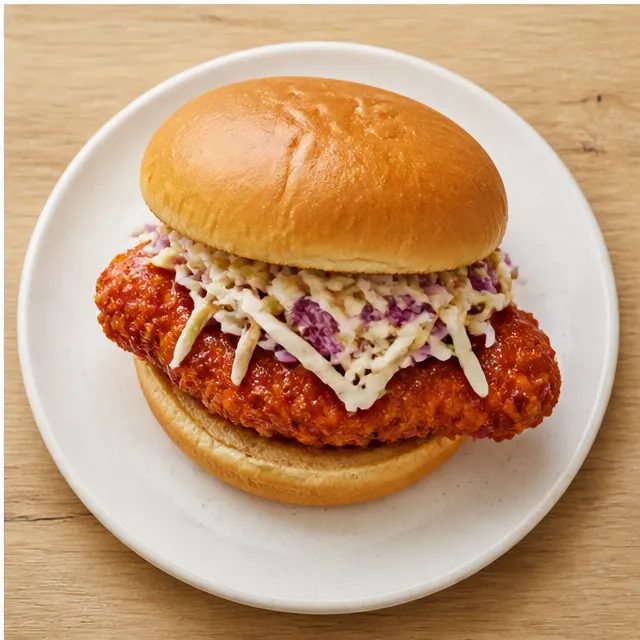
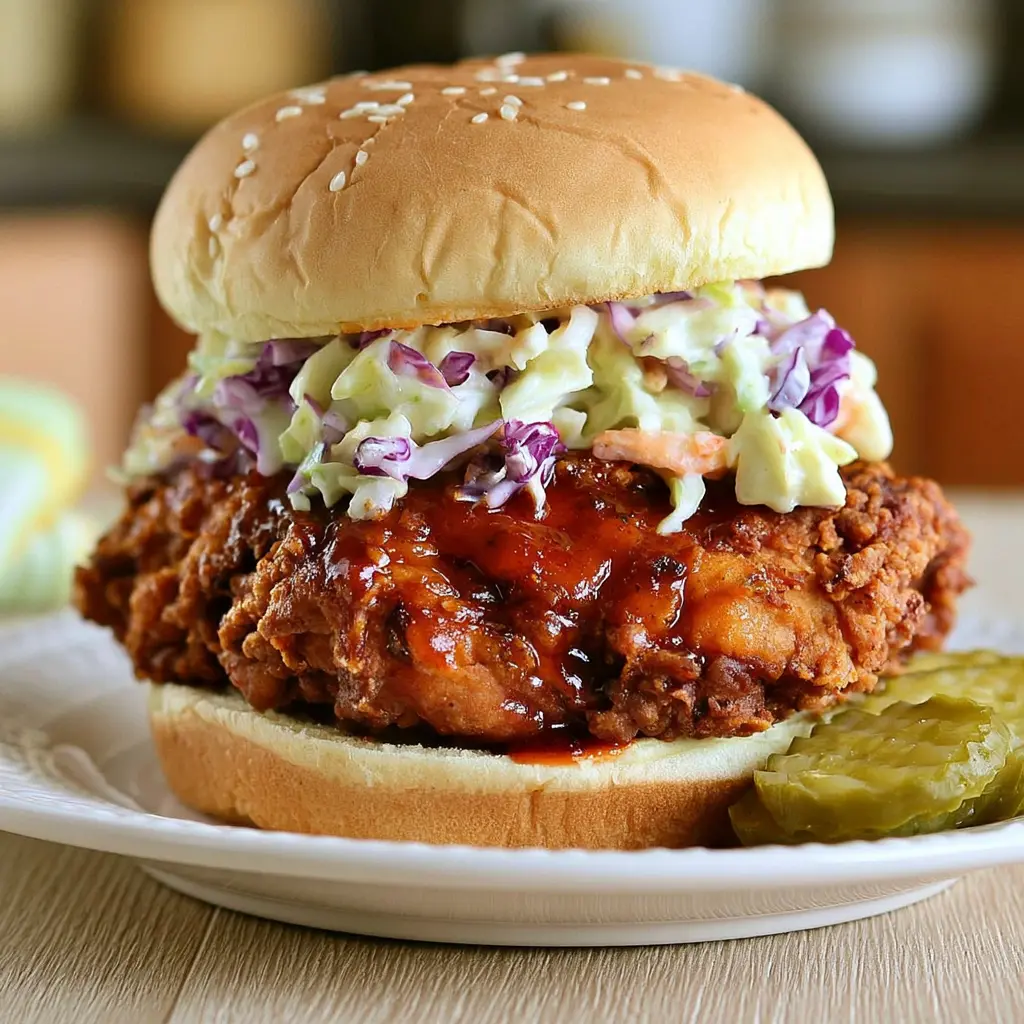
Set the glazed chicken on a hamburger bun and pile the slaw on top. The chopped dill pickles in the slaw hit the same bright, vinegary note as classic dill pickle chips layered on hot chicken, but they also add crunch in every single bite.
Serve immediately, while the crust is still crackling and the glaze is glossy. The best Nashville hot chicken sandwich is the one you eat right away, over the sink if necessary, with extra napkins nearby. Messy by design. That’s the whole point.
for up to 3 days. When you’re ready to bring it back, skip the microwave entirely. A microwave turns that beautiful shatter-crust into wet cardboard, and we’ve come way too far for that. Warm the chicken in a 375°F oven for about 10 minutes, or hit it in the air fryer until the crust crackles again. The glaze re-melts, the layers re-crisp, and honestly? Nobody will know it was a leftover.
If you’re the planning type, this is one of those recipes that rewards you for thinking ahead. The dry brine can absolutely be done the night before. The seasoned flour hangs out fine in a zip-top bag for a day or two. And the cayenne glaze takes about two minutes to whisk together, so you can make it ahead and just give it a vigorous stir before brushing. The brown sugar settles as it sits, so don’t skip that stir.
One honest note on freezing: I don’t love it here. Fried chicken freezes okay, but the whole magic of a Nashville hot chicken sandwich is that contrast between the shattering crust and the wet glaze. Frozen and thawed, that crunch becomes a memory. If you’ve got leftovers, eat them within those three days. They won’t last longer than that anyway.
Variations: Air Fryer, Oven, and Taming the Heat
The great thing about this Nashville hot chicken sandwich is that it doesn’t demand a deep fryer to be great. You can absolutely get a crisp, craggy crust without standing over a skillet of hot oil, whether that’s a Tuesday-night shortcut or just a lighter way to do it.
Air Fryer Method
If you want a lighter version, the air fryer does a surprisingly solid job. Preheat it to 375°F, spray the breaded chicken lightly with avocado oil spray, and air fry for 16 to 18 minutes, flipping halfway through. The coating won’t be quite as shattering as the skillet version, but it holds up to the glaze beautifully and cuts the mess way down.
Oven Method
Same idea, bigger batch. Set a wire rack over a sheet tray, place the breaded chicken on top, spray it with oil, and bake at 425°F for 25 to 30 minutes, flipping halfway. The wire rack is the secret here. It keeps the bottom crispy because the hot air circulates underneath instead of steaming the coating against the pan.
Switch Up the Chicken
Boneless, skinless chicken thighs work beautifully in this recipe. They’re harder to overcook than breasts and even juicier, which is saying something. Just add a couple of extra minutes per side when frying, and check the internal temperature reads 165°F before you glaze.
Heat Levels
Classic Nashville heat is serious, but it’s also customizable, and that’s one of the reasons this recipe works for so many different crowds. Here’s the ratio I use, tested at my own stove over way too many batches:
| Heat Level | Cayenne | Who It’s For |
|---|---|---|
| Mild | 1 to 2 tablespoons | First-timers, kids, anyone who doesn’t want to cry into their slaw |
| Classic Nashville | 3 tablespoons | The real deal, the way Prince’s made it famous |
| Extra Hot | 4 to 6 tablespoons | Heat seekers, repeat offenders, people who order the spiciest thing on every menu |
Here’s what I’ve learned the hard way: cayenne heat builds. That first bite might taste almost gentle, and then bite three lights up the back of your throat. So when you pick your level, trust the build, not the first impression. And don’t reduce the brown sugar when you reduce the cayenne. You still need that sweetness to balance whatever heat is there.
Troubleshooting: What Went Wrong and How to Fix It
Let’s be real. Fried chicken has moods. Some days everything works, and some days the coating falls off like it’s got somewhere else to be. Here are the most common problems I’ve hit, and what actually fixed them:
| Problem | The Cause | The Fix |
|---|---|---|
| The coating fell off | The oil wasn’t hot enough, or the chicken went into the pan too soon after breading | Let the breaded chicken rest 10 to 15 minutes on a wire rack so the flour hydrates and clings, and give the oil time to reach 350°F |
| Greasy, heavy crust | The oil temperature dropped too low when you added the chicken | Fry in batches, don’t crowd the pan, and watch the thermometer like a hawk |
| Brown crust, raw middle | The oil was too hot, or the chicken was too thick | Pound the chicken to an even thickness and keep the oil near 350°F, not 400°F |
| Soggy after saucing | The glaze was applied cold, or the chicken sat around after saucing | Brush while both the chicken and the glaze are hot, then serve immediately |
| The heat is overwhelming | The cayenne amount was too high for your tolerance | Start with 2 tablespoons next time and work your way up. Your taste buds will thank you |
And one quick note about oil: if you use canola oil and catch a faint fishy scent while it heats, don’t panic. That’s a known quirk of canola, and it won’t show up in the finished chicken. Avocado oil is still my first choice here, because it has a clean flavor, a high smoke point, and zero drama.
Frequently Asked Questions
Can I make the glaze ahead of time?
Absolutely. Whisk it together up to 3 days ahead and store it in an airtight jar in the fridge. The brown sugar will sink to the bottom, so give it a good whisk before you brush it on. And if the oil solidifies in the fridge, just let it sit at room temperature for 15 minutes and stir it back to life.
Why do some recipes say to fry immediately after breading, while others say to rest the chicken?
That conflicting advice confused me too, until I actually tested it side by side. A short rest of 10 to 15 minutes is beneficial. The flour hydrates and binds to the chicken, so the coating stays put during the fry. The problem starts when you let it sit for 30 minutes or more. Then the moisture works against you and the coating turns soggy. So rest it briefly, but don’t abandon it.
How do I keep the crust crispy after adding the hot glaze?
Three things matter. First, brush the glaze on while the chicken is still hot off the fryer, so the oil absorbs into the crust instead of pooling on top. Second, don’t drench it. A generous brush is enough. Third, serve immediately. A Nashville hot chicken sandwich waits for no one.
Can I use chicken thighs instead of breasts?
Yes, and plenty of people prefer them. Boneless, skinless thighs are juicier and much harder to dry out. Just fry them a few minutes longer per side and check for an internal temperature of 165°F before you add the glaze.
What can I use instead of whole milk for the soak?
Plain yogurt diluted with a splash of water is the best swap, and it works one-to-one. You could also use buttermilk if you have it, though I actually prefer the whole milk and egg combo for this particular recipe. It just gives me the craggy, shaggy crust I’m after.
How do I know when the chicken is fully cooked?
Use an instant-read thermometer. Insert it into the thickest part of the chicken and look for 165°F. You can also cut into the thickest piece to check that the juices run clear, but the thermometer never lies, even on a chaotic weeknight.
Expert Notes & Data Insights
Here’s where I get to nerd out for a second. I’ve made this Nashville hot chicken sandwich more times than I can count at this point, and I’ve learned a few things that never quite make it onto a standard recipe card.
Oil temperature is a range, not a number
The moment the chicken hits the oil, the temperature drops anywhere from 15 to 25 degrees, depending on how much you add and how cold the chicken is. That’s why I start the oil at 350°F and try to keep it between 330°F and 350°F throughout the cook. If it climbs toward 375°F, the crust browns too fast and the center lags behind. If it dips below 320°F, the oil soaks into the coating and you lose the crunch entirely.
The double dredge is doing more than you think
The first flour layer seals the surface of the chicken. The egg wash hydrates that layer, and the second flour pass creates those shaggy, irregular bits that catch the glaze. It’s not just about thickness. It’s about surface area. More surface area means more spots for the cayenne oil to grab onto, and that’s what makes every bite taste like the last one.
Resting the breaded chicken actually matters
I tested this, because I’m that person. Chicken fried immediately after the second dredge loses noticeably more coating in the oil. Chicken that rested 15 minutes on a wire rack kept almost all of it. The flour has time to absorb moisture from the egg wash, and that binds the whole crust together.
The glaze is an emulsion, so keep it moving
The brown sugar sinks toward the bottom, and the spices float around. If you brush from the top of the bowl without stirring, you’ll get inconsistent heat. One piece gets all cayenne, the next gets all sugar. Whisk it right before you brush, then give it another stir between pieces. It takes five seconds and it changes everything.
Data-backed doneness
The USDA says 165°F, but here’s a pro tip: if you pull the chicken at 160°F and let it rest for five minutes, carryover cooking will take it the rest of the way while the juices redistribute. The meat stays noticeably juicier this way, and honestly, it’s the difference between good hot chicken and great hot chicken.
At the end of the day, this is a recipe that rewards rhythm more than perfection. Once you’ve made it a couple of times, you’ll know exactly how your stove runs, how your flour behaves, and how much cayenne your heart can handle. And that’s the whole point of a house favorite. Make it yours. Add more heat if you’re brave, more brown sugar if you’re not, and never skip the slaw.
Now go make some noise in the kitchen. And keep the napkins close.