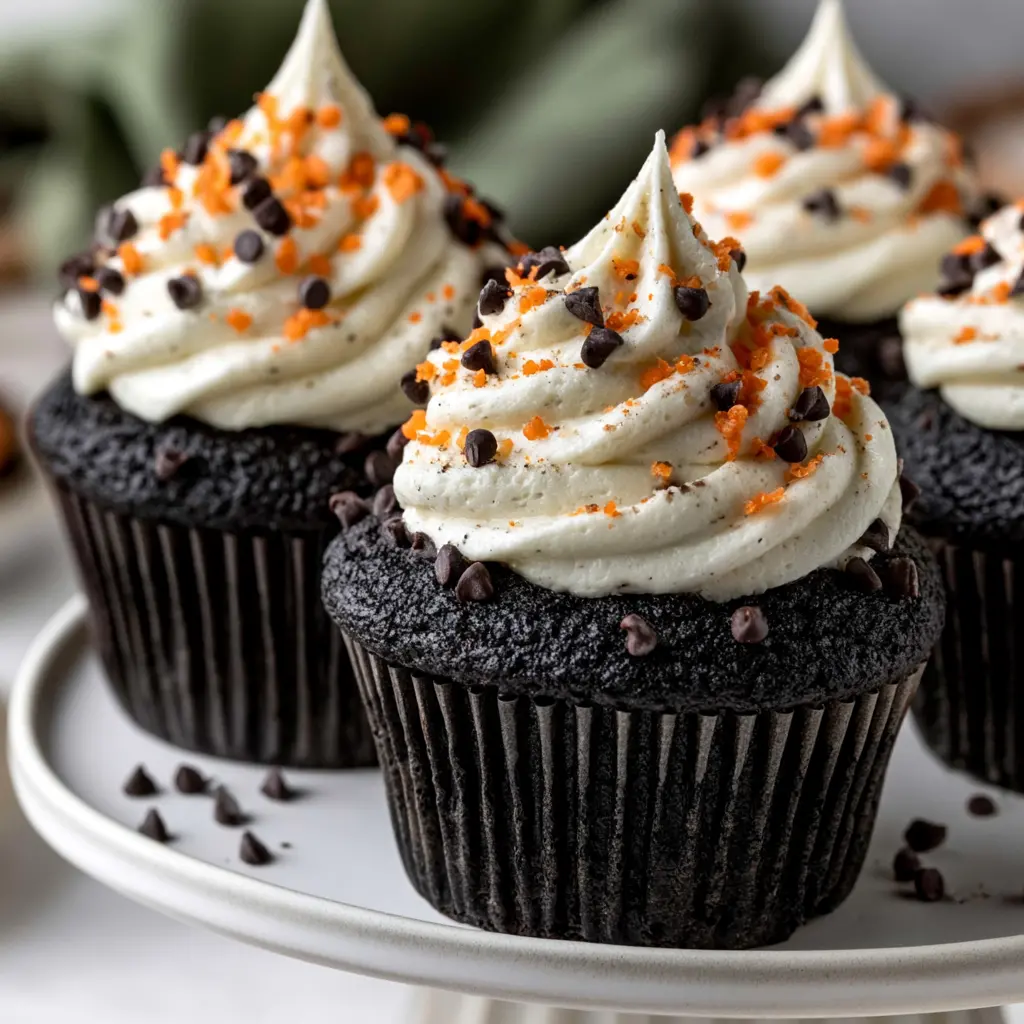
Why You’ll Love These Black Velvet Cupcakes
Halloween is 85 days away. And if that felt like a random fact, let me reframe it for you: that’s roughly twelve weekends of practice bakes, recipe testing, and triumphant dessert table victories. The smart move? Start testing your signature Halloween bake now, not in October when everyone’s panic-baking.
These black velvet cupcakes are that signature bake. They’re deeply, dramatically black. They have that velvet cake texture we all crave, tender and fine-crumbed. And they taste, I kid you not, like the cookie part of an Oreo. No, they don’t taste like black licorice. No one wants that. They taste like the best Oreo milkshake you’ve ever had.
Topped with a swirl of tangy cream cheese frosting, they’re the kind of spooky dessert that makes people stop mid-conversation. The contrast alone is stunning: that midnight-black crumb against snow-white frosting. You’ll feel like a professional pastry chef, I promise.
What Is Black Cocoa Powder?
Let’s talk about the star of the show. Black cocoa powder is the ingredient that makes these black velvet cupcakes genuinely black. It’s a heavily Dutch-processed cocoa, which means it’s been alkalized to neutralize its acidity. The result? A powder that’s almost black in color and incredibly mild in flavor.
Here’s the easiest way to understand it: black cocoa is literally the cookie part of an Oreo. That’s it. That’s the flavor. It’s not bitter like regular dark chocolate. It’s not sweet on its own either. It’s just this deep, almost mysterious cocoa flavor that pairs perfectly with tangy buttermilk and cream cheese.
Now, a quick note on sourcing. You might not find black cocoa at your local Ralphs or Vons. I usually grab mine at Whole Foods or order it online. It’s a specialty item, sure, but it’s the difference between a gray-brown cupcake and a show-stopping black one.
Key Ingredients for Black Velvet Cupcakes
This recipe keeps things simple, but every ingredient earns its place. Let’s break down what you need and why.
- Dutch-processed cocoa powder: The base of your black color and that Oreo flavor. Make sure it’s sifted to avoid lumps.
- All-purpose flour: The structure. You can swap in cake flour for an even softer crumb, but all-purpose works beautifully.
- Buttermilk: Okay, the recipe I’m sharing uses warmed whole milk, but the velvet texture actually comes from the reaction between acidic ingredients and baking soda. So if you have buttermilk, use it. The tang is irreplaceable.
- Vinegar and baking soda: This is the velvet magic. Buttermilk plus a splash of vinegar meets baking soda and creates tiny CO2 bubbles. That’s what gives velvet its famously tender crumb. You’re basically making a science project that tastes amazing.
- Black food coloring gel: The cocoa gets you 90% of the way there. The gel pushes it to 100% true black. You need gel, not liquid, or your frosting will thin out.
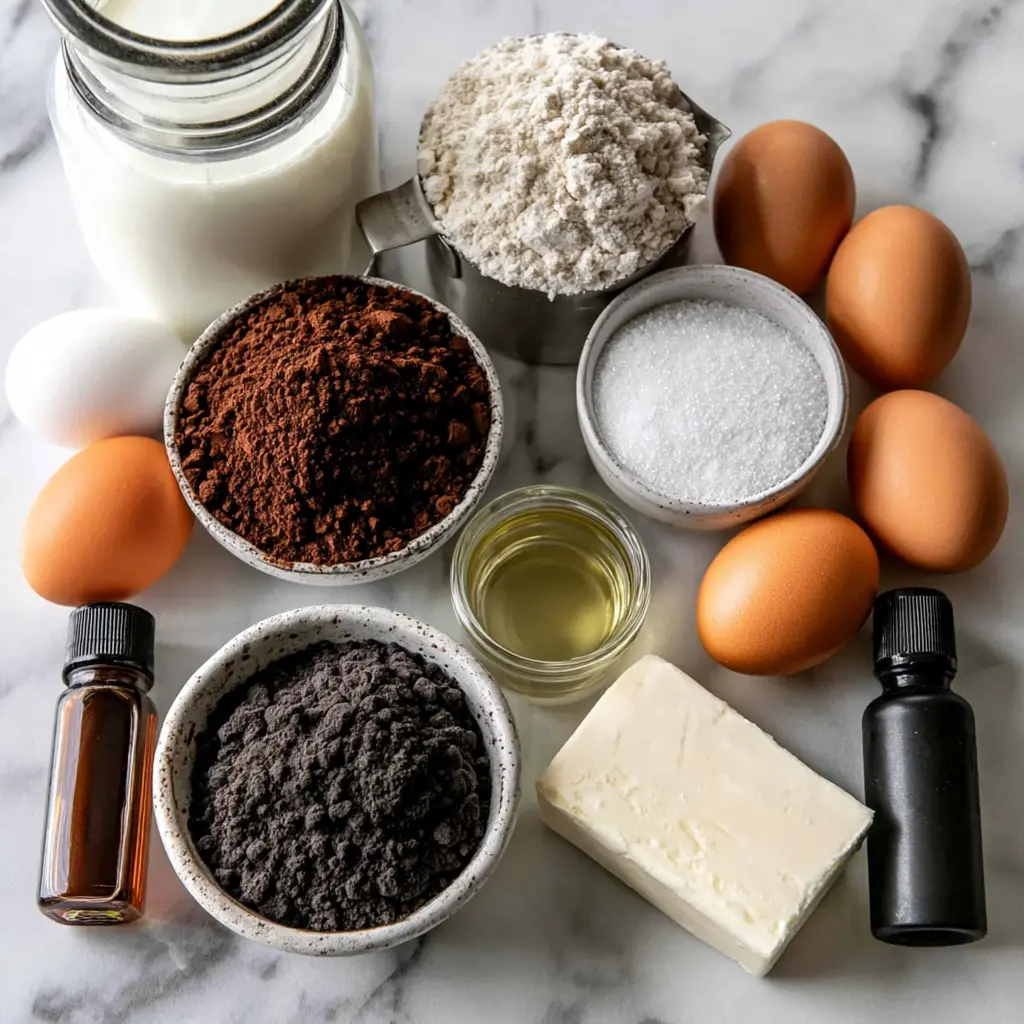
The cream cheese frosting is the classic partner here. It’s tangy, it’s fluffy, and it’s the perfect counterpoint to the deep cocoa flavor. Use full-fat cream cheese for the best texture, and make sure it’s properly softened before you start.
How to Make Black Velvet Cupcakes
This is a forgiving recipe, which is exactly what you want when you’re juggling a test bake with real life. The batter comes together in about ten minutes, and the results are consistently gorgeous.
Stage 1: Mix the Dry Ingredients
Preheat your oven to 350°F and line a 12-cup muffin pan with paper liners. Sift the flour, Dutch-processed cocoa powder, sugar, baking powder, and salt into a large mixing bowl. Sifting is non-negotiable here. Black cocoa loves to clump, and nobody wants a pocket of dry powder in their cupcake.
Stage 2: Whisk the Wet Ingredients
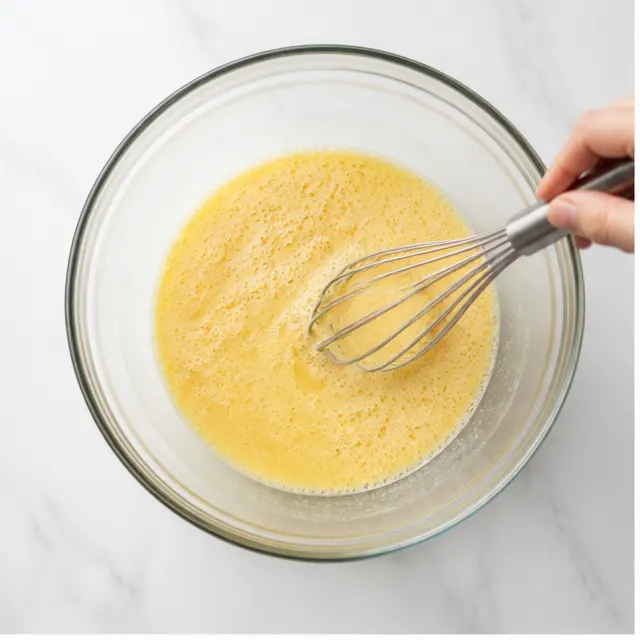
In a separate bowl, whisk the eggs, milk, vegetable oil, and vanilla extract until smooth and slightly foamy. This takes about a minute. You’re not just mixing here, you’re aerating. Those tiny air bubbles will help your cupcakes rise beautifully in the oven.
Room temperature ingredients matter. Cold eggs and cold milk will seize the batter and give you a gummy texture. Set them out an hour before you start, or if you’re like me and forget, warm the milk gently for a few seconds in the microwave.
Stage 3: Combine and Scoop
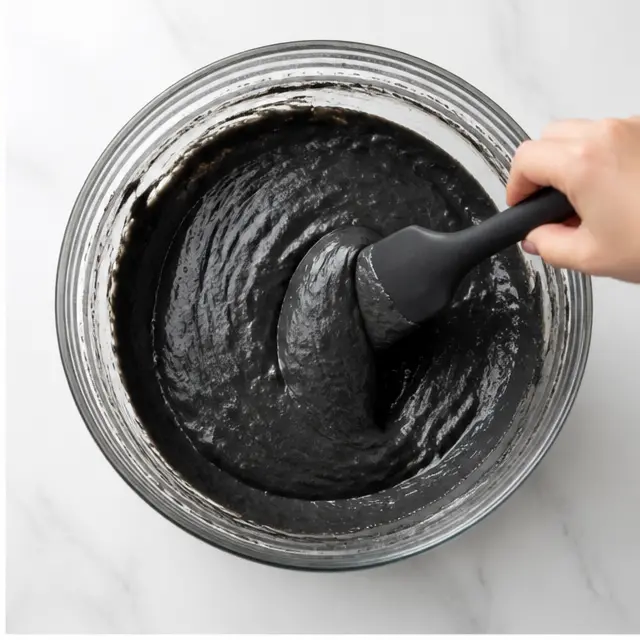
Add the wet ingredients to the dry and stir gently until just combined. The batter will be smooth with a slightly thick texture. Here’s the thing you need to know: resist the urge to overmix. Overmixing develops gluten, and too much gluten means tough, dense cupcakes instead of tender velvet ones.
Your batter will look gray-ish purple at first. Don’t panic. That’s the black cocoa doing its thing. Trust the process.
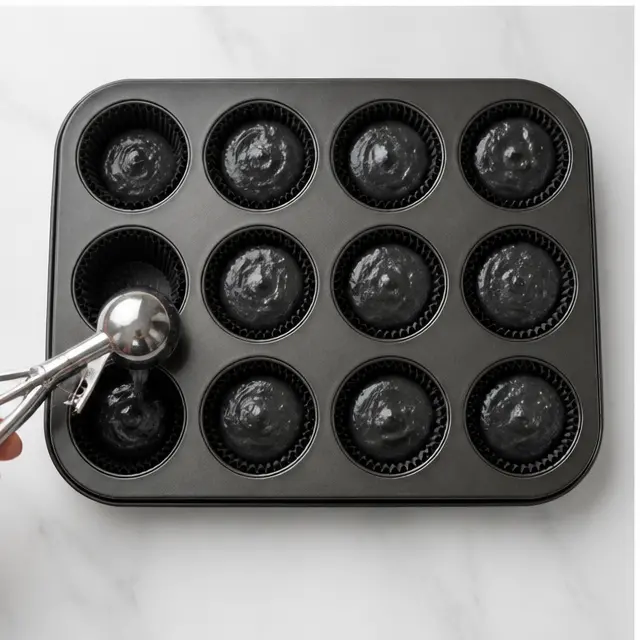
Scoop the batter into your lined cups, filling each about two-thirds full. Not more. Overfilling causes overflow and those dreaded sinking centers.
Stage 4: Bake and Cool
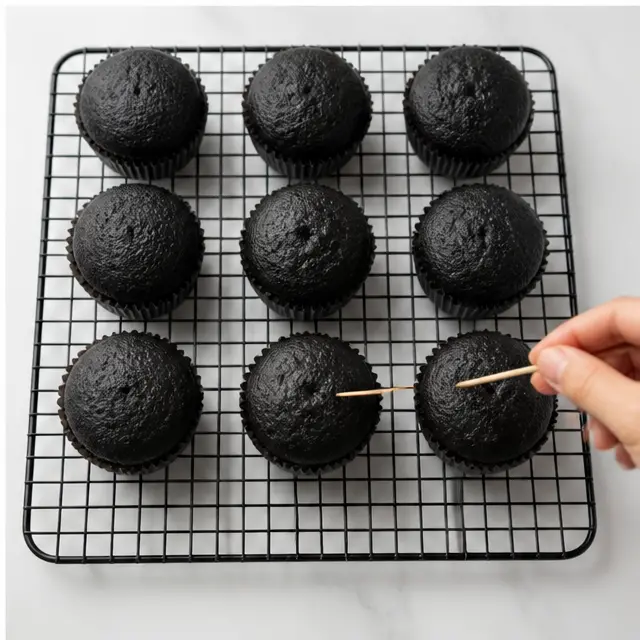
Bake for 18 to 20 minutes. The tops should feel springy when you press them, and a toothpick inserted in the center should come out clean. Let them cool in the pan for 5 minutes, then transfer to a wire rack to cool completely.
Don’t rush the cooling. Frosting warm cupcakes is a recipe for melted frosting and a sad, streaky mess. Let them cool completely, or even better, bake them a day ahead and frost them the day of your party.
Witch Hat Cream Cheese Frosting
While the cupcakes cool, it’s time for the frosting. And this isn’t just any frosting. We’re making cream cheese frosting that’s piped into adorable witch hats. It’s festive, it’s fun, and it makes your black velvet cupcakes look like they came from a fancy bakery.
Start by beating the softened butter and full-fat cream cheese until creamy. Then gradually beat in the sifted powdered sugar. Keep beating until it’s fluffy and thick enough to pipe. If it’s too soft, pop it in the fridge for 10 minutes.
Here’s the color trick: split the frosting into two bowls. Tint one portion with black or dark gray gel food coloring and mix thoroughly. Let the tinted frosting rest 10 minutes before piping. The color deepens as it sits. The other portion stays white, which gives you that gorgeous contrast when you’re decorating.
Hot-Weather Piping Tip
The Struggle: Cream cheese frosting gets soft fast in summer heat.
The Fix: Chill your piping bag before you start. And after you’ve frosted all the cupcakes, refrigerate them for 15 to 20 minutes to let the frosting set. Yes, even in August heat, these hold up. Just chill your piping bag and refrigerate the finished cupcakes.
How to Decorate Witch Hat Cupcakes
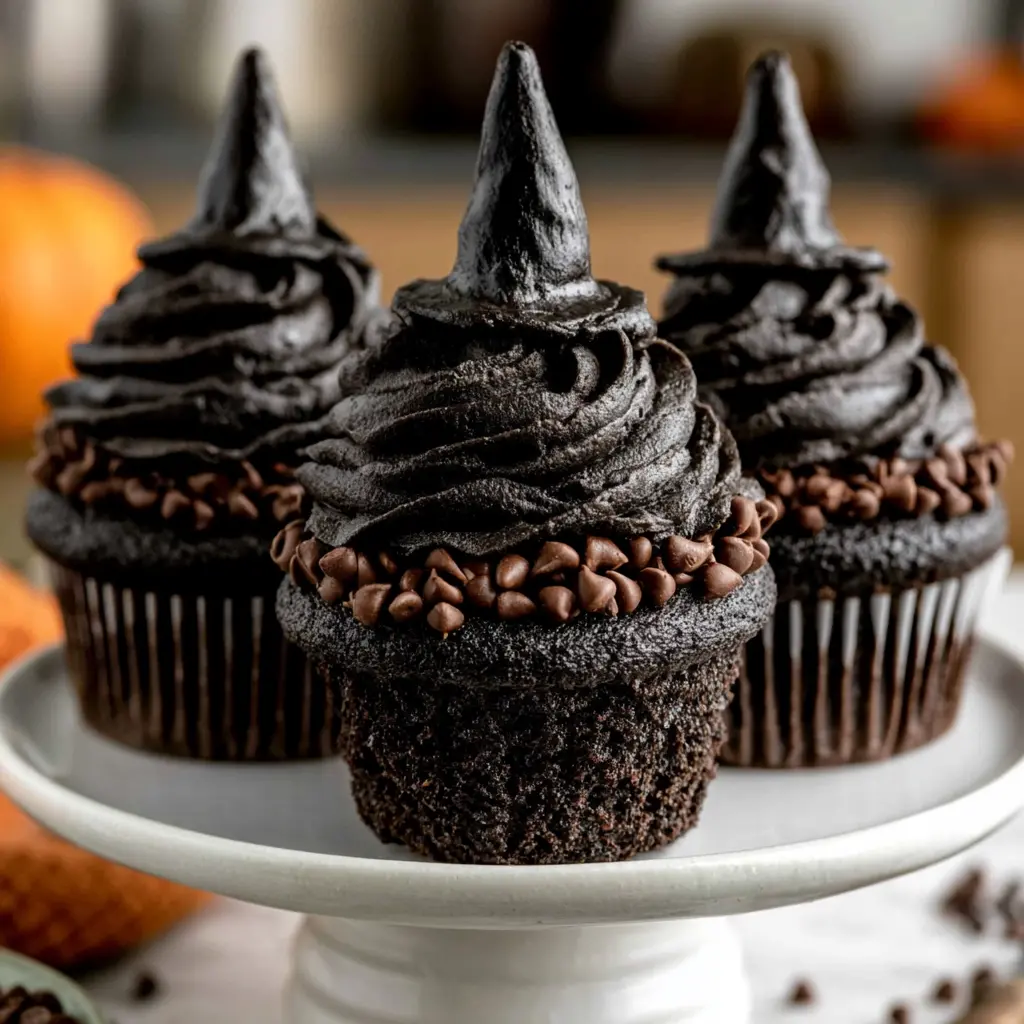
This is where the fun really starts. Fit a piping bag with a star tip and fill it with the dark frosting. Pipe a generous swirl onto each cupcake, starting in the center and moving outward to form a skinny, hat-like peak.
Then, take your mini chocolate chips or tiny cookies and press them around the bottom edge of the hat. That’s the brim. It’s simple, it’s clever, and it instantly reads as “witch hat” to anyone looking at the dessert table.
If you want to go the extra mile, here are a few decoration ideas that work beautifully with these black velvet cupcakes:
- Spiderweb decoration: Pipe white frosting in a spiral on top, then drag a toothpick from the center outward to create web lines.
- Edible glitter: Sprinkle edible glitter over the dark frosting after chilling for a sparkly, magical finish.
- Blood-red drip: A thin drip of red gel or syrup down the side of the white frosting makes a seriously creepy effect.
- Space theme: Top with star sprinkles for a galaxy vibe instead of Halloween.
Tips, Variations & Storage
You’ve got the recipe. Now let’s make sure you nail it on the first try. Here are the pro tips I’ve learned from a lot of test bakes.
Pro Tips for Perfect Black Velvet Cupcakes
- Bring all refrigerated ingredients to room temperature. This is huge. Cold ingredients don’t emulsify properly, and you’ll get a denser crumb.
- Expect a thin batter. Don’t be alarmed. Use a liquid measuring cup to easily pour the batter into your cupcake liners.
- Fill cupcake liners only 2/3 to 3/4 full. This prevents overflow and sinking centers every single time.
- Don’t overmix. Stir until just combined. A few streaks of flour are fine. They’ll disappear as you scoop.
- Use the darkest black cocoa powder you can find. Brand matters. Some are darker than others, and the color payoff is worth the extra few dollars.
Common Mistakes to Avoid
- ❌ Overfilling cupcake liners → ✅ Fill them only two-thirds full.
- ❌ Using cold refrigerated ingredients → ✅ Set them out an hour before baking.
- ❌ Scooping flour directly from the bag → ✅ Spoon and level it into your measuring cup.
- ❌ Using liquid food coloring instead of gel → ✅ Gel thickens color without thinning your frosting.
- ❌ Skipping the vinegar or buttermilk → ✅ That acidity is what creates the velvet texture.
Variations & Substitutions
This recipe is a great base, so feel free to play with it.
- Gluten-free: Gluten-free all-purpose flour can be substituted 1:1. The texture will be slightly different, but it works.
- Dairy-free: Use plant-based milk (soy is the best swap here) for the milk component.
- Mini cupcakes: Fill mini liners halfway and bake for 10 to 12 minutes at 350°F. You’ll get about 3 dozen.
- Layer cake: Turn this into a 3-layer 6-inch cake using the same batter. Just adjust the baking time.
- Oreo-filled: Core the center of each cupcake and fill with Oreo cream or crushed cookies for extra flavor.
Storage & Make Ahead
Planning ahead is a lifesaver during the busy Halloween season.
- Bake one day ahead: Keep unfrosted cupcakes tightly covered at room temperature and frost them the day of serving.
- Freeze for up to 2 months: Unfrosted cupcakes freeze beautifully. Thaw overnight in the refrigerator and bring to room temperature before frosting.
- Frosted cupcakes: Store in an airtight container in the fridge for up to 3 days. Let them sit at room temperature for 30 minutes before serving so the frosting softens.
- Black cocoa buttercream: You can make this ahead and store it in the refrigerator for up to 2 weeks. Re-mix on low speed after it comes to room temperature.
Serving Ideas & Pairings
These black velvet cupcakes are the perfect centerpiece for any Halloween gathering. The witch hat frosting makes them the obvious star of the dessert table, but they also pair beautifully with a hot cup of coffee or a cold glass of milk.
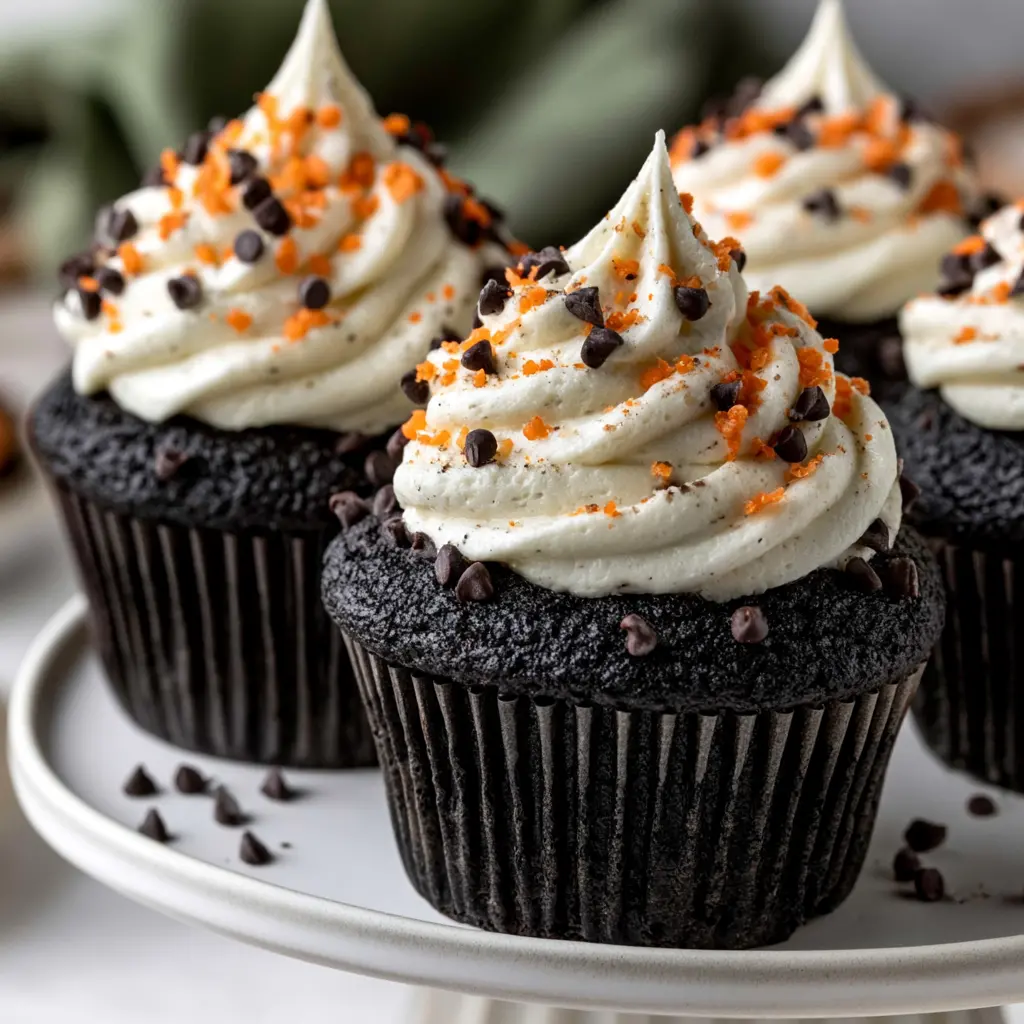
Serve them chilled or at room temperature. Room temperature is best for the cream cheese frosting to soften and the cake to taste its most tender. Add edible glitter or sprinkles after chilling for that extra sparkly finish. You could even arrange them on a black cake stand for maximum drama, with a few candy corn scattered around for a pop of orange.
And if you’re looking for more spooky dessert inspiration, I’ve got a whole collection of Halloween cupcakes and treats that will make your party unforgettable. You can browse more ideas on my Halloween baking board on Pinterest for plenty of festive, creepy, and delicious inspiration.
Why Room Temperature Ingredients Matter
I said it in the tips, but it deserves its own section because it’s that important. Room temperature ingredients are the difference between a good cupcake and a great one.
When your butter, cream cheese, eggs, and milk are all at room temperature, they emulsify together effortlessly. This creates a smooth, cohesive batter that traps air properly. The result is a cupcake that rises evenly and has that fine, tender crumb we all associate with velvet cake texture.
Cold ingredients, on the other hand, cause the batter to seize or curdle. The butter and cream cheese won’t cream together properly, and your cake will be dense and gummy. So set everything out an hour before you start baking. Your patience will be rewarded.
Black Velvet vs Red Velvet
You might be wondering how black velvet compares to its famous cousin, red velvet. The difference is mostly in the cocoa, and the flavor payoff is huge.
Red velvet cupcakes get their color from red food coloring, and their cocoa flavor is subtle, almost background. Black velvet uses that intensely dark, Dutch-processed cocoa, which gives it a much deeper, more distinctive flavor. That Oreo-like taste is the key difference.
Black velvet is also less sweet than red velvet, in my experience. The black cocoa has a milder, earthier profile that pairs incredibly well with tangy buttermilk flavor and sweet cream cheese frosting. It’s a more sophisticated take on the classic, and it’s perfect for spooky desserts.
Frequently Asked Questions
When you bring these to your Halloween party, watch what happens. People will walk past the candy corn and the store-bought cookies, and they’ll stop at your cupcakes. They’ll ask if they’re really black. They’ll take photos. And when they take that first bite, they’ll look surprised and say, “Wait, these are actually incredible.”
That’s the moment. That’s your payoff. You’ll have made the unforgettable dessert, the one everyone asks about for weeks. These black velvet cupcakes are more than just a recipe. They’re your signature Halloween move.
Black Velvet Cupcakes with Witch Hat Frosting
Ingredients
Method
- Preheat the oven to 350°F. Line a 12-cup muffin pan with paper liners. Sift the flour, cocoa powder, sugar, baking powder, and salt into a large mixing bowl.
- In a separate bowl, whisk the eggs, milk, vegetable oil, and vanilla extract until smooth and slightly foamy.
- Add the wet ingredients to the dry ingredients and stir gently until just combined. The batter should be smooth with a slightly thick texture, and you should avoid overmixing.
- Spoon or scoop the batter into the lined cups, filling each about two-thirds full. Bake for 18 to 20 minutes, until a toothpick inserted in the center comes out clean and the tops feel springy.
- Let the cupcakes cool in the pan for 5 minutes, then move them to a wire cooling rack to cool completely.
- Make the frosting while the cupcakes cool: beat the softened butter and cream cheese until creamy, then gradually beat in the powdered sugar until fluffy and thick enough to pipe.
- Split the frosting into two bowls. Tint one portion with the dark gel food coloring and mix thoroughly for an even black or dark gray hat color, leaving the other portion untinted or lightly tinted if you prefer.
- Fit a piping bag with a star tip and fill it with the dark frosting. Pipe a generous swirl onto each cupcake, starting in the center and moving outward to form a skinny, hat-like peak.
- Decorate the base of each hat with mini chocolate chips or tiny cookies, pressing them around the bottom edge like a brim. Chill the finished cupcakes for 15 to 20 minutes so the frosting sets, then serve.
Nutrition
Notes
Tried this recipe?
Let us know how it was!Source: Learn More About This Dish