I Used to Burn Rice Every Single Time
Okay, let me just come clean here. For the longest time, I was absolutely terrified of cooking rice. Like, genuinely anxious about it. I’d stand over the pot, lift the lid every 30 seconds to check on it, stir it like I was making risotto, and end up with either a gluey paste or a scorched mess that took forever to scrub off the bottom of the pan. It was bad. Really bad.
I remember this one time I was trying to impress someone I was dating. I planned this whole meal a nice curry, some roasted veggies and then I got to the rice. I used way too much water, didn’t rinse it, and ended up with this sad, clumpy blob that looked more like wallpaper paste than a side dish. We ordered takeout instead. Embarrassing, right?
But here’s the thing. Cooking perfect rice isn’t some mysterious skill that only grandmas and professional chefs possess. It’s really just about getting two things right: the water ratio and the technique. That’s it. Once I figured those out, I went from rice-failure to rice-confident in one single batch. And I promise you can too.
So today, I’m going to show you exactly how to cook rice on the stovetop using the absorption method. This is the method I use in my own kitchen, the one that works for white rice, jasmine rice, basmati rice, and just about any long grain rice you grab from the store. No fancy equipment needed. No guessing. Just fluffy, tender grains every time.
The Best Rice to Water Ratio
Let’s get the most important part out of the way first. The ratio. This is where most people get tripped up, and honestly, I don’t blame you. There’s so much conflicting advice out there. Some people say 2 cups of water for every 1 cup of rice. Others say 1.5 cups. Some say 1.75 cups. It’s enough to make your head spin.
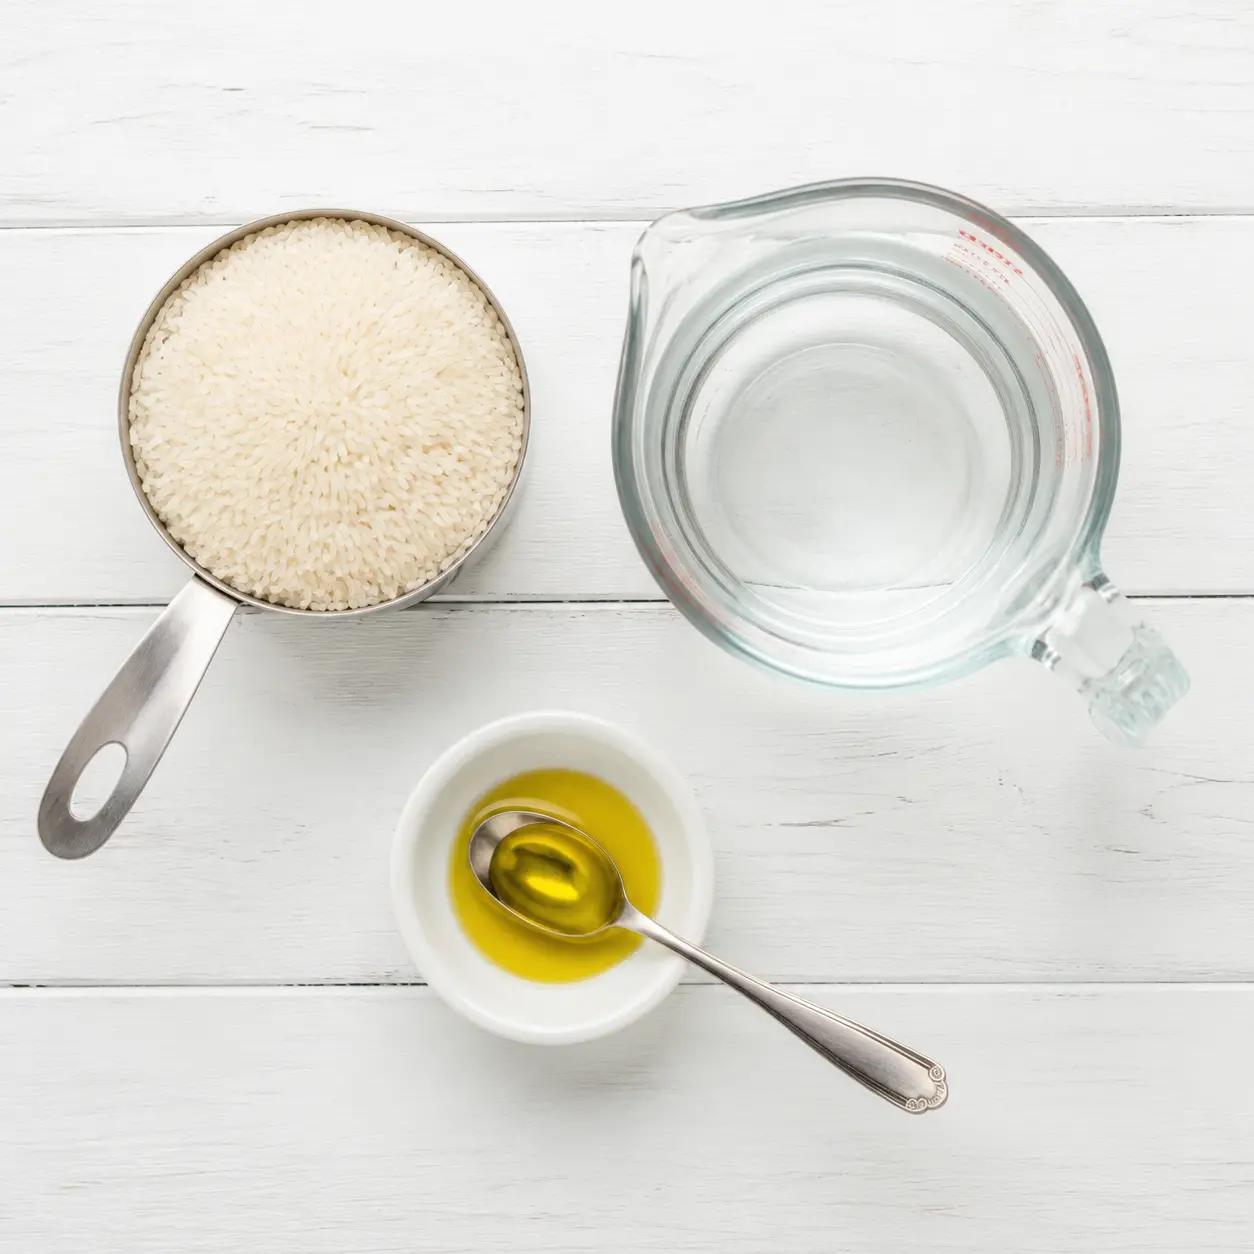
For my money, and for this perfect rice recipe, the magic number is 1.5 cups of water for every 1 cup of uncooked white rice. That’s it. 1:1.5. Simple, right?
Now, I know what you’re thinking. “But my aunt always uses 2 cups of water!” And sure, that might work for some people, especially if you’re using a different type of rice or a different cooking method. But for the stovetop method I’m about to walk you through, 1.5 cups is the sweet spot. It gives you fluffy rice that’s tender but not mushy, with each grain separate and distinct.
Here’s a quick cheat sheet for different rice varieties:
- White rice (long grain, jasmine, basmati): 1 cup rice to 1.5 cups water
- Short grain rice (sushi rice): 1 cup rice to 1.25 cups water (it needs a bit less)
- Brown rice: 1 cup rice to 2 cups water (and a longer cooking time)
- Wild rice: 1 cup rice to 3 cups water (it’s a whole different beast)
For this article, we’re focusing on standard white rice. If you’re using jasmine rice or basmati rice, the 1:1.5 ratio still works beautifully. Just keep in mind that jasmine rice tends to be a little stickier by nature, while basmati rice gives you those lovely long, separate grains.
Do You Need to Rinse Rice?
This is one of those questions that sparks heated debates in the cooking world. Some people swear by rinsing. Others say it’s a waste of time. So what’s the real answer?
Personally, I’m on team rinse. Here’s why. Rinse rice before cooking removes excess starch from the surface of the grains. That starch is what makes your rice turn into a sticky, clumpy mess. If you want fluffy rice with separate grains, you want to get rid of that starch.
But there’s a nuance here. If you’re making something like sticky rice or sushi rice, you actually want some of that starch to help the grains clump together. So for those varieties, you might rinse less or skip it entirely.
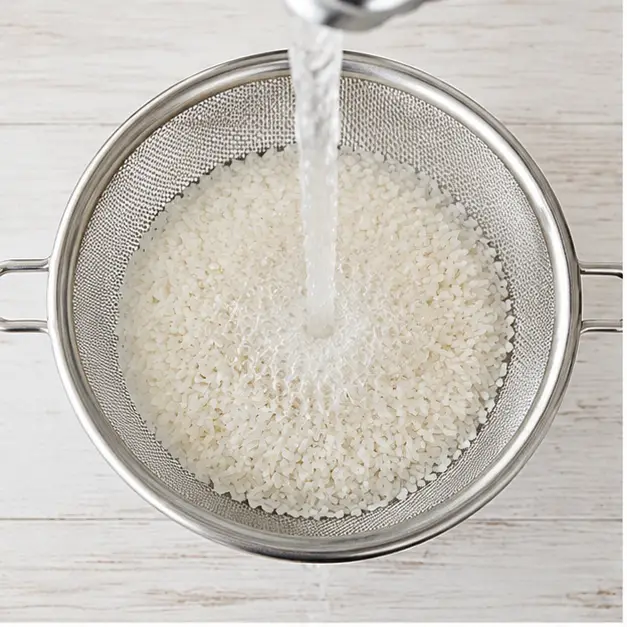
For standard white rice, though? Rinse it. Here’s how I do it:
- Put your rice in a fine-mesh strainer
- Hold it under cold running water
- Swirl the rice around with your hand
- Keep going until the water runs clear (usually about 30-60 seconds)
You’ll see the water go from cloudy white to almost transparent. That cloudy water is the excess starch you’re washing away. Once it’s clear, you’re good to go.
One quick note: if you do rinse your rice, you’ll want to reduce the water by about 2 tablespoons per cup of rice. The grains absorb a little water during rinsing, so you don’t need quite as much cooking liquid. For this recipe, I’ve already accounted for that in the 1.5 cup ratio.
Step-by-Step Stovetop Method
Alright, let’s get into the actual cooking. This is the part where everything comes together. I’m going to walk you through each stage, and I’ll explain the why behind each step so you actually understand what’s happening in that pot.
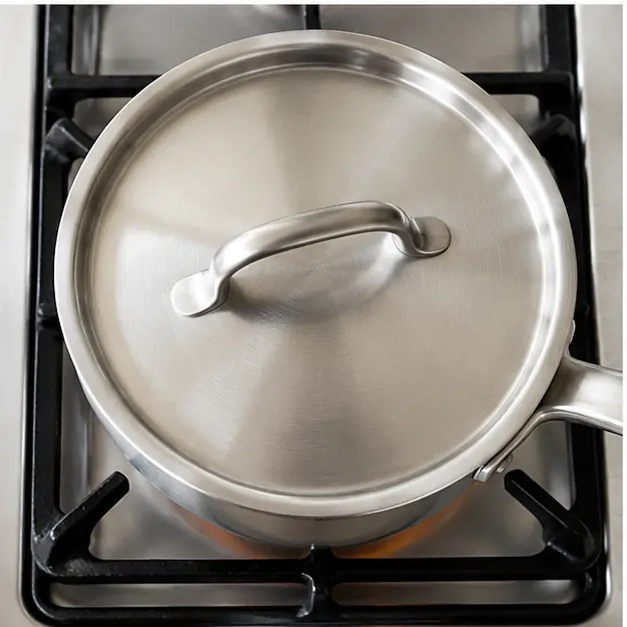
Before we start, let’s talk about equipment. You’ll need a medium saucepan with a tight-fitting lid. The lid is crucial we’re using the absorption method, which means the rice cooks by absorbing all the liquid and steam. If steam escapes, your rice won’t cook properly. So make sure that lid fits snugly.
Also, don’t use a pot that’s too big for the amount of rice you’re cooking. A 2-quart saucepan is perfect for 1 cup of rice. If the pot is too large, the water will evaporate too quickly and you’ll end up with undercooked rice.
Stage 1: Rinse and Combine
Start by rinsing your rice in a fine-mesh strainer until the water runs clear. Then, transfer the rinsed rice to your saucepan. Add 1.5 cups of water and 1 teaspoon of extra-virgin olive oil. The oil helps keep the grains separate and adds a little bit of richness. It’s optional, but I really like what it does.
Now, here’s a tip I wish someone had told me years ago: don’t add salt to the water. I know, I know, it sounds weird. But salt can actually make the rice grains crack and become mushy. You can season the rice after it’s cooked, but keep it out of the cooking liquid.
Stage 2: Bring to a Boil
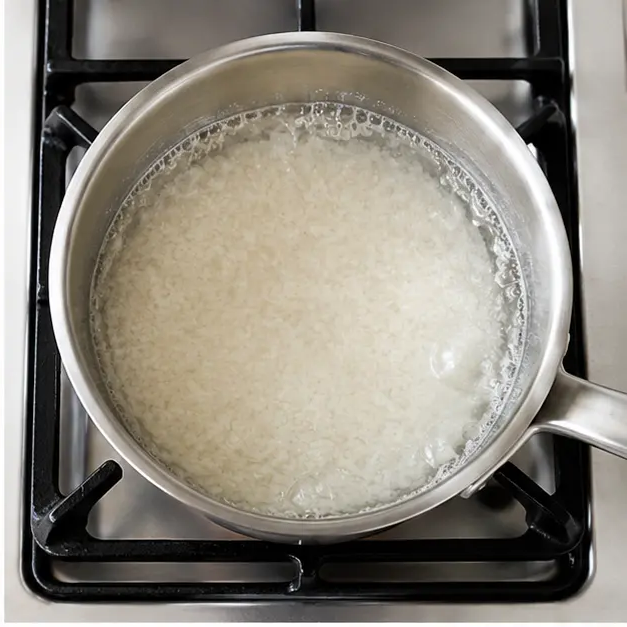
Place the saucepan over high heat and bring it to a boil. You’ll see bubbles forming around the edges and the water starting to move. This usually takes about 3-5 minutes, depending on your stove.
Don’t walk away during this part. You want to catch it right when it starts boiling. As soon as you see those rolling bubbles, it’s time for the next step.
And whatever you do, do not stir the rice. I know it’s tempting. You want to make sure it’s not sticking. But stirring releases more starch and makes the rice gluey. Just let it do its thing.
Stage 3: Cover and Simmer
Once the water is boiling, immediately cover the pot with that tight-fitting lid. Then, reduce the heat to low. Like, the lowest setting your stove has. You want a gentle simmer, not a rolling boil.
Set a timer for 15 minutes. And here’s the most important rule of all: do not lift the lid during cooking. I mean it. Not even a little peek. Every time you lift that lid, you let out steam, and that steam is what’s cooking your rice. If you peek, you’re messing with the timing and the texture.
I know it’s hard. I used to lift the lid constantly. But trust me, the rice knows what it’s doing. Leave it alone.
How long to cook white rice at this stage? 15 minutes is perfect for standard white rice. If you’re using brown rice, you’ll need about 40-45 minutes. For jasmine rice or basmati rice, stick with 15 minutes.
Stage 4: Rest and Fluff
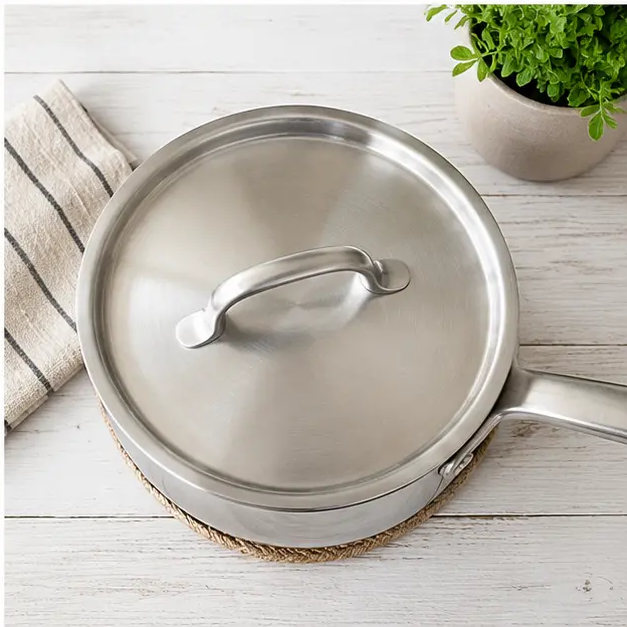
After 15 minutes, remove the pot from the heat. Don’t take the lid off yet. Let it sit, still covered, for another 10 minutes. This is called resting rice, and it’s absolutely crucial.
During this resting period, the rice continues to steam and absorb any remaining moisture. The grains relax and become tender. If you skip this step, you’ll end up with rice that’s a bit firm and not quite as fluffy.
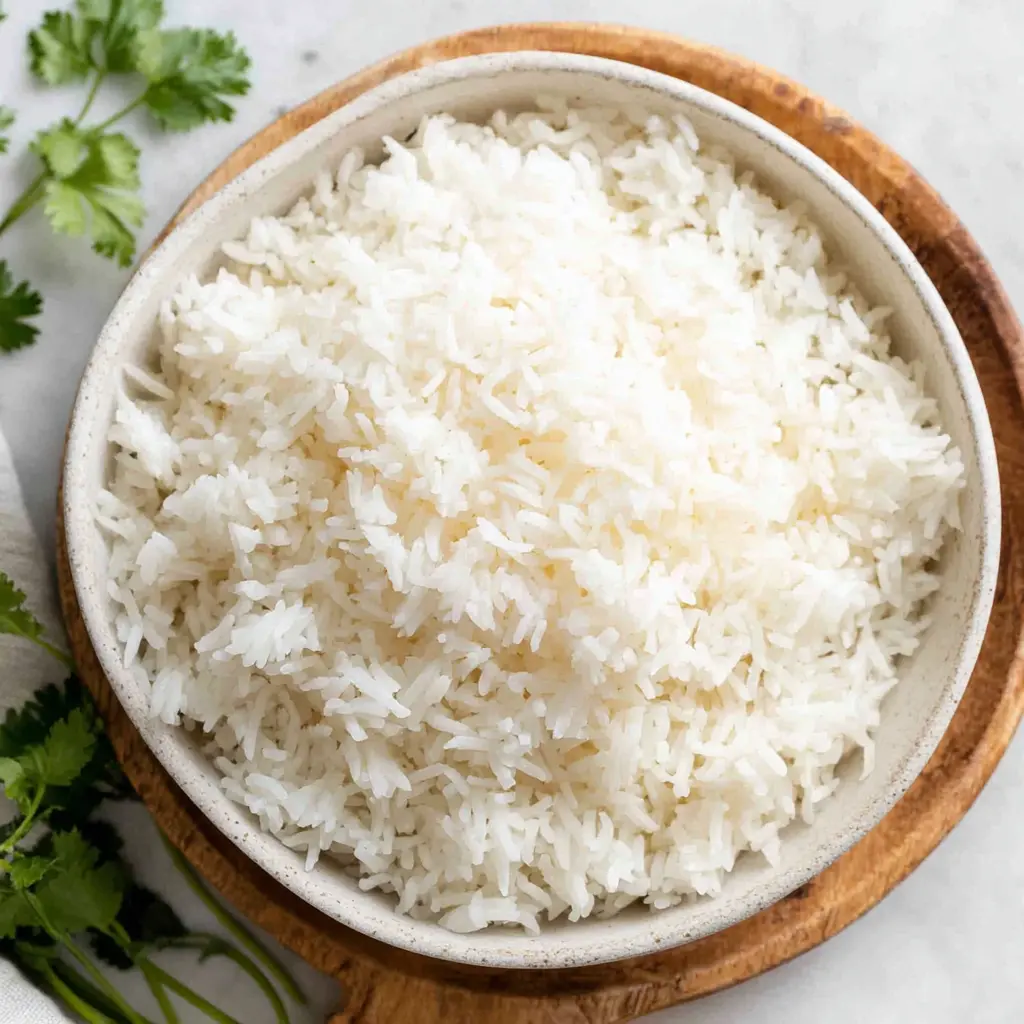
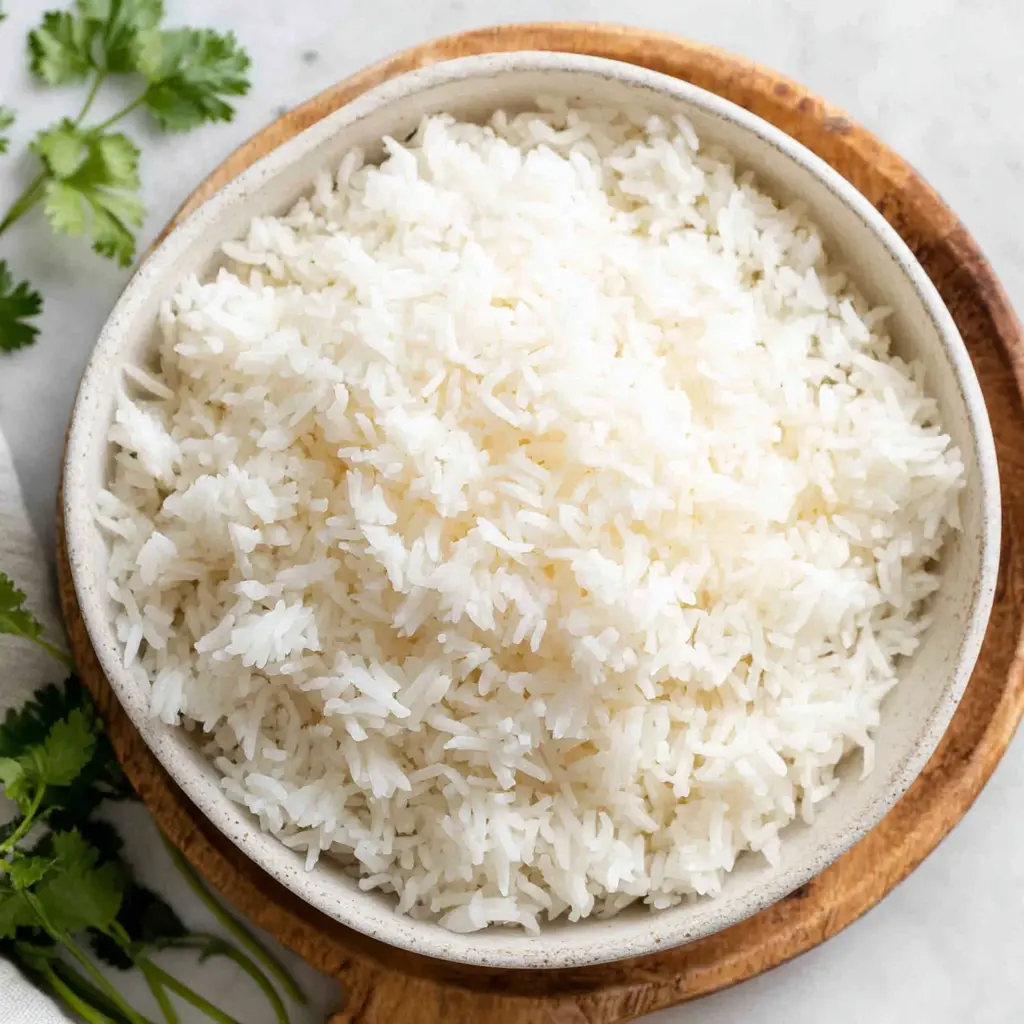
After 10 minutes, remove the lid. You should see perfectly cooked rice with all the liquid absorbed. Now, take a fork and gently fluff with fork. Run the tines through the rice to separate the grains. Be gentle you don’t want to mash them.
And that’s it. You’ve just cooked perfect rice on the stovetop. Give yourself a pat on the back.
Rice Troubleshooting
Okay, so things didn’t go perfectly. It happens. Let’s talk about the most common problems and how to fix them.
Common Rice Mistakes (And How to Fix Them)
❌ Mistake: Lifting the lid during cooking
✅ Solution: This is the number one cause of undercooked rice. Every time you lift the lid, steam escapes and the cooking process gets interrupted. Next time, resist the urge. Set a timer and walk away.
❌ Mistake: Stirring the rice while cooking
✅ Solution: Stirring releases starch and makes the rice sticky and gluey. Once you’ve combined the ingredients and brought them to a boil, leave the rice alone until it’s time to fluff.
❌ Mistake: Using too much water (2:1 ratio)
✅ Solution: This is a common myth. For the stovetop method, 1.5 cups of water per cup of rice is plenty. Too much water leads to mushy, overcooked rice.
❌ Mistake: Skipping the resting step
✅ Solution: That 10-minute rest off the heat is non-negotiable. It allows the rice to finish cooking and absorb any last bit of moisture. Don’t rush it.
❌ Mistake: Using too large a pot for a small amount of rice
✅ Solution: A wide pot causes water to evaporate too quickly. Use a saucepan that’s just the right size for the amount of rice you’re making.
❌ Mistake: Cooking on too high heat
✅ Solution: After the initial boil, you want the lowest simmer possible. High heat will burn the bottom of the rice before the top is cooked.
❌ Mistake: Not accounting for evaporation
✅ Solution: If you’re cooking a very small amount of rice (like 1/2 cup), you might need to reduce the water slightly since there’s less surface area for evaporation.
And here are a few specific scenarios you might run into:
Scorched base – what to do?
If you end up with a burnt layer at the bottom of the pot, don’t panic. Carefully scoop the unburnt rice into a serving bowl, being careful not to scrape the burnt bits. Next time, make sure your heat is low enough during the simmer, and consider using a heavier-bottomed pot that distributes heat more evenly.
Water not absorbed – what to do?
If there’s still liquid in the pot after the cooking time, remove the lid and let it cook on low heat for another 2-3 minutes to evaporate the excess. This can happen if your heat was too low or if you used a very tight lid that didn’t allow any steam to escape.
Rice not properly cooked – uneven grains – what to do?
This usually means the heat was uneven or the pot was too large. Sprinkle a couple of tablespoons of water over the rice, cover, and cook on low heat for another 5 minutes. Let it rest for 5 minutes before fluffing.
Rice too hard for taste – how to adjust?
If your rice is still too firm after cooking, add 2-3 tablespoons of water, cover, and cook on low heat for another 5 minutes. Then let it rest for 5 minutes. Next time, try increasing your water by 2 tablespoons per cup of rice.
How to Store and Reheat Leftovers
One of the best things about learning how to cook rice is that you can make a big batch and use it throughout the week. Cooked rice is a meal prep superstar.
Storage: Let the rice cool completely (spread it on a baking sheet to cool faster). Then transfer it to an airtight container and refrigerate. It’ll keep for up to 5 days.
Freezing: Yes, you can absolutely freeze cooked rice. Spread it in a single layer on a baking sheet and freeze until solid. Then transfer the frozen grains to a freezer-safe bag or container. It’ll keep for up to 3 months. This is great for having rice ready to go for quick meals.
Reheating: There are a few ways to do this, and they all work great:
- Microwave: Sprinkle the rice with a little water (about 2 teaspoons per cup), cover with a damp paper towel, and microwave for 1-2 minutes until hot.
- Stovetop: Put the rice in a saucepan with a splash of water, cover, and heat on low, stirring occasionally, until warmed through.
- Steamer: If you have a steamer basket, this is a gentle way to reheat rice without drying it out.
Leftover rice is also perfect for making fried rice. In fact, day-old rice is actually better for fried rice because it’s drier and won’t get mushy.
What to Serve with White Rice
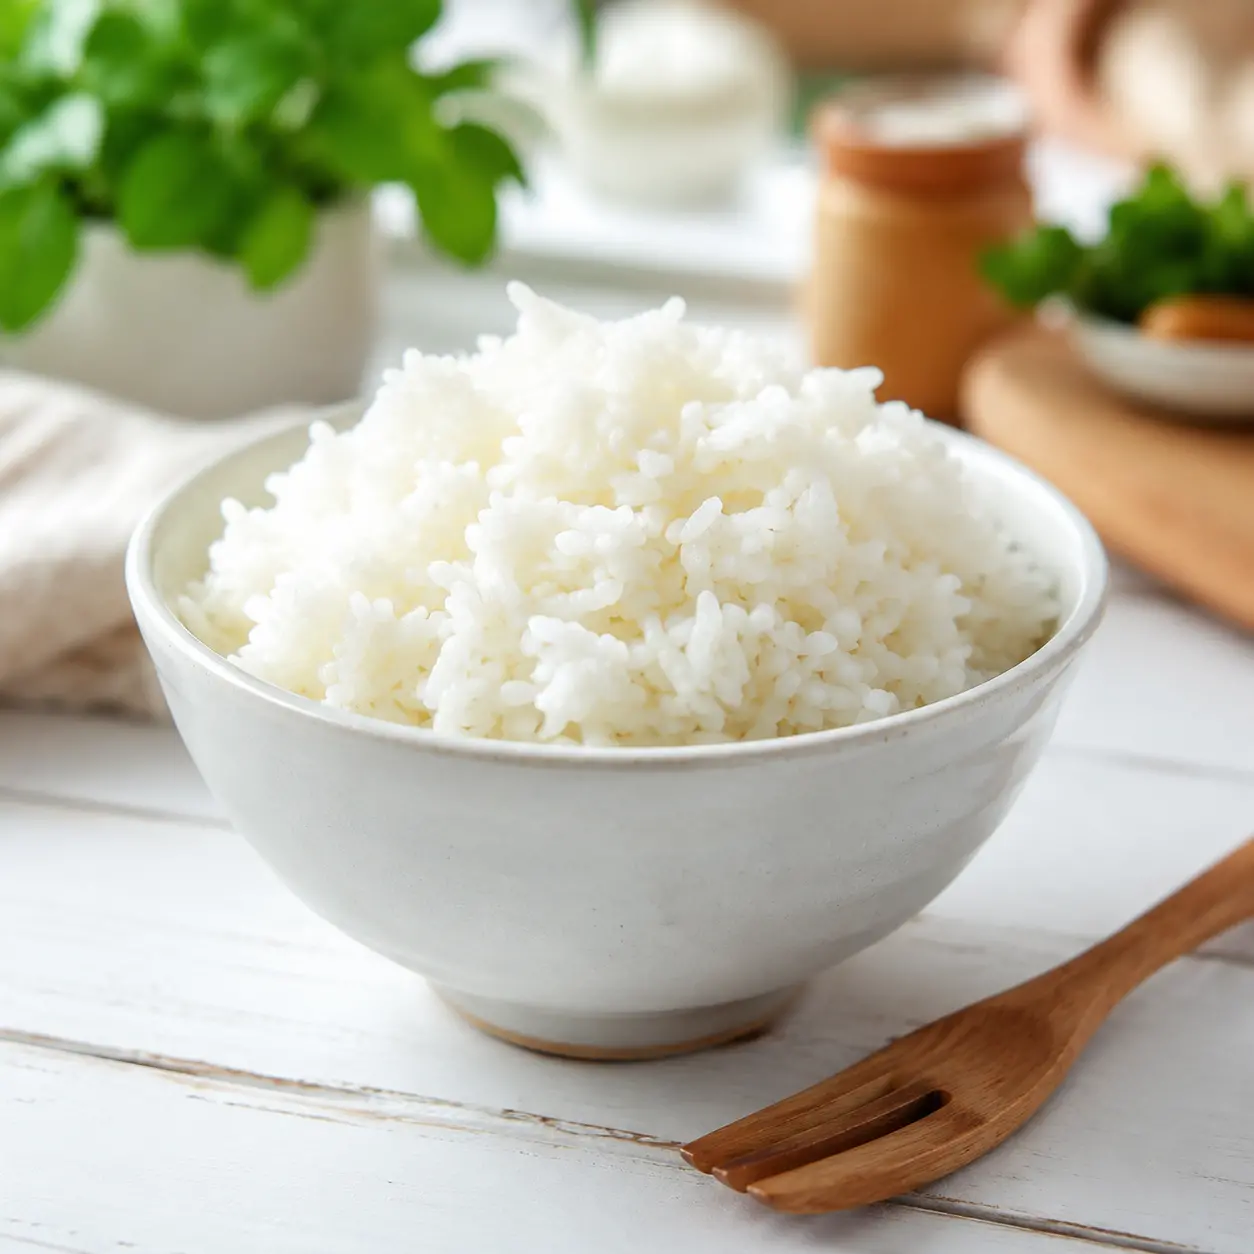
White rice is the ultimate blank canvas. It’s neutral, fluffy, and pairs with just about anything. Here are some of my favorite ways to use it:
- Stir-fries: A quick veggie and protein stir-fry over rice is a weeknight staple
- Curries: Thai green curry, Indian butter chicken, Japanese curry rice soaks up all that sauce
- Rice bowls: Top with protein, veggies, avocado, and a drizzle of sauce for an easy lunch
- Burrito bowls: Rice, beans, salsa, guacamole, and grilled chicken or tofu
- Stuffed peppers or lettuce wraps: Use rice as a binder for the filling
- Simple side: Serve alongside grilled fish, roasted chicken, or a big salad
The beauty of having a reliable perfect rice recipe in your back pocket is that you can build entire meals around it. It’s the foundation for so many dishes.
And if you want to get a little fancy, you can make seasoned rice by adding a bay leaf, a clove of garlic, or a strip of lemon zest to the cooking water. Or try the pilaf method where you toast the rice in a little butter or oil before adding the water. It adds a nutty flavor that’s really lovely.
Frequently Asked Questions
You’ve Got This
Look, I know that cooking rice can feel intimidating at first. I’ve been there. I’ve had the burnt pots, the gluey messes, the takeout backup plans. But I promise you, once you get the hang of this method, it becomes second nature. You’ll be able to whip up a pot of fluffy, perfect rice without even thinking about it.
The key takeaways? Rinse your rice. Use the right ratio (1:1.5). Don’t lift the lid. Let it rest. That’s literally all there is to it.
I’d love to hear how it goes for you. Have you tried this method? Do you have your own rice-cooking tips or tricks? Drop a comment below and share your story. And if you’re looking for more inspiration, check out my Pinterest board where I save all my favorite rice recipes and side dish ideas.
Happy cooking, friends. You’ve got this.
How to Cook Rice: A Foolproof Stovetop Method
Ingredients
Method
- In a medium saucepan, combine the rinsed rice, water, and olive oil. Bring to a boil over high heat.
- Once boiling, cover the pot with a tight-fitting lid, reduce the heat to low, and simmer for 15 minutes, or until all the liquid has been absorbed.
- Remove the pot from the heat and let it sit, still covered, for 10 minutes. Then, fluff the rice gently with a fork and serve.
Nutrition
Notes
Tried this recipe?
Let us know how it was!Source: Health & Nutrition Research